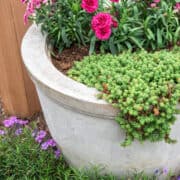
DIY Self Watering Planter
How to create a self-watering planter for indoors or outside. Discover the secret to lush, thriving plants with our step-by-step instructions and low maintenance design.
Yield: 1 planter
Cost: $20
Equipment
Materials
- 1 Planter or Pot
- 3-4 Sturdy Containers of equal height We used plastic cups.
- 1-2 feet PVC pipe ¾ inch diameter
- 1 Platform cut to size We used the lid from a 5-gallon bucket
- 1 yard Landscape fabric
- 1 bag Potting soil Mix
Instructions
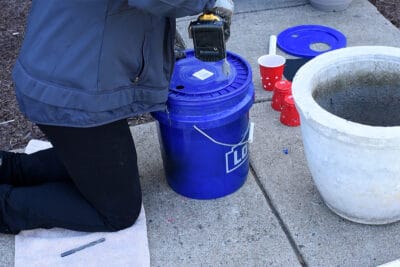
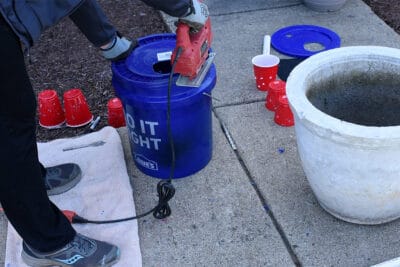
- Make a reservoir platform. Start by taking the sturdy containers to make pillars (we used solo cups). Drill holes in them to allow water to flow around.
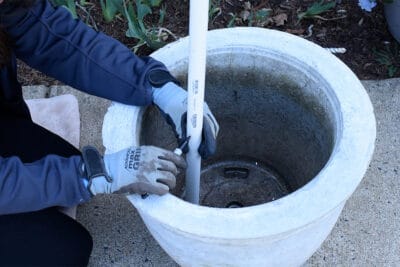
- Cut the pvc pipe long enough that it is a few inches taller than the soil line will be. This tube allows you to water the container directly to the reservoir, if necessary.
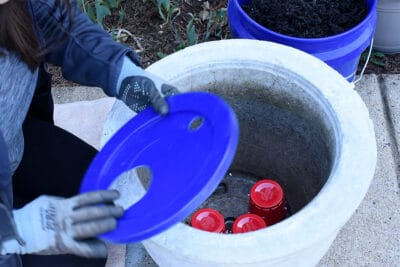
- Configure the platform. Cut holes for the wicking material (or dirt cup in our project) and for the pvc pipe to be inserted.
- Cut the platform to size. Decide where your platform should lay, based on the height of your pillars. Cut the platform so it fits snug with a jigsaw.
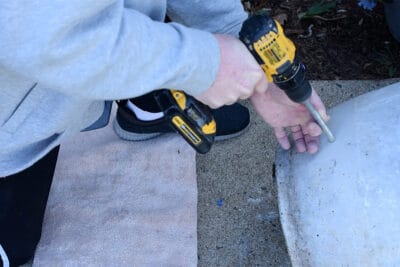
- Make an overflow drainage hole. On the outside of the container, make a mark just below the platform. Use this mark to drill a hole into the container to allow excess water to drain from the reservoir.
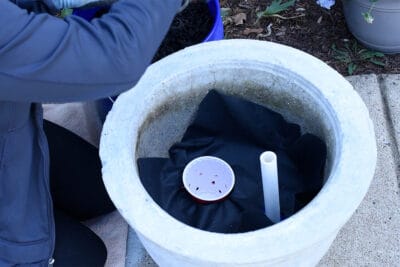
- Put the platform together. Put in the solo cups first and the platform on top. Insert the pvc pipe through its hole.
- Lay landscape fabric. Cut holes for the pvc pipe to run through, as well as the dirt wicking cup. The landscape fabric should run slightly up the sides to keep any dirt or drainage material from going into the reservoir. Insert the last solo cup into the hole cut for the wicking material.
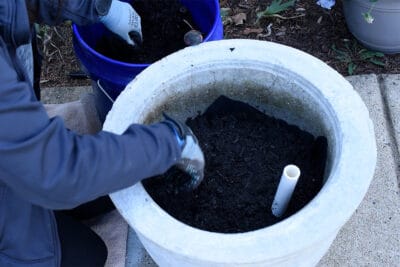
- Add drainage material such as vermiculite or dirt to the cup. Add more dirt or high quality potting mix and your plants. The dirt should stay a few inches below the pvc pipe end. Water thoroughly through the dirt and the pvc pipe and add your desired plants or seeds.
Video
Notes
For this design, we are not using cotton or other wicking material since it is prone to rot and this container is outside. Instead, we use a solo cup container filled with dirt to wick up the water through holes in the cup.
