How To Install Floating Vinyl Plank Flooring
How to install vinyl plank flooring including pro tips for a successful prep and laying that will last for years! Do it yourself as a floating floor over concrete, tile, existing flooring, or other suitable substrate without demolition.
Yield: 1 floor
Cost: $400-1500
Equipment
- 6 ft Level 6ft, at minimum, or an extremely straight board
- Guillotine Cutter Optional - You can use a miter or saw
- Carpenter's Triangle for marking straight lines
- Safety glasses
- Dust mask If grinding or sanding the floor
- Work gloves
- Knee pads
- Laser Level Optional but very useful
- Chalk line Or you can use a laser level
- Oscillating Multi-tool For cutting door jambs and intricate cuts
- Tapping Block You can use an scrap piece of flooring instead if your vinyl is rigid enough.
Materials
- Vinyl Plank Flooring
- 6 mil polyethylene sheeting/moisture barrier if installing over concrete
- Flooring Transition Strip If transitioning between surfaces
- Vinyl Floor Spacers
Instructions
Prep the Floor
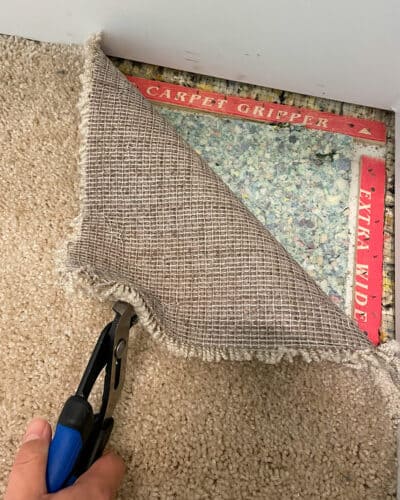
- Remove previous flooring such as carpet. floating vinyl floor as long as they are level and smooth. remove any staples and sink any nails or screws to surface level.
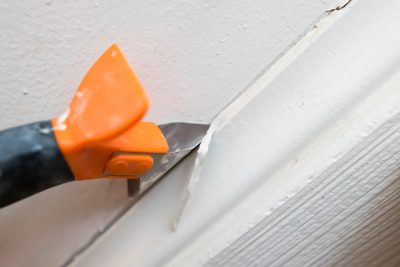
- Remove baseboards. Cut through any paint and caulk to the wall using a utility knife. Then use a pry bar to gently loosen the baseboards.
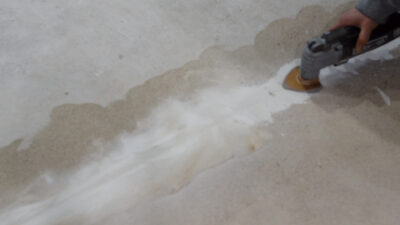
- Prep your subfloor so that it's level to manufacture's recommendation (usually 3/16 inch over 8 feet). Use a self-leveler on low spots and sand or grind high spots of wood or concrete. Do not sand vinyl flooring.
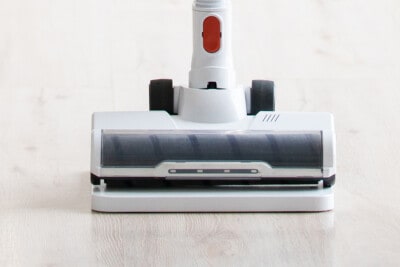
- Clean away any dirt and debris from the surface with a vacuum.
Plan the Layout
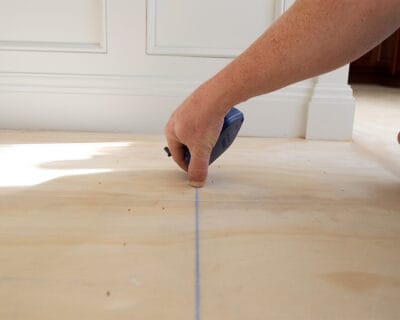
- Measure from the center to 5/16" out from the starting wall. Snap a chalk line between these two marks to get a straight line against the starting wall. Spacers will manage the expansion gap but this line will catch bowed walls.
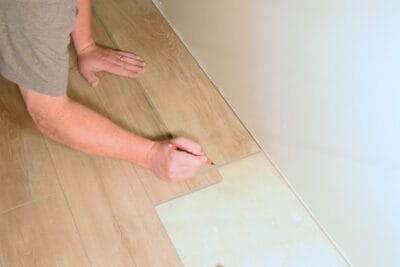
- Finally, calculate the width of the last row by calculating the width of the room divided by the width of the boards minus the expansion gaps on either end. If it'll be less than ⅓ the width of plank, cut about ⅓ of the plank off the first row to create even starting and finishing rows. Additionally, check for bump out walls to ensure they will not have smaller widths.
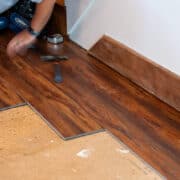
Lay the Vinyl Planks
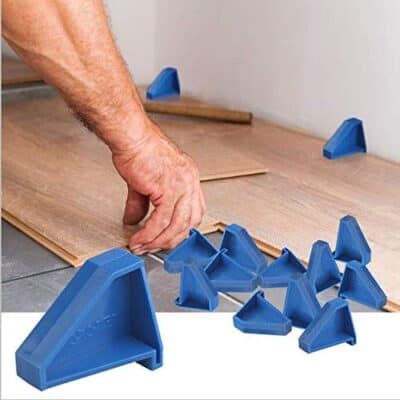
- The first row is always the hardest, so make sure it is absolutely straight with a laser level or chalk line. Place spacers against starting wall for the first row and side walls as an expansion joint.
- The joints of your flooring must be staggered at least 6 inches. It also is not advised to have a piece that is less than 6 inches long on the wall. For the most part, we just use the cutoff from the previous row to start the next row. This gives a randomized pattern without obvious staggering.
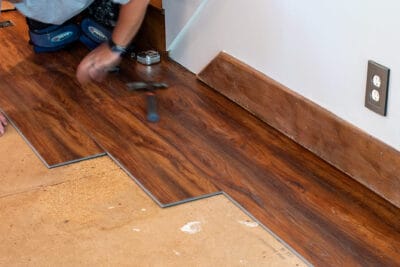
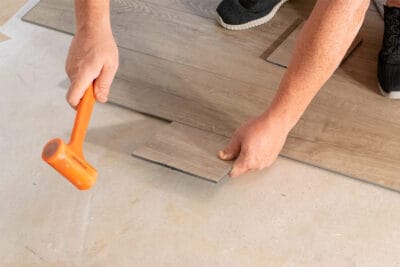
- Insert the tongue of the short end into the previous plank and lower the long side into the groove of the previous row's plank. Tap it into place with a dead blow mallet and extra piece of plank for a snug fit. Lock the planks together by gently tapping the top of the seams with a mallet.
- For end pieces, use a pull bar to pull the pieces together instead of a mallet.

- The floor can be walked on immediately. After laying the floor, you’ll need to re-install the baseboards.

Video
Notes
- With hardwoods, it is usually best to lay in the opposite direction of your floor joists. However, there isn't a rule like this that I know of for vinyl. Do whatever you feel is most aesthetically pleasing.
- Depending on the locking mechanism, I prefer to seat the small end of the plank into the previous board and then whack in the longer side - not as much friction.
- A laser or laser level is very useful for checking the straightness of your floor lines (the plank lines) as you go along. A chalk line can also be used.
- Check the floor leveling requirements on your plank boxes. It varies.
- During installation, you can mix planks from different boxes to mix the patterns, which creates a more uniform appearance.
- For a random pattern, rather than staggering, use the ending cut piece from the previous row to start the next row, if that piece is longer than 6 or 8 inches.
