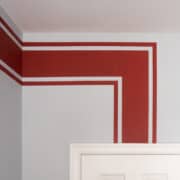
How To Paint Wall Stripes
Step by step for painting both horizontal and vertical stripes without bleeding. From accent walls to a single horizontal stripe, you can be confident in getting perfectly crisp paint edging lines!
Yield: 1 wall
Cost: $50
Equipment
- Paint Brush
- Foam Roller
- Handi Pail optional
Materials
- Painter's Tape *See Note for Brands
- Paint
Instructions
- Paint your base coat. This should either be the main color or the lightest and flattest color. For instance, if you are painting a flat color and a satin, paint the flat first all over the wall. Paint should dry at least a few days, but 7+ is optimal especially for high gloss or cheap paints.
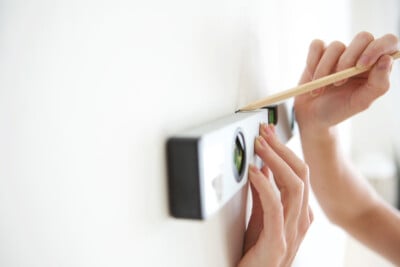
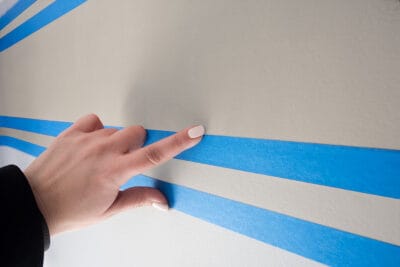
- Mark your Lines. Mark Your Lines with Pencil. I highly recommend a laser level, mark with pencil with a steady hand. If you don't have one, measure down from the ceiling for horizontal lines and use a level to remove any noticeable dips or bows. For vertical lines, a level is a great tool.
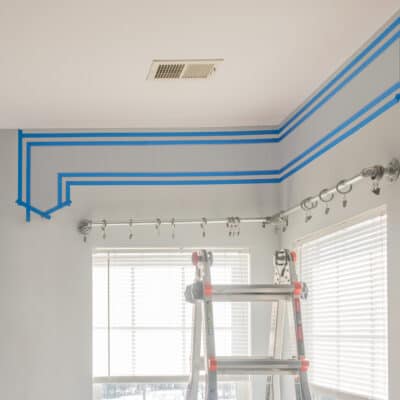
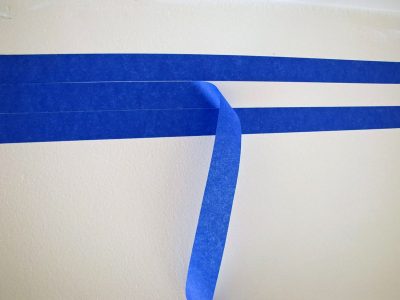
- Tape along the outside lines. Work in long sections, at least 18 inches, to get visually straight lines. If your lines have corners, use scissors to cut the corners rather than tearing.
- Paint the accent color. Make sure to burnish edges just before painting to eliminate bleed through. Use a brush or foam roller to add thin coats.
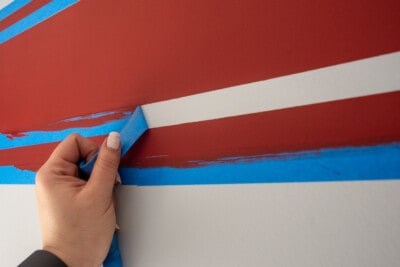
- Remove the tape. For satin or high gloss paints, don't remove while the paint is tacky. This makes the paint more likely to stretch and ruin the crisp line. Pull the tape back on itself, at an angle away from the line, and gently pull. Use a razor knife or box cutters to release the tape from trouble spots.
- Allow to Dry. You can touch up any areas needed after the paint is entirely dry.

Notes
What Tape to Use for Painting Crisp Lines?
While green Frog Tape is still highly recommended, Scotch Blue has improved their Ultra Sharp Tape and Sharp Tape lines. In our tests, they are almost imperceptible. Frog tape sometimes prevents bleeding slightly better than the Sharp, but the Ultra Sharp releases better with less chipping or tearing. Do not use Original or Stretch Blue tape.
