How To Repair an Electrical Cord
Learn how to fix an extension cord or other electrical cord for $5. These simple steps take only a few minutes to save money and time.
Yield: 1 extension cord
Cost: $5
Equipment
- Razor Blade Box Cutter
Materials
- 1 Replacement plug 2 prong or 3 prong matching what you are replacing.
Instructions
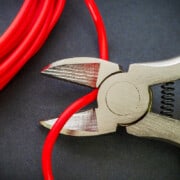
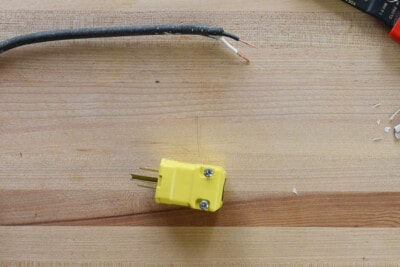
- Using scissors or wire snips, cut the wire just behind the damaged area. Make sure the item is unplugged.
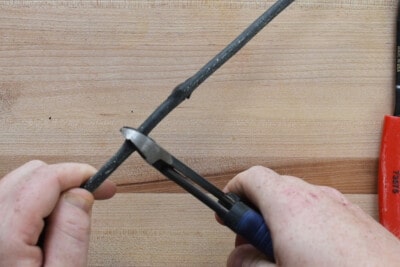
- Take the razor blade and carefully remove one inch of the outer covering (if one is present) without cutting into the wires themselves. You will want to have roughly an inch of the wires exposed at least.
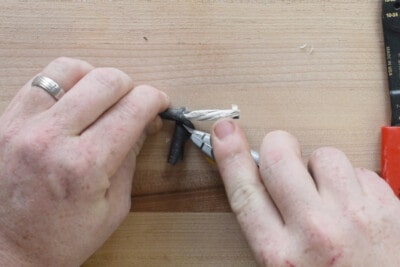
- Identify the wires. In three pronged plugs, the white wire is always the neutral wire. The ground wire is either green or a copper wire with no casing. The hot wire is the last one and is black. Two prong plugs do not have a green wire.
- Using wire strippers (or a razor blade), cut ½ inch of the colored casing around the wire off, exposing the bare metal.
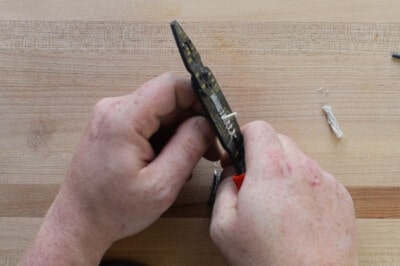
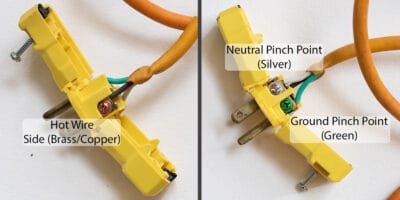
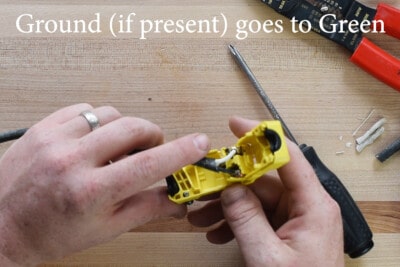
- Open the replacement plug according to the instructions. Push the white (neutral) wire into the silver pinch point. Tighten the screws and lock the wire in place. The black wire (hot) goes into bronze or copper colored pinch point. The green or copper wire (ground) goes into green pinch point. All wires should be securely screwed.
- Close up the replacement plug, ensuring that none of your wires or casings are exposed outside the plug housing. You should give it a tug to make sure none of the wires move or separate from the plug housing.
Video
Notes
Identifying wires: The neutral wire (white wire) will always be marked in some way: writing on the length of the wire, ribbing, a white stripe, or a thin white covering around the wire itself. If you cannot figure it out by looking at the cord, the neutral wire is more easily identified by the prongs. Modern appliance cords usually have two prongs of different sizes, so that you can only insert the plug into an outlet one way. With cords of this type, the larger prong always connects to the neutral wire.
