How to Repair Cracks in Drywall
Say goodbye to drywall cracks with this flawless wall repair. Tips for getting a flawless finish and permanently repair wall cracks.
Yield: 1 crack repair
Cost: $15
Equipment
- Large Taping Knife 10-12 inches
Materials
- Tape The post above explains the types and which to choose.
- Joint Compound
Instructions
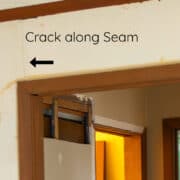
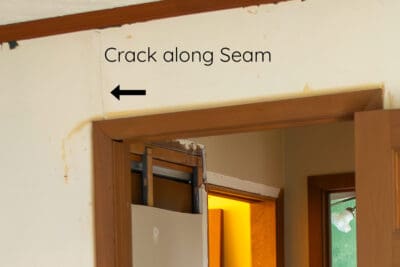
- Before starting, make sure to locate the source and repair or minimize the cause of the drywall failure, if possible. If the area around the crack is raised, sand down to smooth so there aren't humps in the wall.
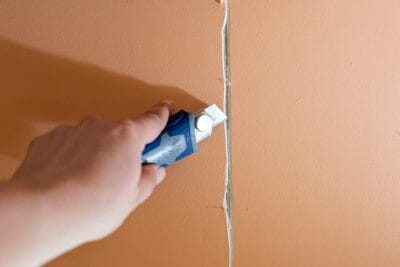
- Using a utility knife, cut along each side of the crack at an angle to cut a V-shaped notch throughout the crack. Brush or vacuum any dust and debris.
- If you have a deeper crack through the drywall (not a surface level crack) you need to pre-fill the crack before advancing to the next step. You want to ensure that it is roughly level with the surrounding drywall, if it isn’t repeat this step.
- If using paper drywall tape, apply joint compound evenly and then embed the tape into it. Use the 5 or 6-inch putty knife to smooth out the tape, squeezing excess compound and air from behind the strip. Let it dry completely, usually 24-hours.
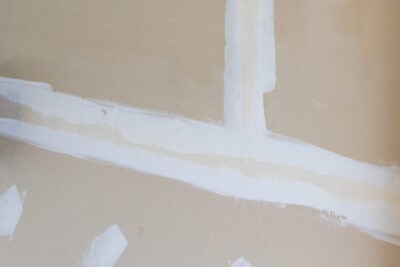
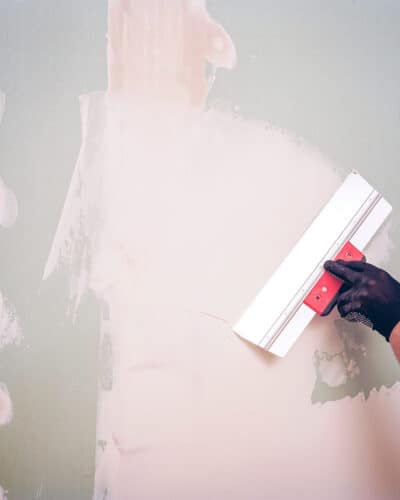
- Using a 12 inch drywall knife, apply a smooth layer. I find it easiest to work in long vertical or diagonal strokes along the direction of the crack to minimize bumps in the wall. It's always better to extend out slightly father than you think you need. I often feather out 12 inches or more on each side from the original wall crack. Let dry again.
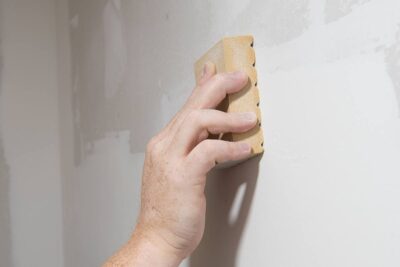
- Once dry, sand any ridges or rough spots. I recommend hand sanding unless you have a large area or deeper ridges.
- You may have to repeat the feathering and final layer a few times until the wall feels fairly flat and smooth. Sand between coats.
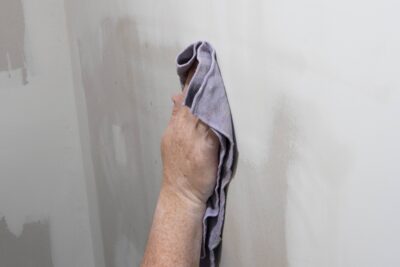
- When the wall feels evenly flat, it's time for the final coat. I wipe the area down with a barely damp (very well wrung out) microfiber cloth. Using joint compound thinned with just a little water, fill any pin holes that may have come up.