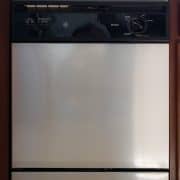
How to Use Stainless Steel Contact Paper
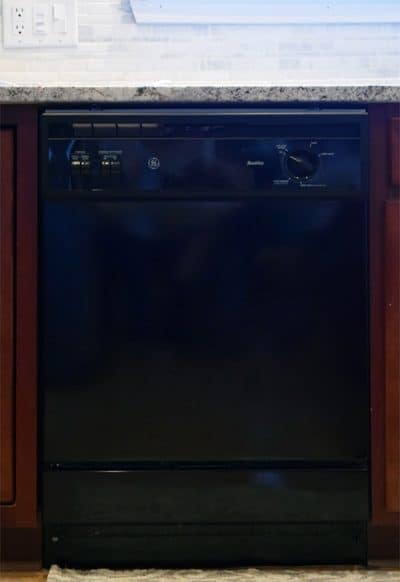
Use stainless steel contact paper to cover a refrigerator or dishwasher in about an hour.
Yield: 1 appliance
Cost: $15
Equipment
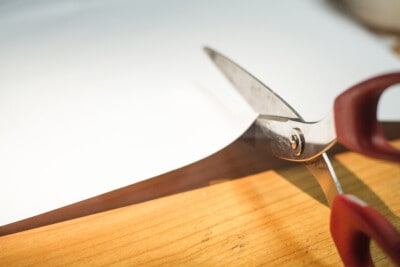
- Scissors
Materials
- Stainless Steel Contact Paper
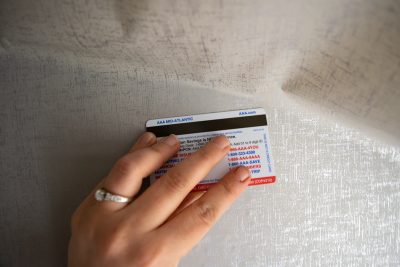
- Plastic Scraper or Credit Card
- Windex
Instructions
- First, clean and dry your surface thoroughly. Determine if your sheets will need to be laid vertically or horizontally, which can differ depending on the pattern and surface you are working on.
- Cut the sheet of contact paper to size with a little extra to wrap around the sides.
- Gently peel the top line of the backing down several inches evenly, making sure that it does not roll back on itself. Line up the edge along the top of the surface and press down firmly along that edge when you have it straight. If your edge is not perfectly straight, you can overlap the edge about an inch and remove excess with a razor knife and smoothing tool.

- A few inches at a time, continue removing the backing from underneath, pressing the contact paper down as you go. Pulling the roll taut with one hand and sliding a scraper or credit card (to smooth the paper) towards the roll helps. This prevents air bubbles. Don't try to stick the entire sheet down and then smooth - a few inches at a time is much easier.
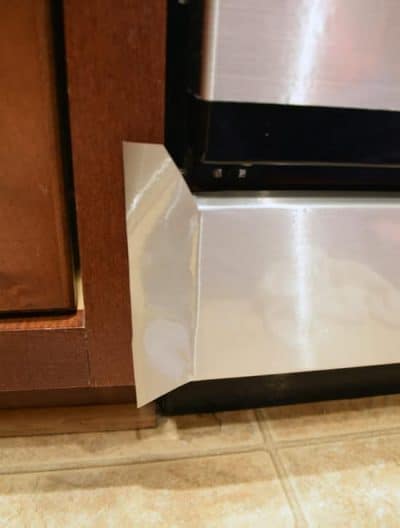
- Once you have the front side done, wrap around the corners and continue smoothing. Remove any excess with a razor knife.
Notes
Take measurements beforehand. You want to make sure the sheets will be large enough for your project.
Bubbles. If you do get a small bubble that you can't smooth out, use a sewing needle and poke a super-tiny hole to release the air and flatten it out.
