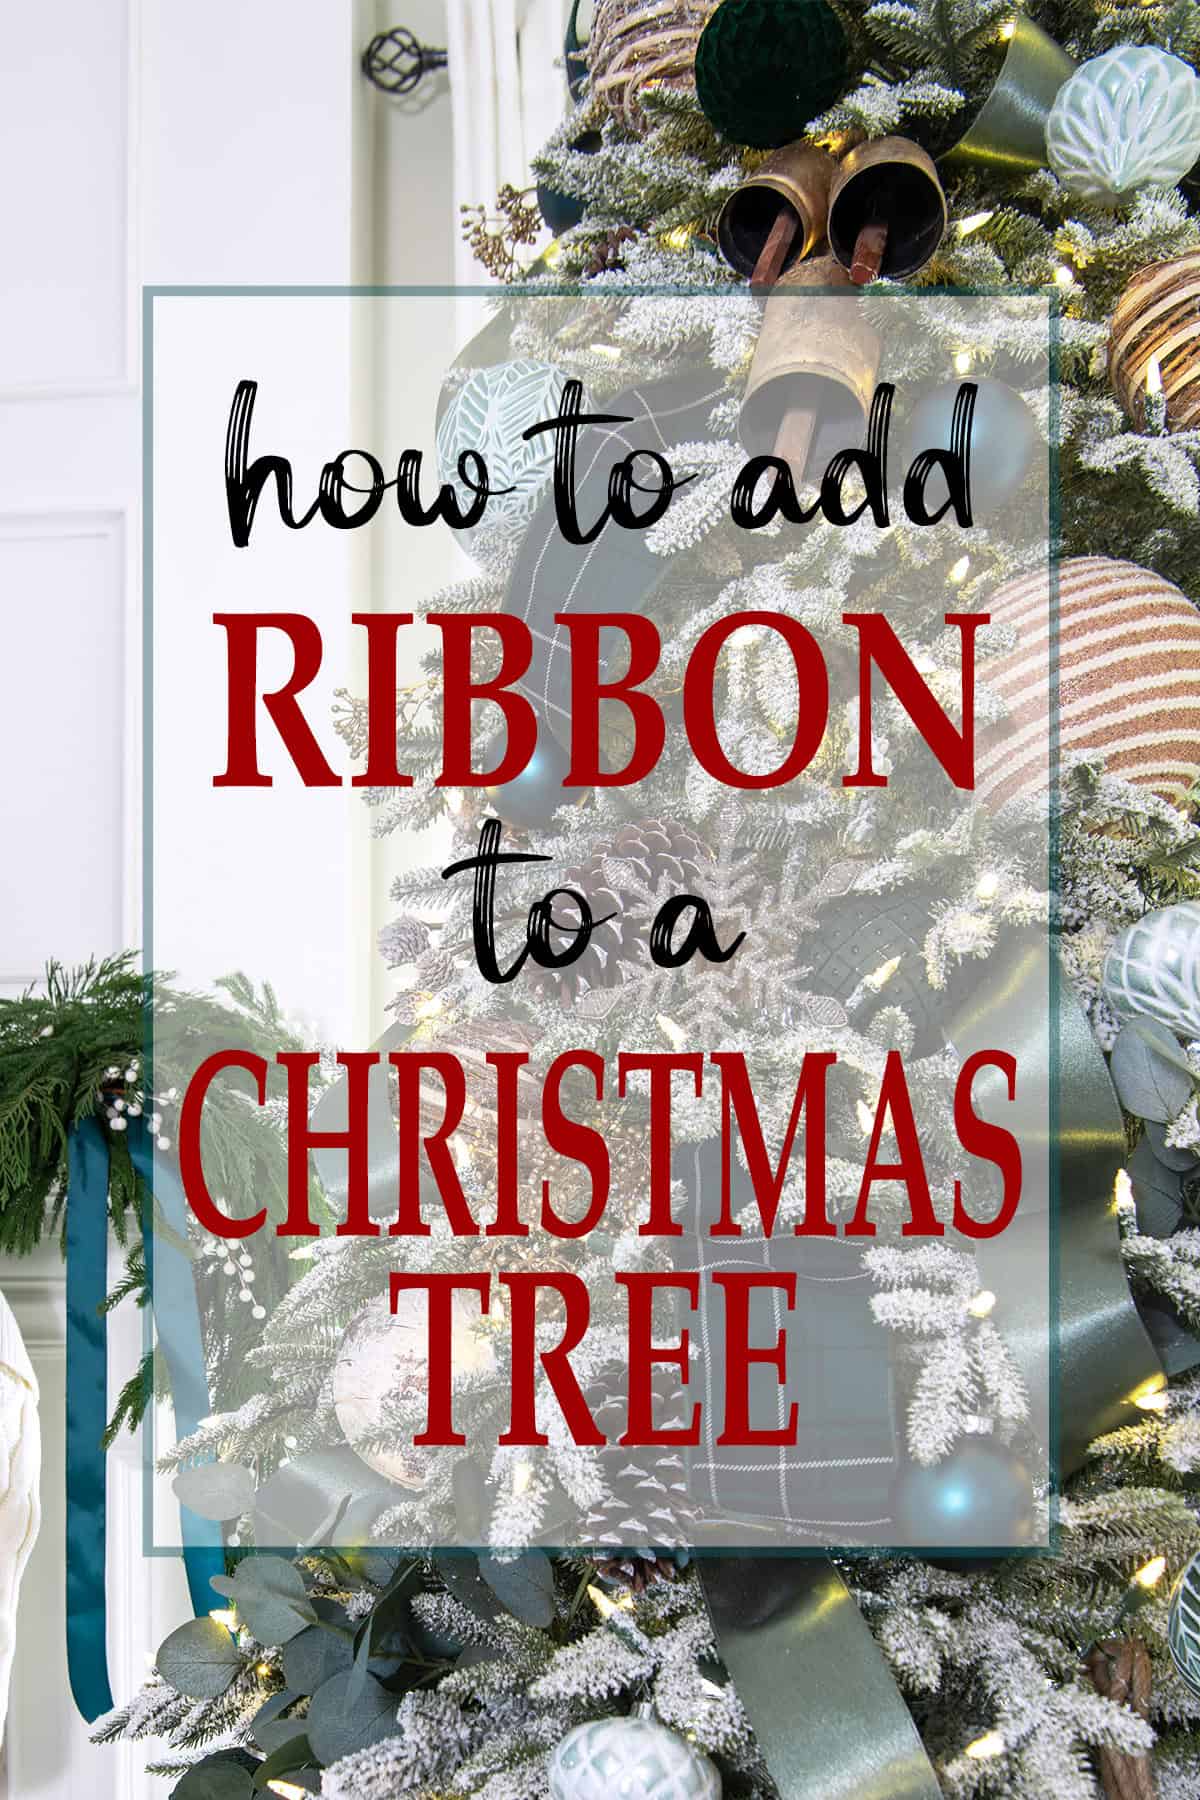
Learn exactly how to add ribbon to a Christmas tree with pro-level results in a variety of styles. From glittery burlap to thin satin ribbons, this step-by-step includes fluffing the tree to making loops, plus ribbon types, textures, and a video demonstration of my DIY techniques.
Over the years, I’ve received questions about the ribbons I use on my trees. Ribbon really is one of those decorating pieces that changes everything when you're dressing a tree.
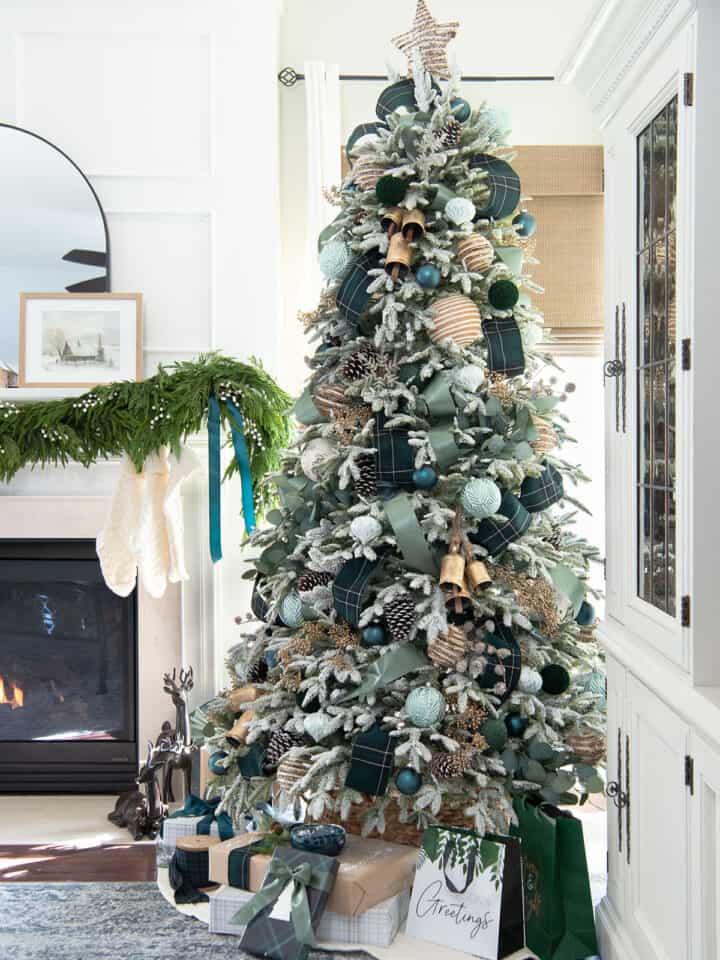
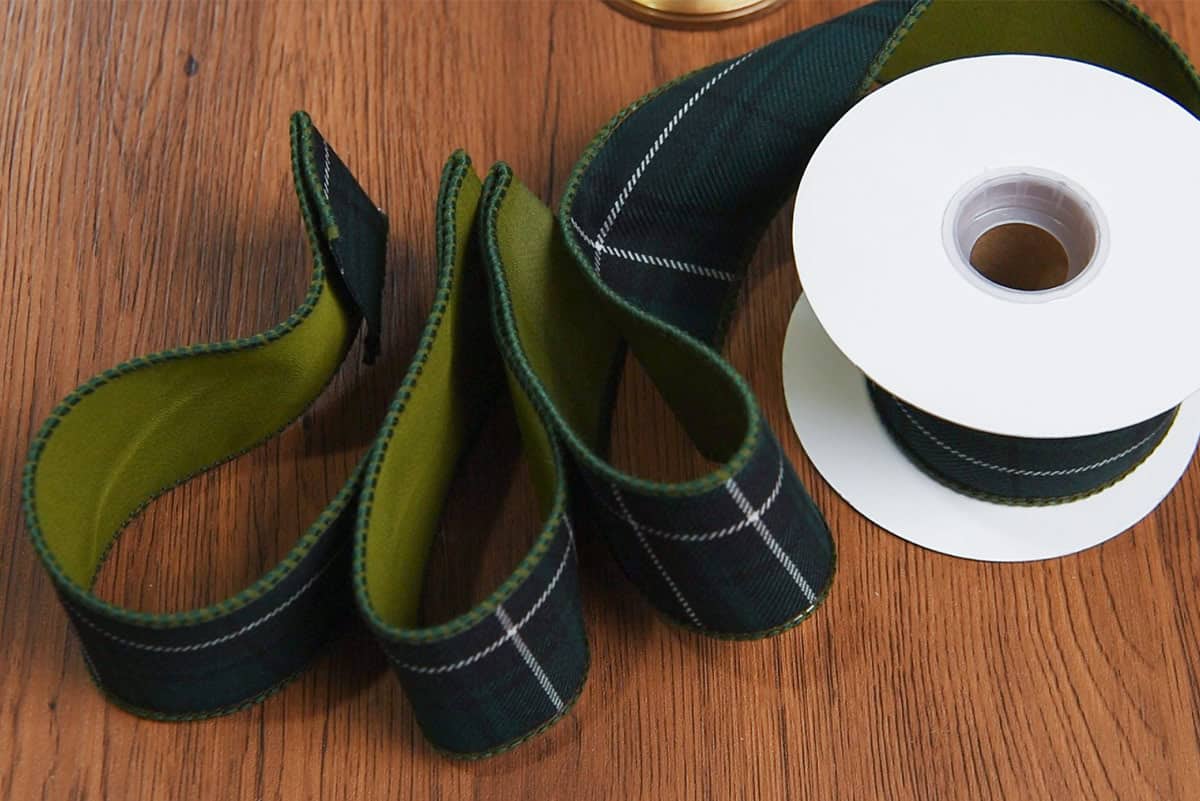
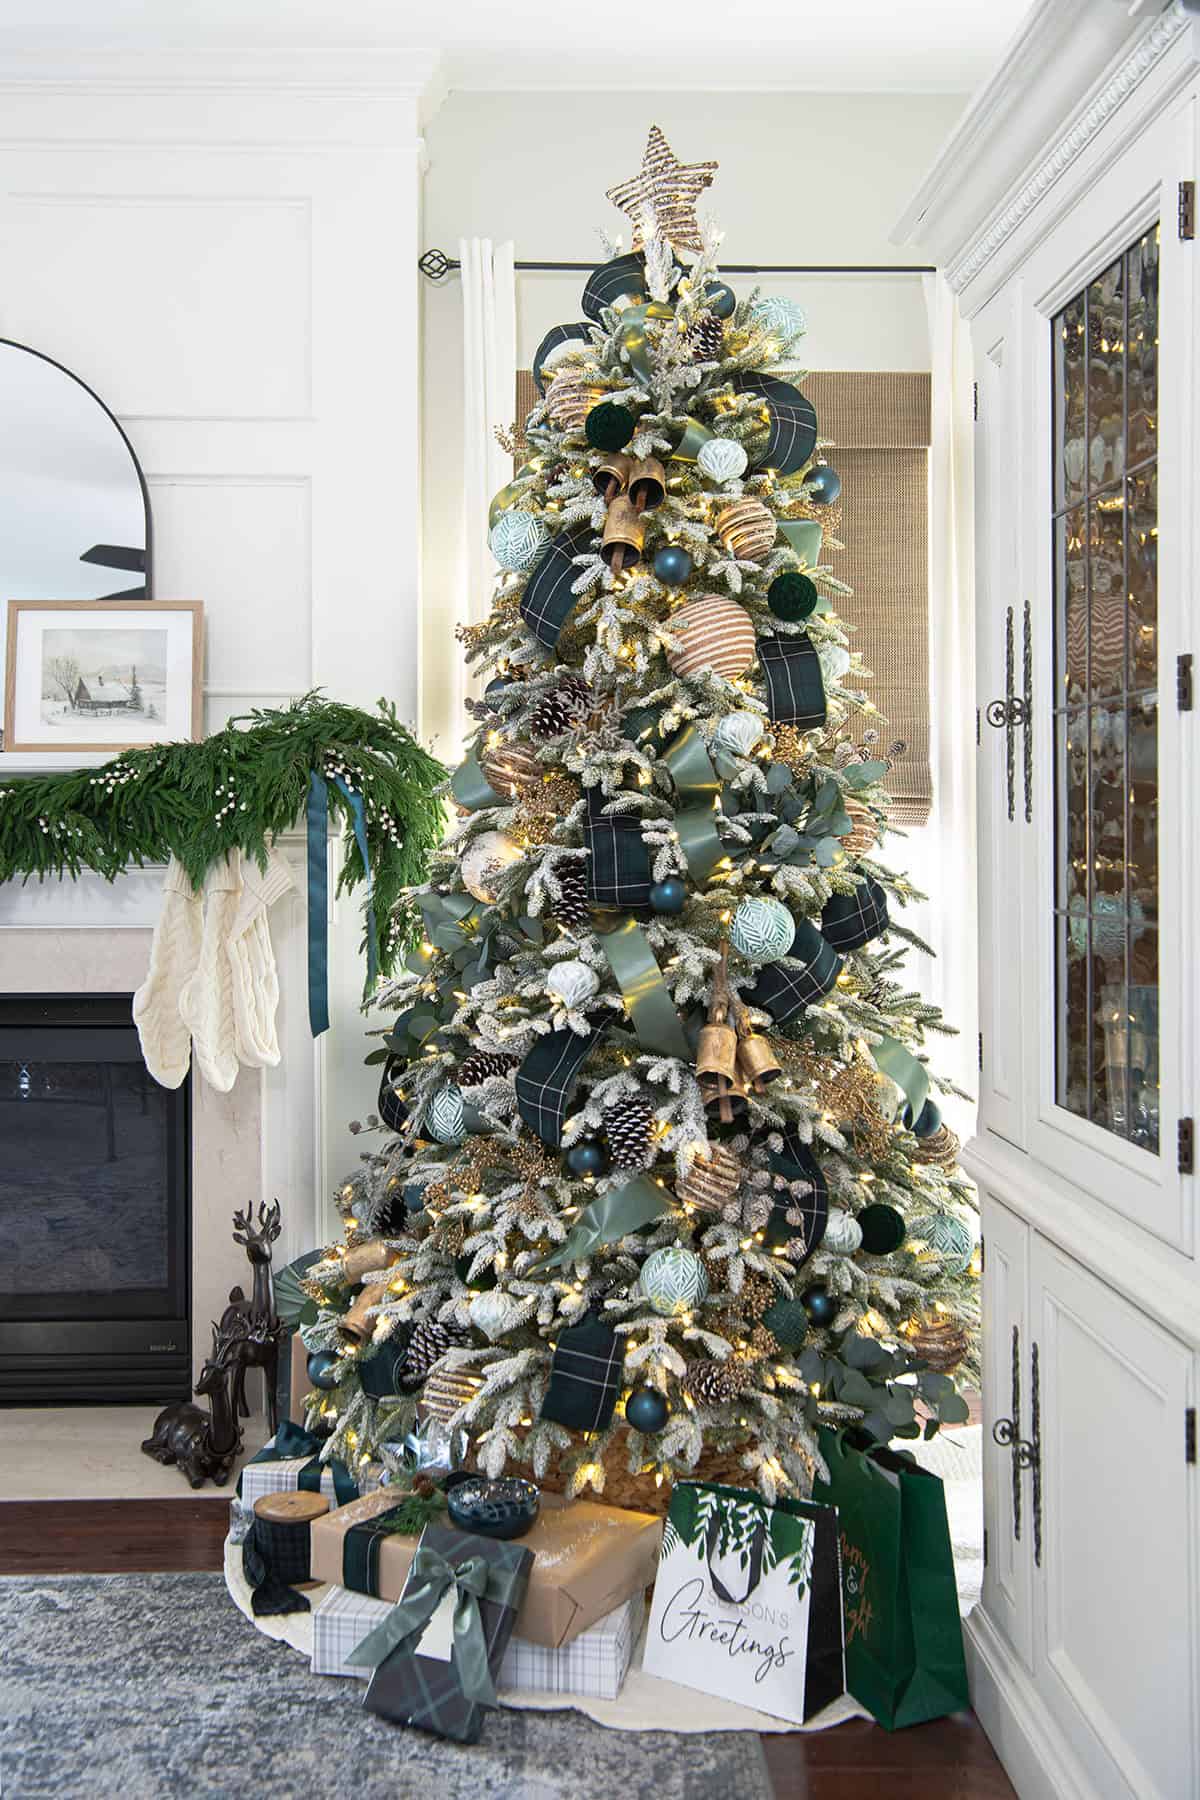
On my Navy & Green Tree from last year, I swapped in a sage-green and tartan ribbon palette (more on that later), and the difference was instant. Today I'll walk you through exactly how to add ribbon to a Christmas tree in a way that's stress-free, professional looking, and totally doable. It’s been a lot of trial and error, but today I am sharing with you all the tips and tricks I have learned!
Before You Start!
There are a few tips to understand before you start decorating your tree.
- Ribbon helps a tree in multiple ways - fill branch gaps, create movement, and make the tree look more symmetrical. Stand back from your tree and figure out your goals with the ribbon.
- Because ribbon is often multi-colored, it sets the tone and ties your color scheme together. I often use ribbon as the basis for my entire color scheme although you can use anything and colors don’t have to be exact really.
- Although I use variations of these techniques on real trees, it does tend to work best on artificial Christmas trees because you can move the branches around to accommodate different styles.
- If you are wondering how to work with a color scheme, I have a post on creating a cohesive color palette although it’s geared more towards a room than seasonal.
- Check out the FAQs at the bottom of this post for lots of quick tips on choosing ribbon.
Step 1. How to Start Ribbon on a Christmas Tree
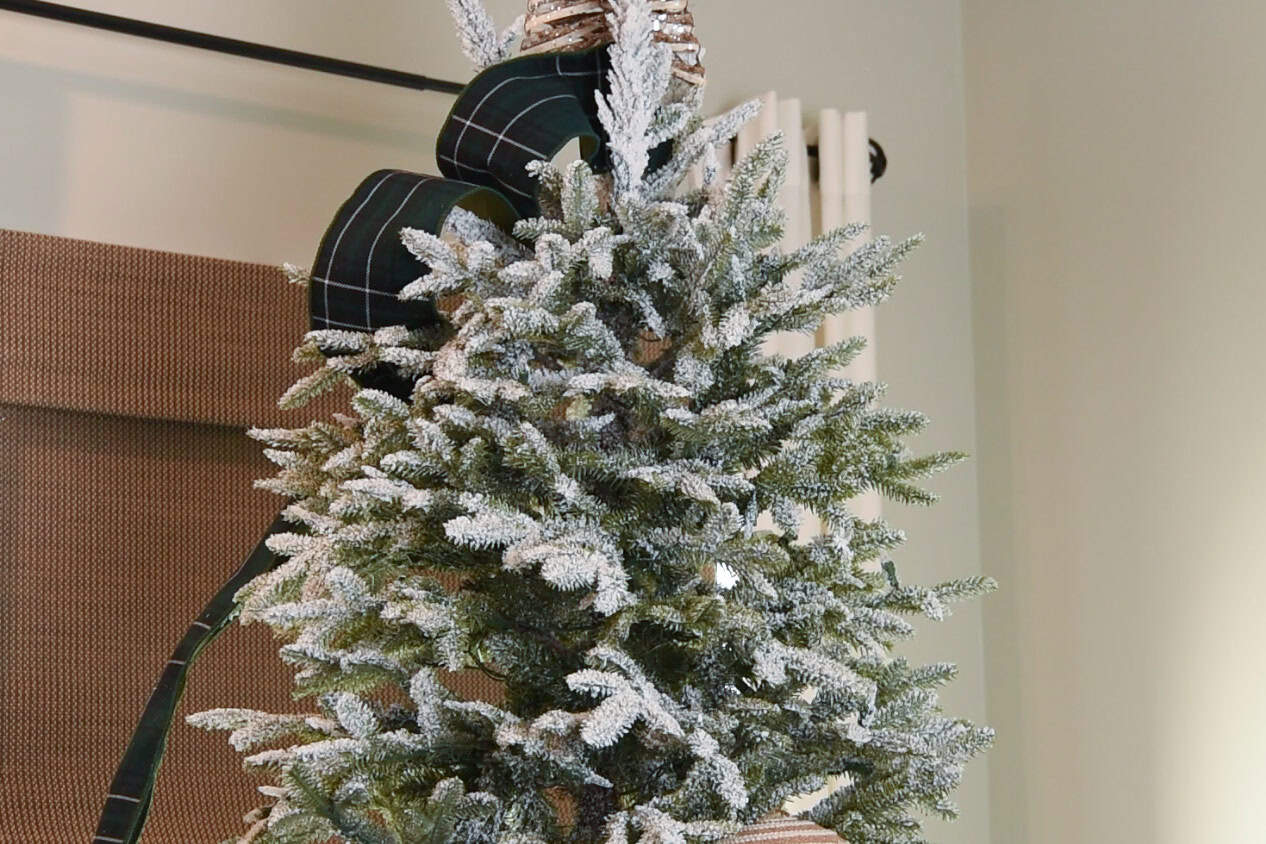
I’m quite short, so I make a general form for the ribbon before I step on the ladder. I fold the first 2 inches of the free end of the ribbon back on itself. This will be used to go around the base of the tree topper to secure the ribbon at the top. Then I create 2-3 generous loops like this:
It helps me more easily start the ribbon while teetering awkwardly off the ladder. I secure the end of the ribbon under or around the tree topper base and then work the creases of the ribbon loops into the branches and spiral around the tree. I tend to work going in a clockwise direction, but either way is fine.
Step 2. Tuck Christmas Ribbon into Branches
First, I don’t cut my statement ribbons. I change up things every year so I’m too afraid to cut them. I just buy an extra spool or two.
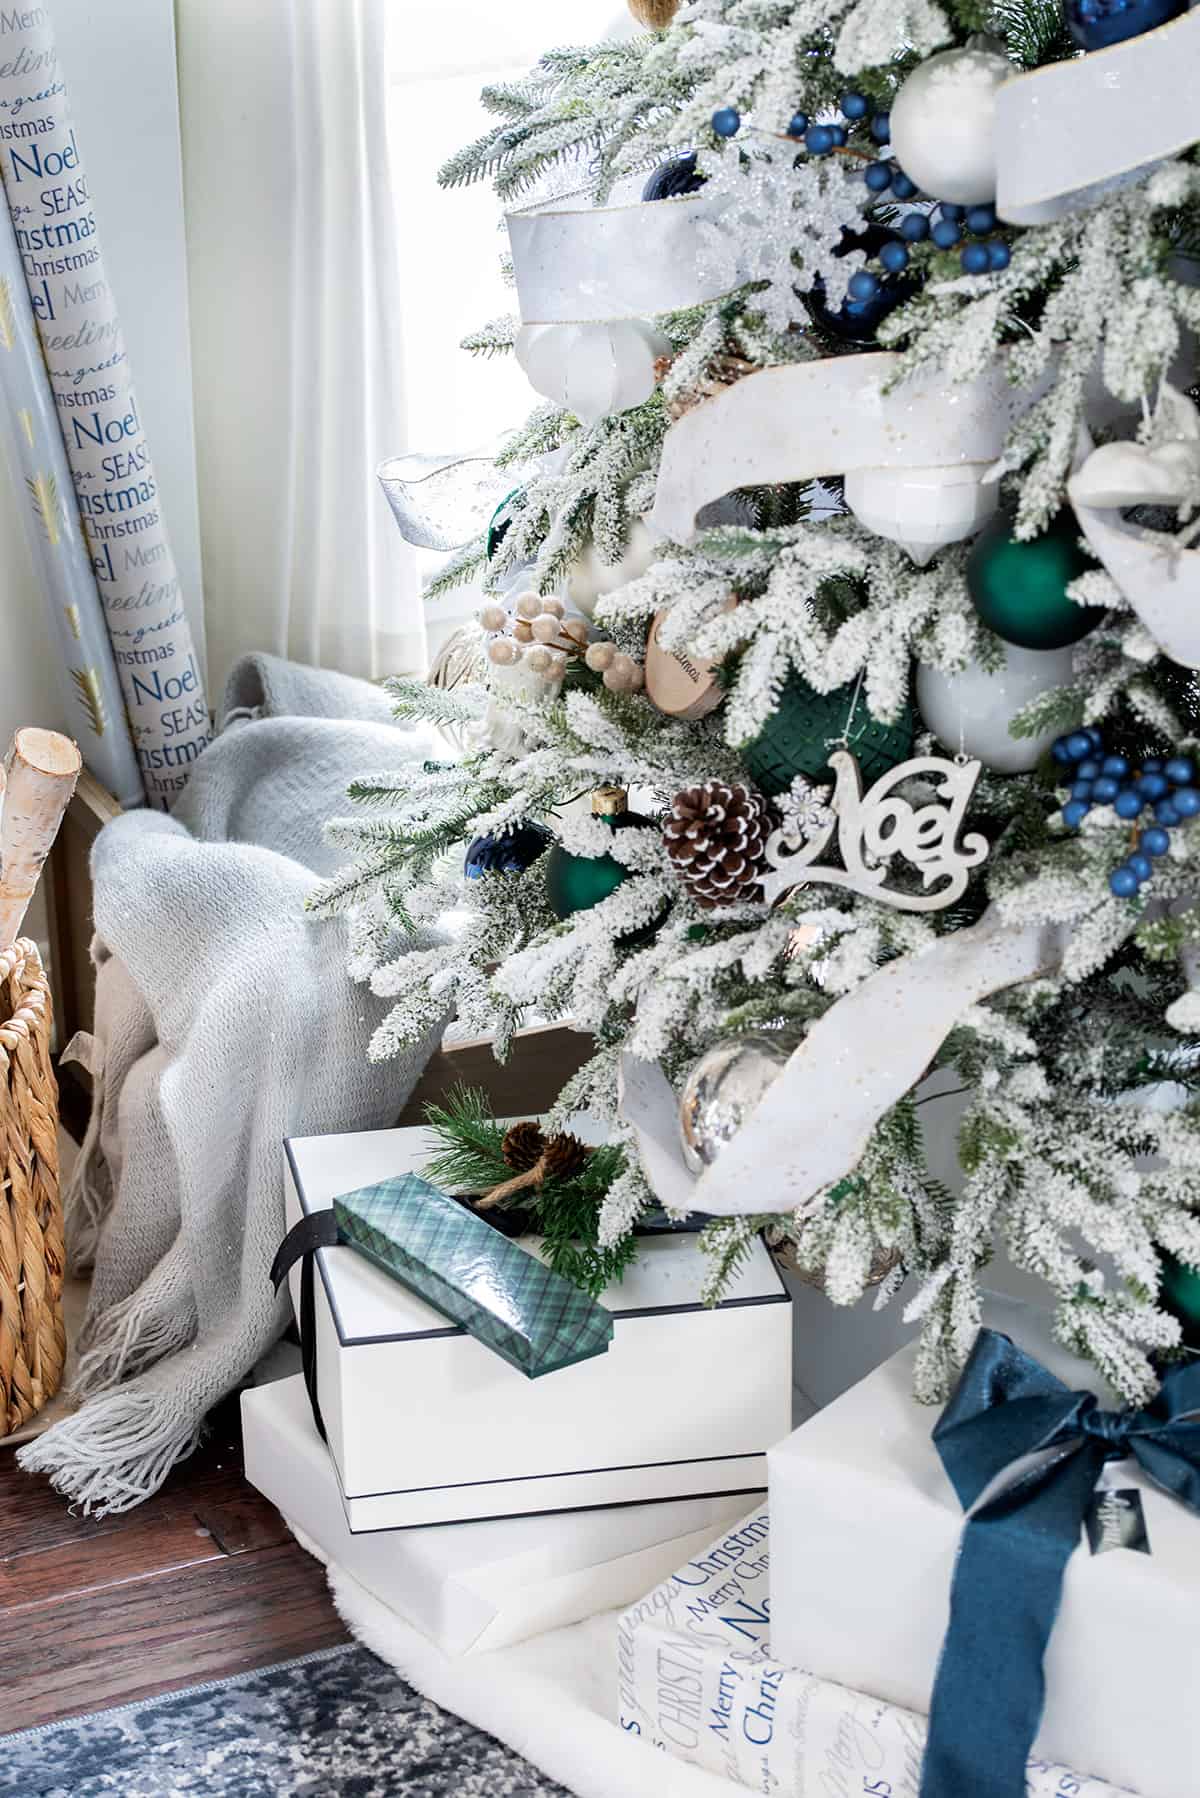
As you work around, you'll want to tuck the ribbon into the tree, let it puff or billow out diagonally, but not too loosely, then tuck it back in deep into the tree. The ribbon should look supported and well placed, not stretched nor floppy.
Rear Tree Tip: I generally don’t decorate the backs of my trees, so I just tuck the ribbon in the back until it is hidden and pull to the other side of the tree. Then I continue billowing.
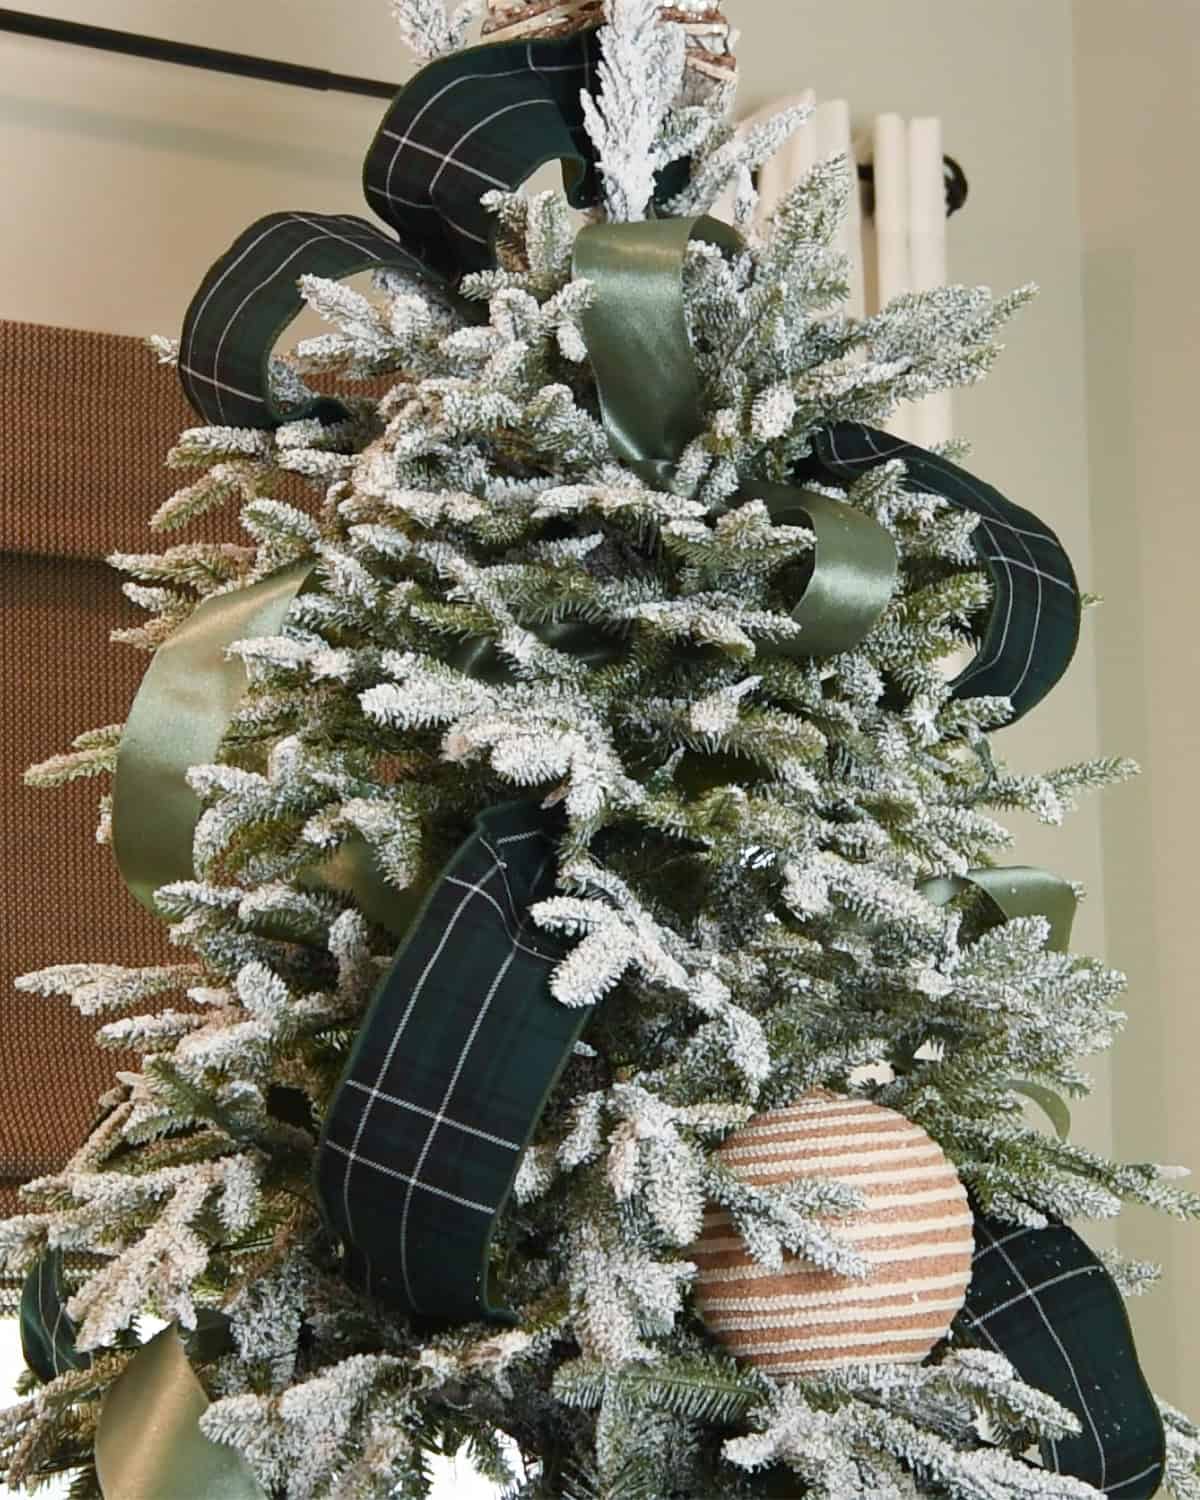
You may have to adjust some branches to get the support and effect you want. You may have to fluff and straighten the ribbon as you go to get that perfect billow.
If your ribbon is not staying in place, you may be pulling it as you move around, or the ribbon is too loose and has no support to keep it in place. If the ribbon isn’t staying, try moving the branches around to support the shape you want.
Step 3: Finishing Ends
For the most part, I simply tuck the ends deep into the tree and put ornaments in front of them.
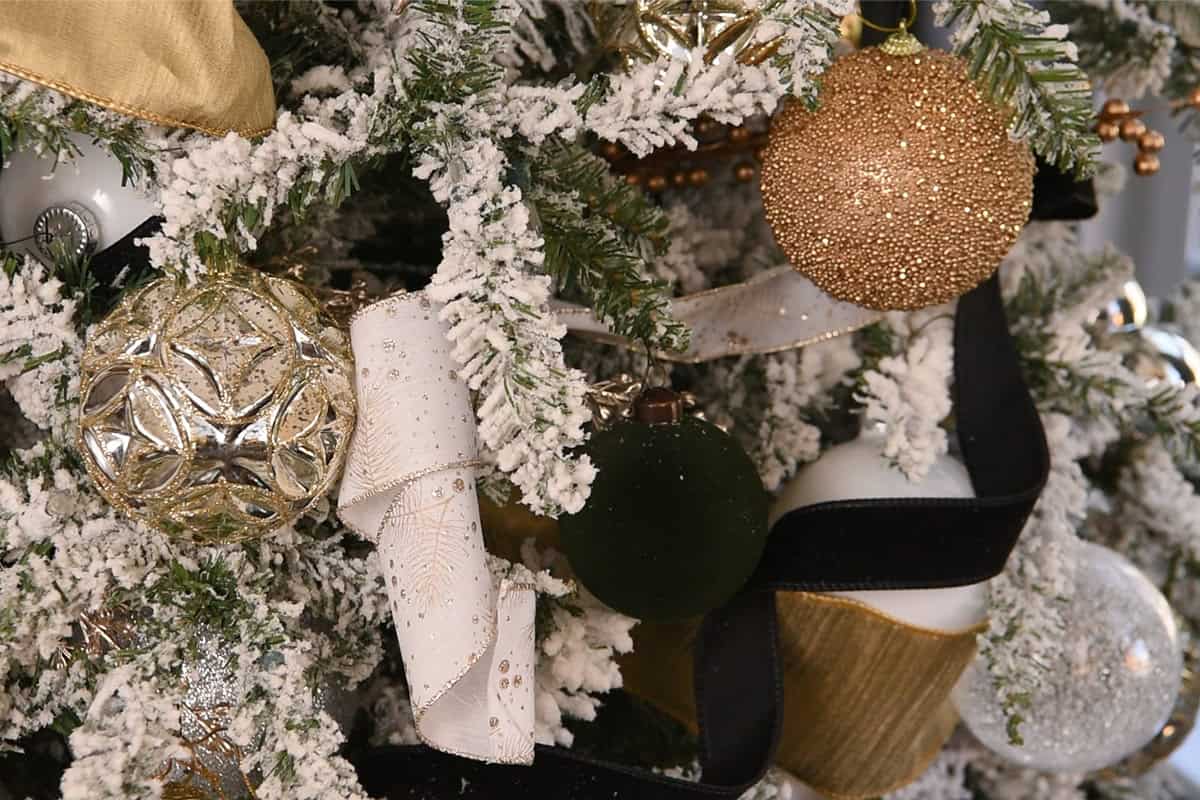
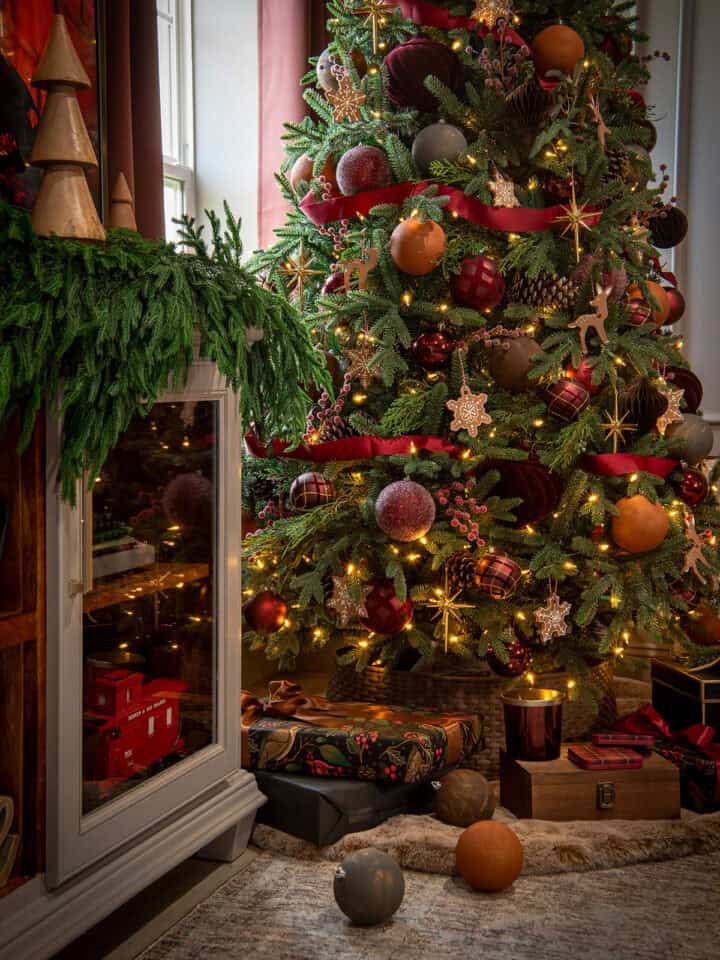
However, you can also try spiraling your ribbon like the black and white ribbons above. This tends to work best with ribbons that are 2 inches or less wide. It is a great way to create finished ends or tails. I use this technique on my white and gold Christmas tree to add interest to the velvet ribbons.
Step 4: Add Accent Ribbons (Optional)
For multiple ribbons, I usually choose a smaller or less patterned ribbon as the accent, though that's not a hard rule. Sometimes a bold contrast works beautifully if it complements your main color scheme. Personally, I find it easier to cut the accent ribbon into shorter lengths (about 3-4 feet each or 1-1.2 meters).
Treat the accent ribbon much like the main one, gently tucking and weaving it into the branches. The key here is to avoid perfectly even spacing - variation makes the tree look more natural and layered. Let some sections cascade or loop closer together while others trail more loosely. This creates that effortless, designer look that makes the ribbons appear part of the tree rather than sitting on top of it.
Mistakes to Avoid
- Push loops upward for volume and so they don’t look flat.
- Using small ribbon on a large tree or a very large ribbon on a small or 4ft tree.
- Placing ribbon too tightly. Let the ribbon billow out naturally rather than pulled tightly against branches.
- Uneven spacing is actually a good thing. It helps your eye move naturally around the tree. Aim for an organic flow rather than a perfectly uniform pattern, which can make the design feel stiff and overly structured.
Ensure base of tree is tied into scheme (you can link to your other tree décor post.
Video Tutorial of Ribbon on a Christmas Tree
I work with many different ribbons of different widths and patterns, wired and not. This video demonstrates a step-by-step tutorial showing how I use various kinds of ribbon in different styles.
Putting It All Together
Truthfully, I feel like I could have fluffed and played with the ribbon on this tree a bit more, but this was the third of the 3 trees I designed this year. By then, I was a bit ready to get on to celebrating the season under the lights.
You can see more of this cottage style Christmas tree here. I also invite you to check out my other trees from years past so you can get a sense of how to use different kinds of ribbons to suit your style of tree.
More Christmas Decorating Ideas
Christmas Tree Ribbon FAQs
Wired ribbon is easier to manipulate. You can use a variety of textures successfully from shiny satin to plaid or burlap/jute for more casual themes. Statement ribbons should be 3.5-4 inches wides, while supporting ribbons can be 1-2.5 inches wide. Dainty ribbons can also be beautiful as bows.
Little secret: I never cut my extra wide ribbons or my thicker, stiff ribbons, but I do cut thinner accent ribbons into 3-4ft long strips. Wide patterned ribbons are expensive. I use them for years and I can’t be sure the ribbon strips will work well for every style, since I change color schemes often.
For uncut statement ribbons, I buy about 45 feet or 15 yards, and 30-50% more if I am fully decorating all sides of the tree. My 7.5-foot trees all sit in a corner so they have a “front side” and the backsides are mostly empty because I can’t enjoy them. That amount of ribbon is for each kind of ribbon although I may not use it all every year.
To start, I usually add my tree topper if I am using one. This is because I don’t want to be climbing the tree after it’s all decorated. Then I fill any gaps in the tree with either large ornaments set deep into the branches or floral picks that are designed to look like the branches of the tree. All of my trees are pre-lit, so the next step is to add the ribbon. I start at the top and work my way down, most often in a zig zagging spiral.
If you have tried adding ribbon before and not been satisfied with the results, I would recommend starting with a wired 4-inch-wide ribbon. For example, I seem to constantly find new uses for my favorite antique gold dupioni 4-inch-wide ribbon. I also use thinner ribbon such as wired 2-½ or 1-½-inch ribbon as accents to coordinate with the tree.

Grab our free series "Weekend Home Projects that will Transform Your Life" Sign up below to receive updates including free printables, organization tips, home improvement projects, recipes and more! |