We have installed several flooring types and, recently, we installed wood look vinyl plank flooring over a concrete slab. Uncover insider tips to achieve a proper surface preparation, ensuring your DIY flooring project looks great for years.
We are making progress on finishing the basement, it’s really seeing some progress! Even though I posted the bathroom makeover a few weeks ago, it actually took us another year+ to drywall. Other commitments kept us busy, like my parent’s home (see the before and after cabin here) and their new home.
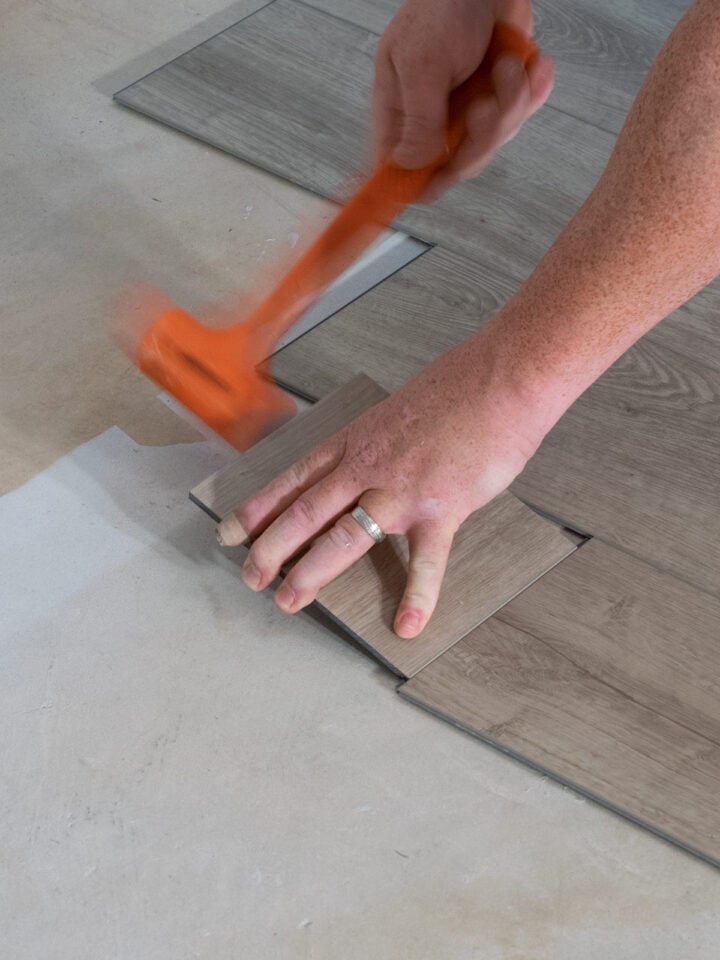
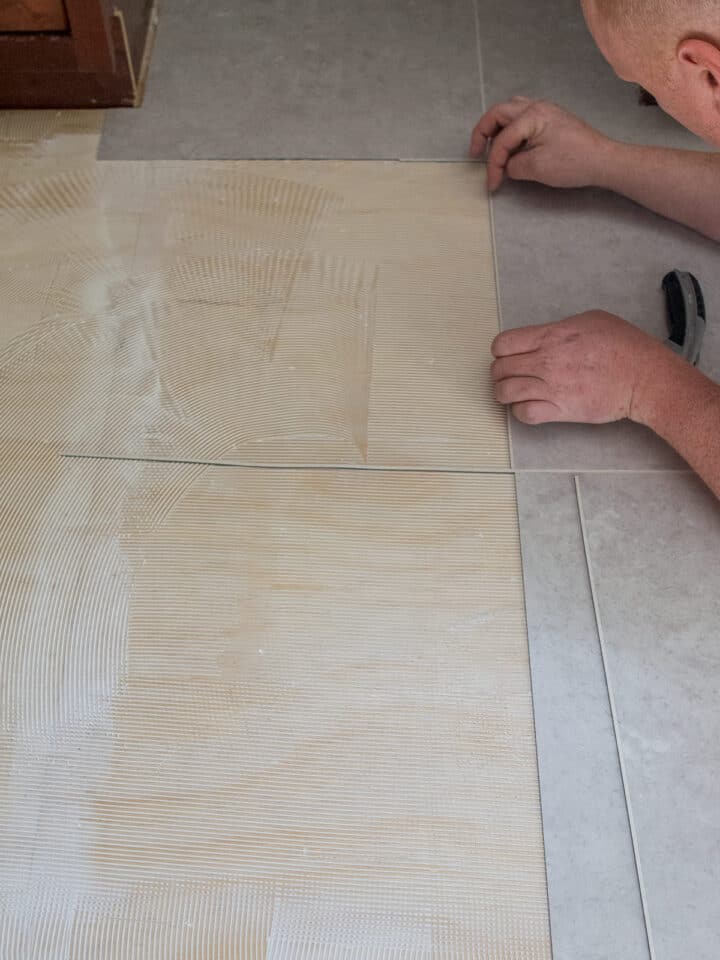
I have extensively covered the step-by-step process of how to install vinyl plank flooring and glue down vinyl flooring here. However, this post focuses on the prep necessary for installing vinyl or other flooring over concrete subfloor.
Our Project
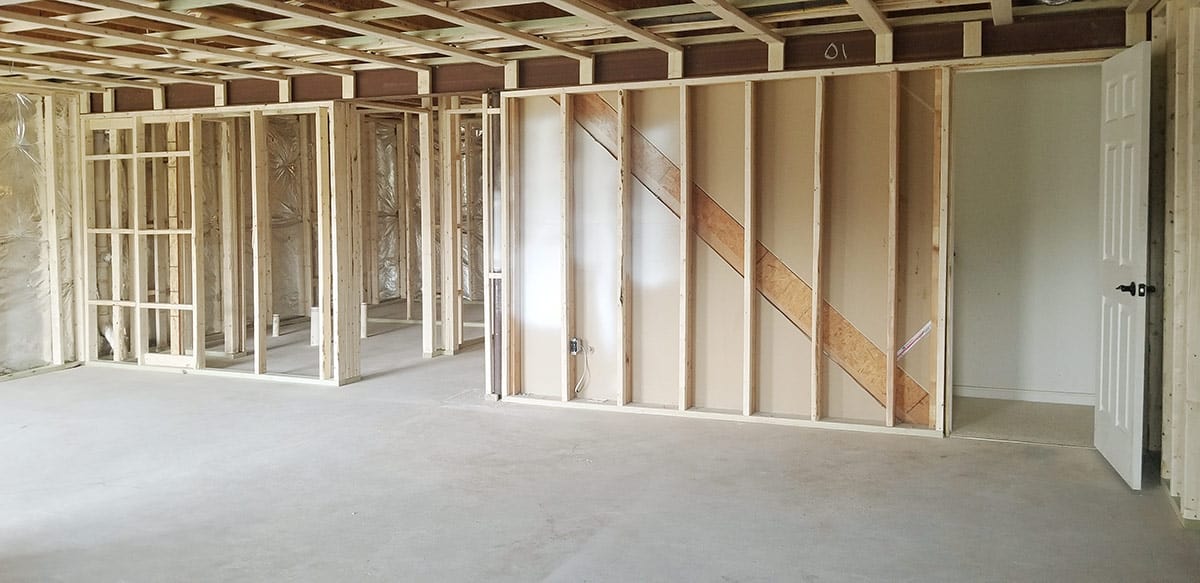
So, we are fast forwarding from this:
This is a walkout basement that is partially below grade. Therefore, wood look waterproof rigid vinyl plank flooring was the best option for us.
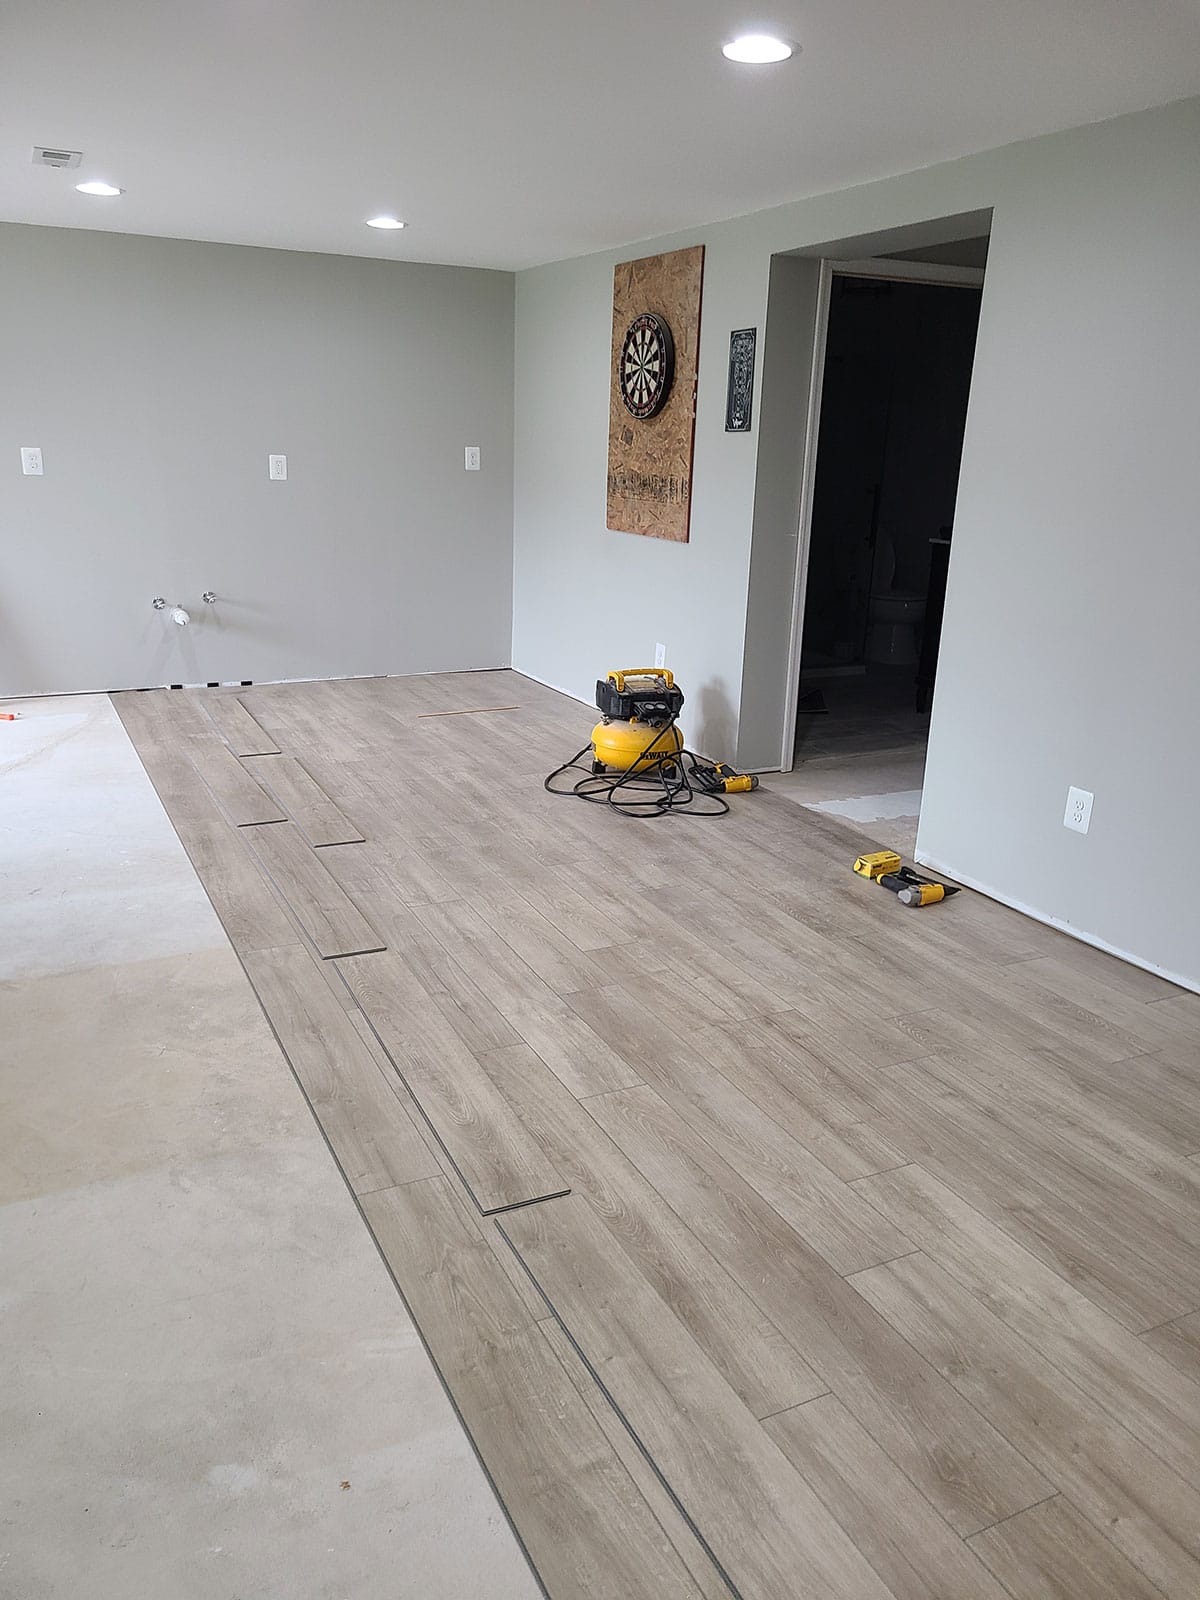
To this!:
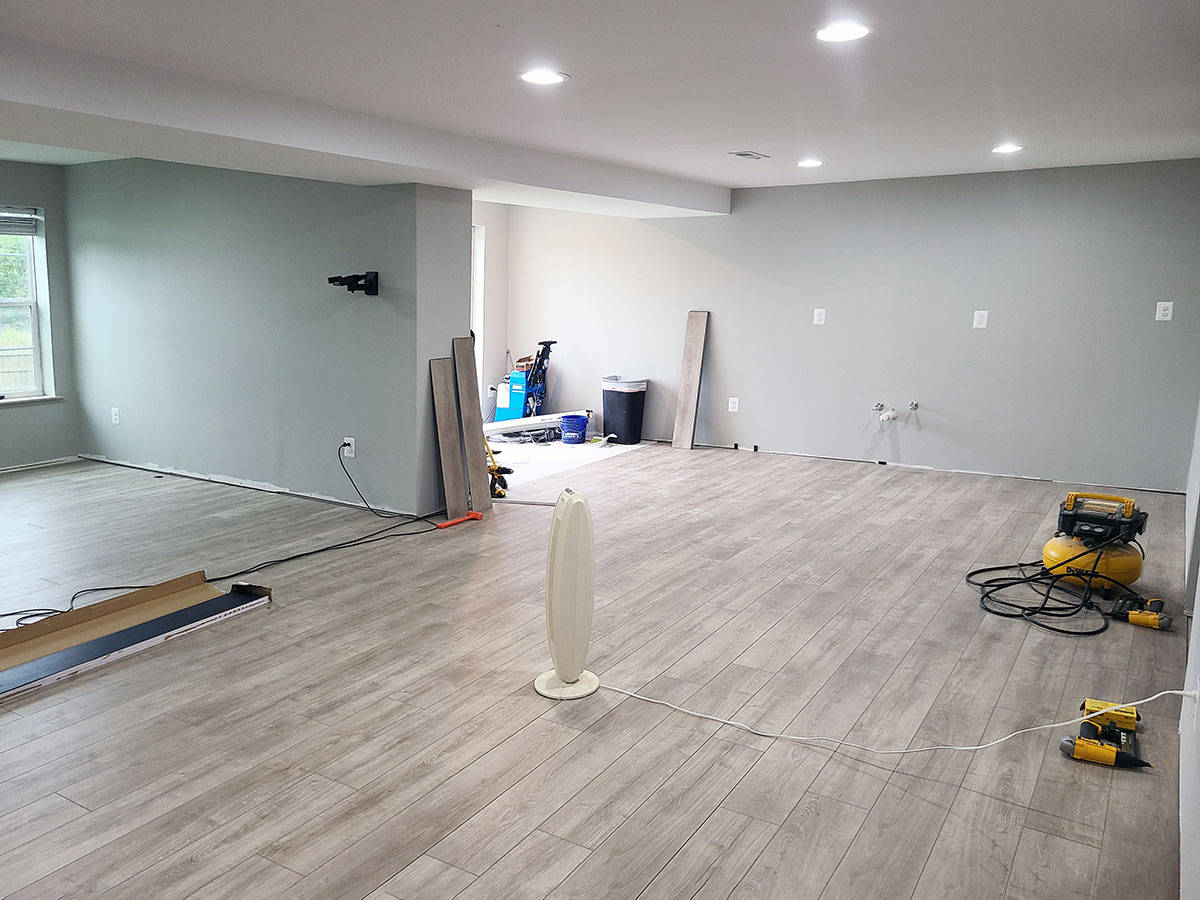
There is also a hallway, a bathroom, and large bedroom in addition to this large space. We installed the floors before adding the cabinetry or the baseboards. My husband preferred this method because he didn’t want to use quarter round. It’s mostly an aesthetic choice, but if the floors ever need replaced, we have to cut them at the cabinets.
So, what do you need to prepare a concrete slab or concrete basement for flooring?
Moisture Test
Moisture problems can look like damp spots, mold or algae growth, or efflorescence (a white, powdery residue on the concrete surface). A moisture test measures the amount of moisture present in a concrete slab. This is crucial because moisture can lead to problems like mold, adhesive failure, and warping of flooring material.
Types of Moisture Tests
- Calcium Chloride Test: Measures the moisture vapor emission rate (MVER) of the concrete. A sealed container is placed on the slab for a specified period, and the amount of moisture absorbed is measured. You can get a testing kit here.
- Relative Humidity Test: Involves drilling small holes into the slab and placing probes that measure the internal humidity levels. This test is the most accurate because it assesses moisture at much deeper levels. However, the equipment is expensive so hiring a professional might be cheaper.
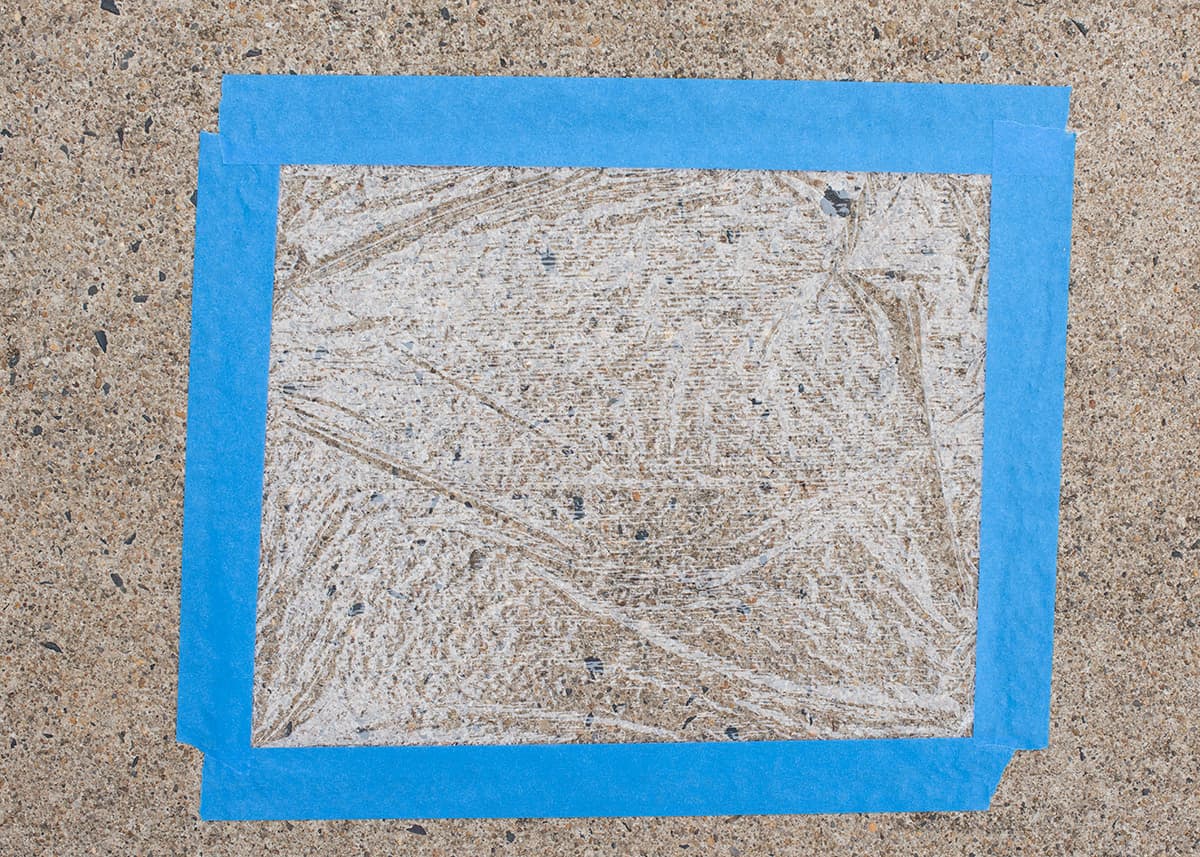
- Plastic Sheet Test: If your concern is low, you could simply tape a plastic sheet to the concrete for 24-48 hours. Periodically check for condensation or color change. We did this method with painting our garage floor.
Repair Damage and Cracks
Cracks, even minor ones, and expansion joints must be filled and leveled before adding flooring.
- Hairline Cracks: Minor cracks can be filled with concrete repair caulk or crack filler.
- Larger Cracks or holes: Significant cracks need to be cleaned, filled with a concrete patching compound, and leveled.
- Spalling (Surface Flaking): Areas where the surface layer of the concrete is chipped should be cleaned and patched with a concrete patch. Do make sure there are not underlying foundation problems.
Rachel’s Note: Any structural damage, such as major cracks, needs to be professionally assessed and repaired. Major cracks indicate shifting or settling of the slab, which can be unstable.
Considerations for Levelness
Uneven floors can cause many problems from a slapping sound as you walk to breaking joints due to movement. Uneven flooring increases the shifting of the joints which may result in gaps and buckling of the flooring.
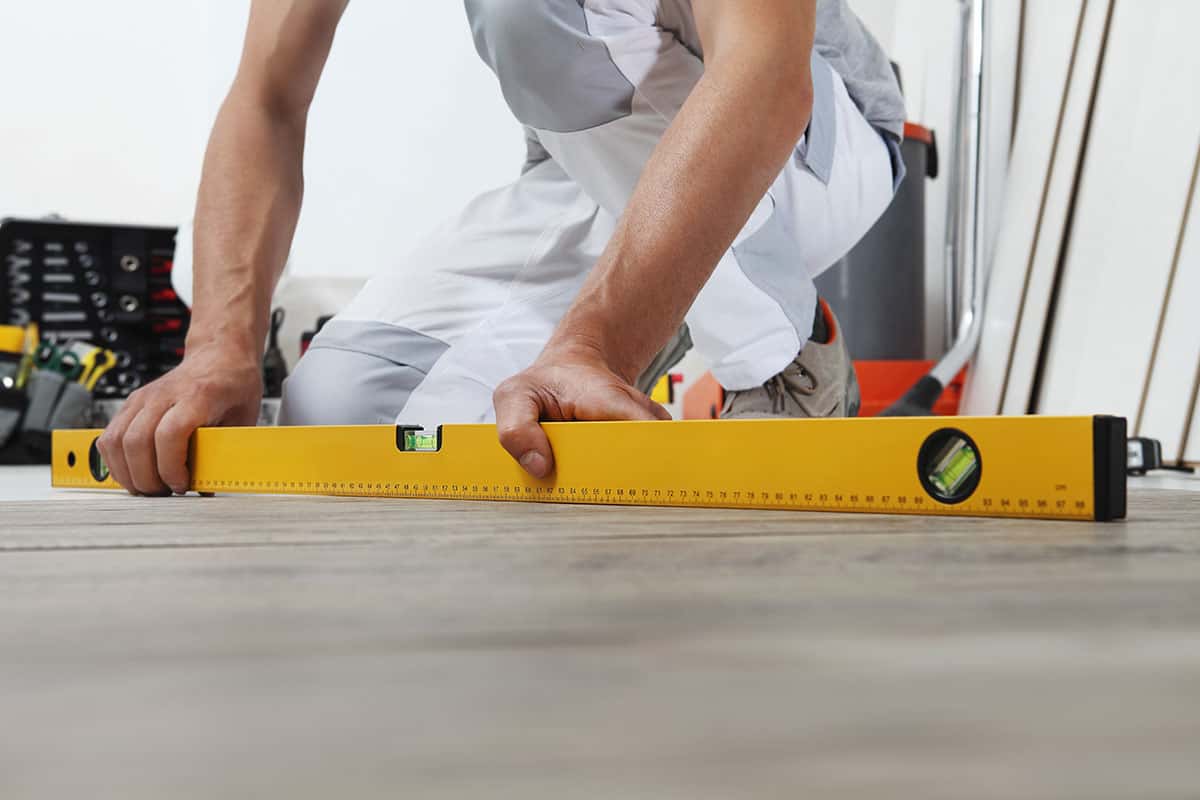
How to evaluate level requirements? Prep your subfloor so that it’s level to manufacture’s recommendation (usually 3/16 inch over 8 feet for vinyl plank). It should be on the box of either hardwood or vinyl flooring. Pay attention to both the slope of the floor and look for humps or low spots.
How to Identify uneven areas? Place a long level (6 foot minimum, but 8 foot is better) on the floor. If you don’t have a long level, put a 4- or 6-foot level on an extremely straight 8-foot board. Move the straightedge around the room, checking different areas and different angles. Mark high and low spots with tape or chalk.
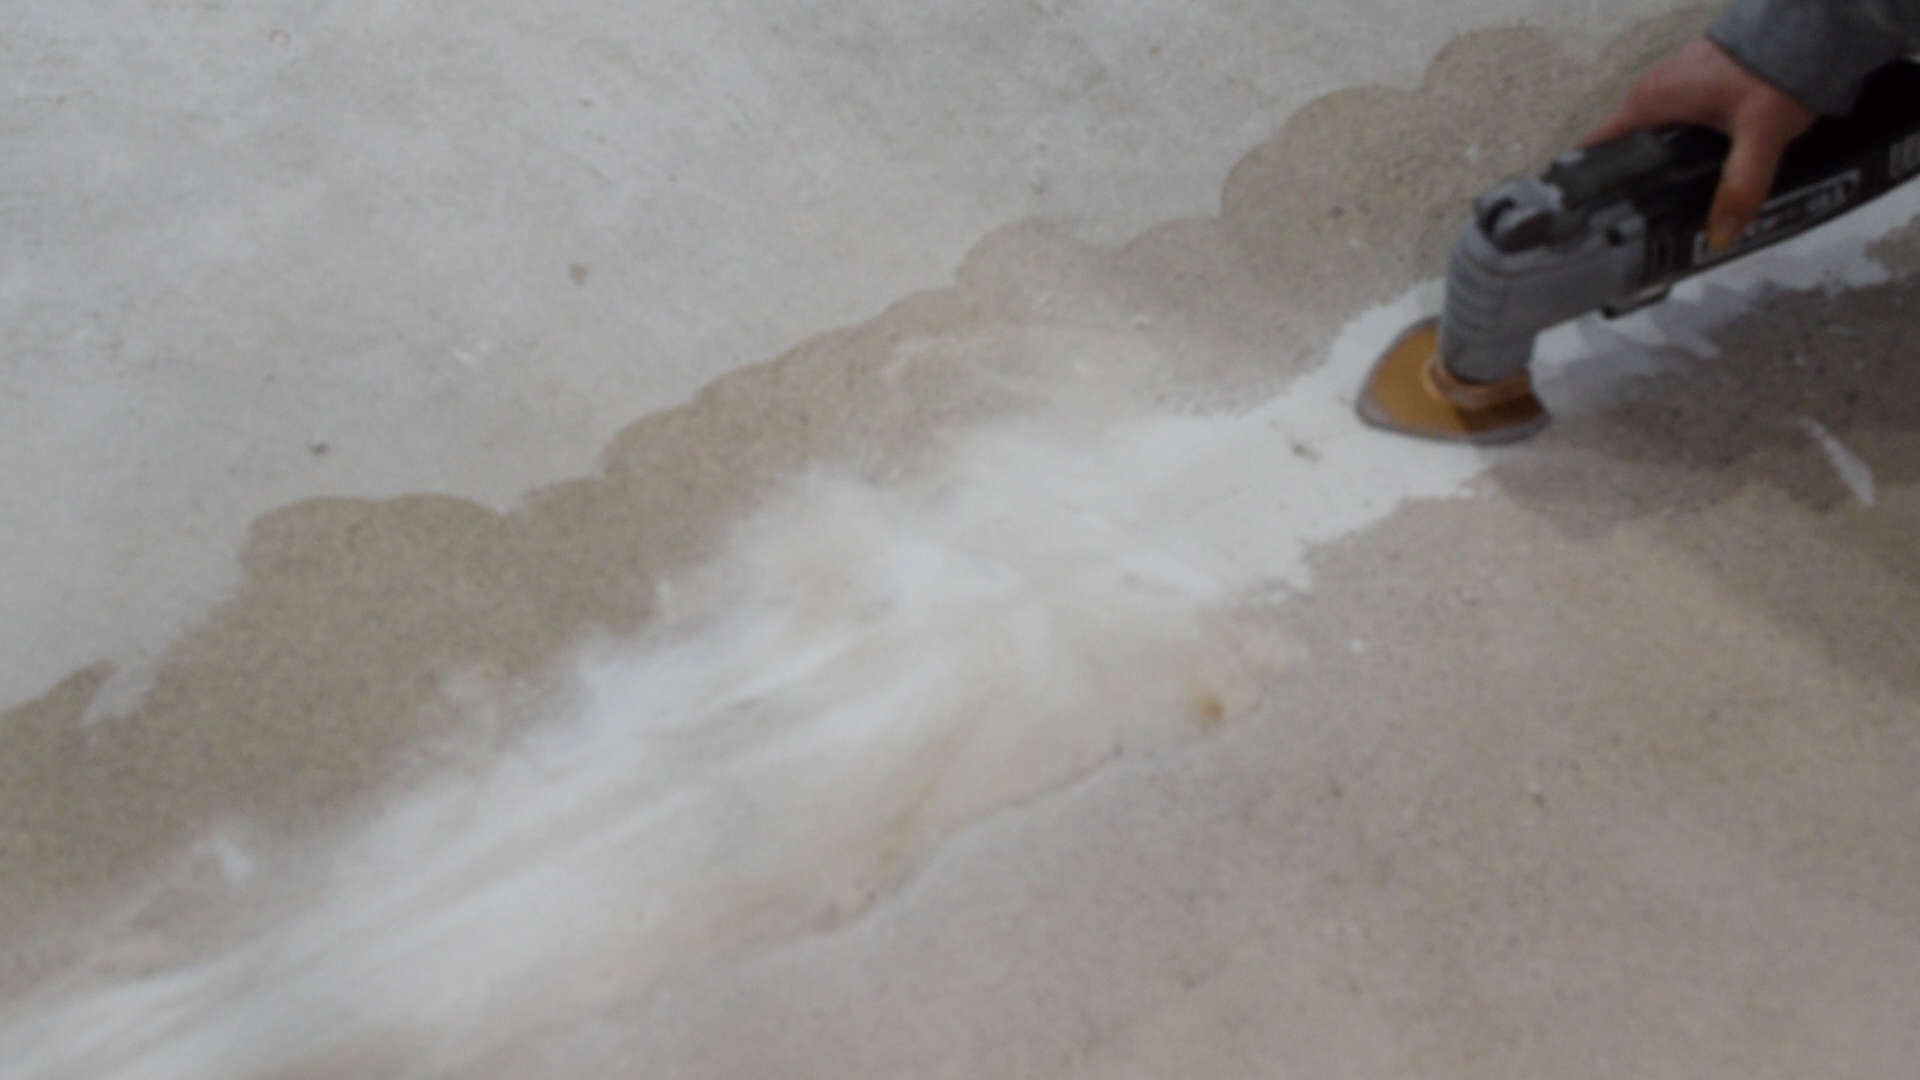
How to fill low spots? Use self-leveling compound on low spots. Make sure to feather the edges perfectly smooth and level to the surrounding concrete. You can feather with a grinder as well after drying. If you have a very large area that needs leveled, it will probably be better to hire professionals. We self-leveled a bathroom ourselves but would not do one as large as this basement.
How to level high spots? Sand or grind high spots with an angle grinder with a concrete blade or you can sometimes rent a concrete floor grinder. Do not sand vinyl flooring.
Rachel’s Note: If you have a very uneven floor, the best option, if you don’t mind walking on an uneven surface, is carpet. I once dealt with a bedroom subfloor that had a 1-¾″ hump under the bed in a home for sale. The subfloor was stable, so it was decided that the room would be carpeted. Do note that high spots may rub and wear out faster, even with carpet.
Cleaning before Floor Installation
Generally speaking, there is no need to remove stains on concrete as long as it isn’t an active spill. Examples of active problems include water seeping in or algae growth.
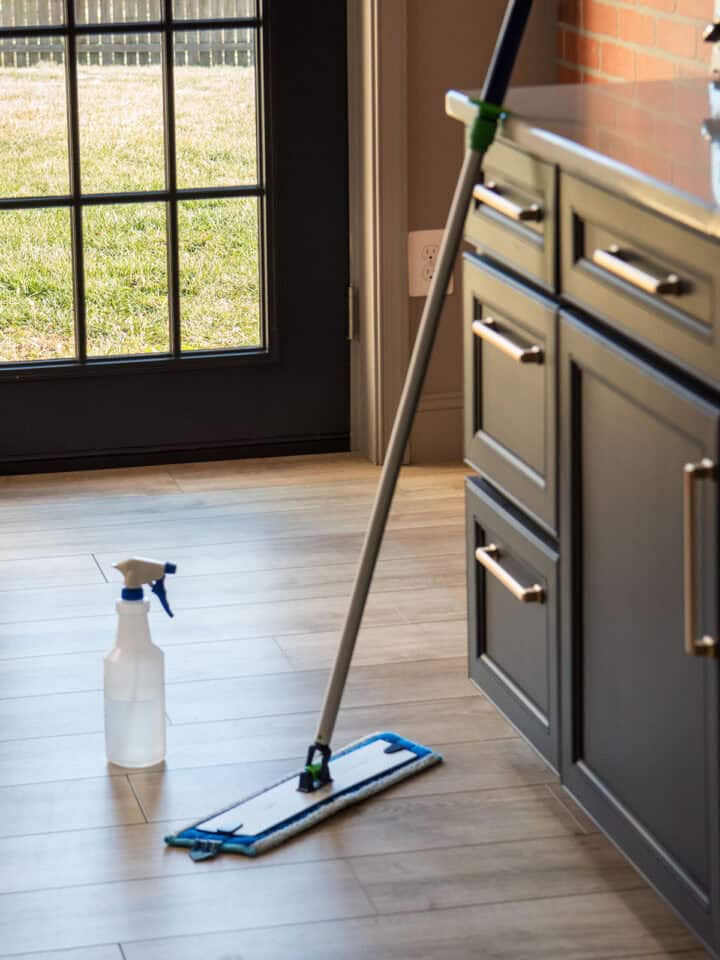
You will need to clear the floor of any dust and debris with a vacuum and a brush attachment. Make sure to get under walls or baseboards. I also recommend mopping a times and ensure that it fully dries.
Moisture Barrier
Moisture and vapor barriers can and should be in both the walls and the floors. However, moisture barriers and vapor barriers are different things. A vapor barrier is designed to capture gaseous particles such as air and water vapor. Moisture barriers are generally external and keep liquids like water out while allowing materials inside to breathe and dry properly.
I won’t go too much into the barriers in the walls because, to be honest, it’s not my expertise and there are too many factors with walls (drainage, climate, foundation condition, above or below grade) to consider. I hired water remediation and mold experts to assess exterior walls and foundations before drywalling.
Vapor Barrier
For floating floors especially, I do recommend using a vapor barrier if you have temperature fluctuations in the floor or are installing over a concrete floor. A vapor barrier is essential in areas that are below grade like basements.
A vapor barrier is generally a 6 mil thick plastic sheet laid below the flooring, in a crawl space, or under a concrete slab. If you need one under the flooring, installation depends on what kind of flooring (engineered, laminate, vinyl, etc.). For example, for hardwood floors, you need the barrier to overlap the walls, but you don’t for laminate flooring.
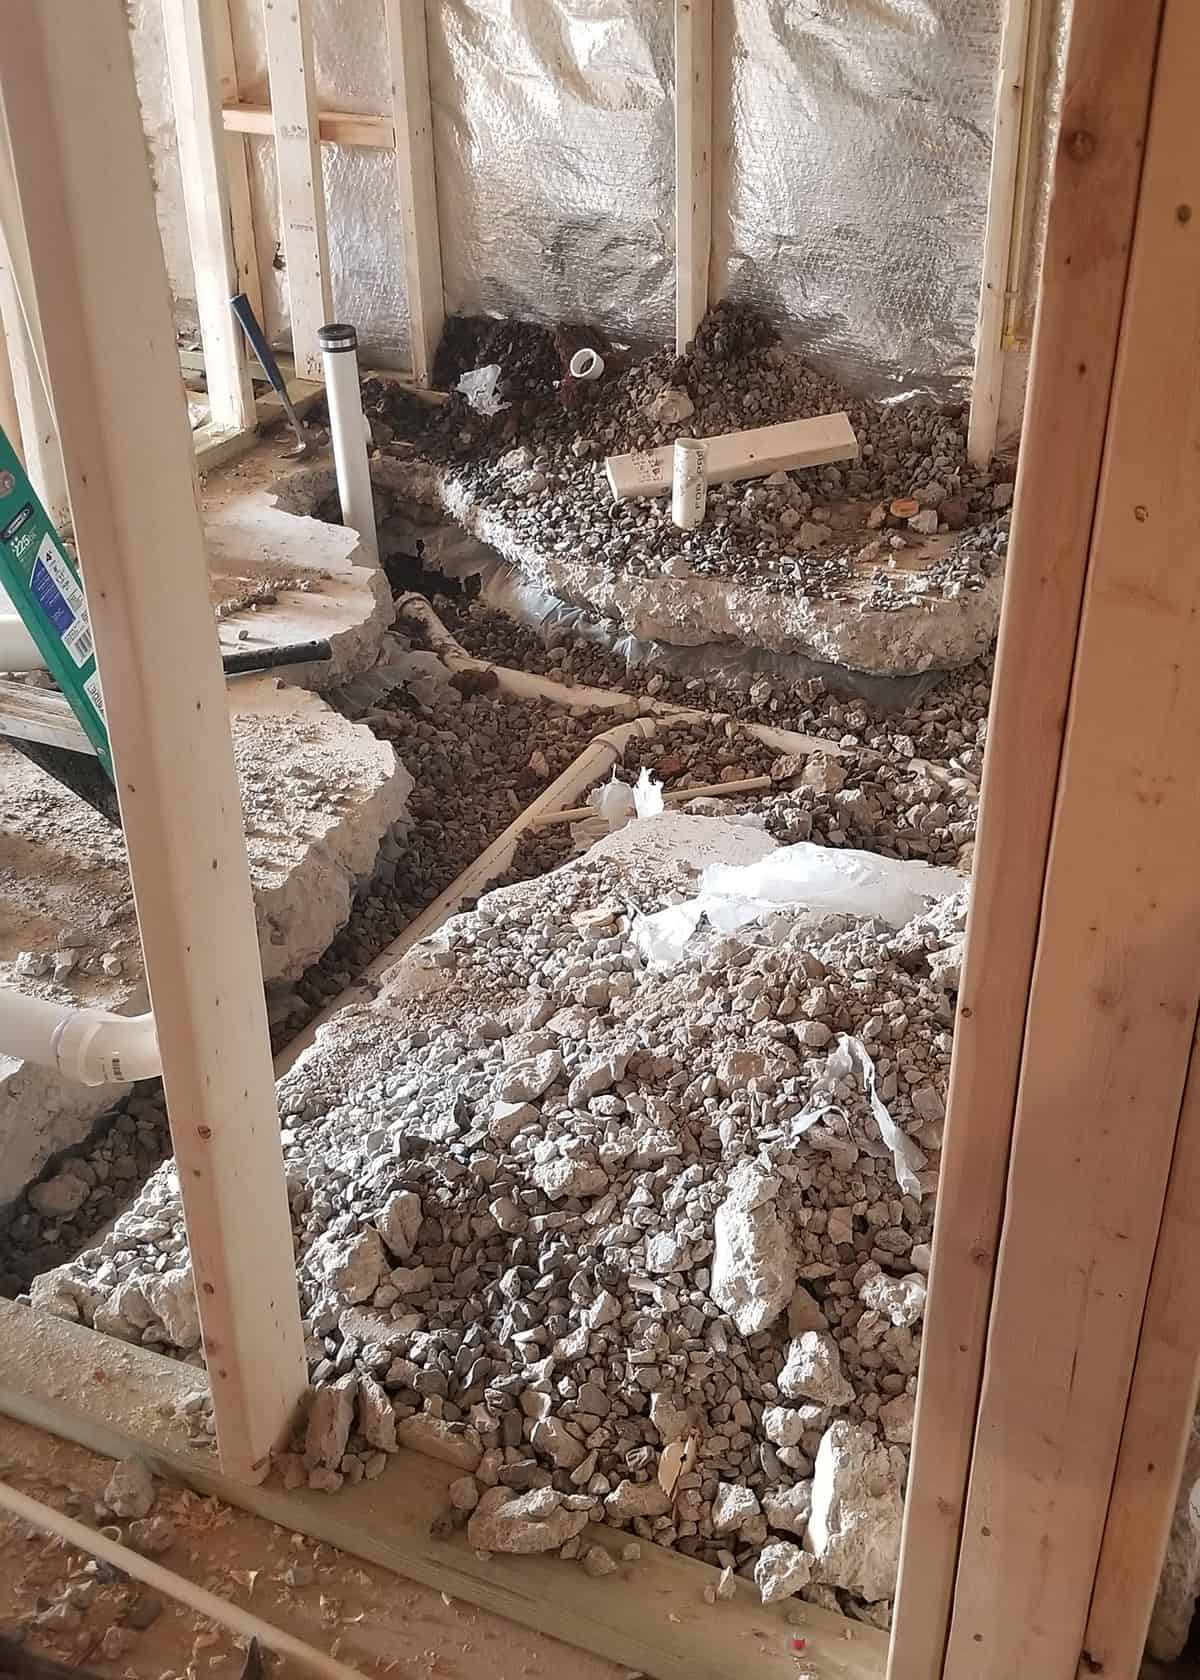
Newer buildings have vapor barriers laid under the concrete slab. We proved this in our basement because we had to move the bathroom plumbing rough-ins, which meant jackhammering through the slab.
Underlayment
Underlayment is a layer of cushion either installed under a flooring or attached to the back. What type of underlayment you use will depend on the flooring type and thickness. Underlayment provides a stable surface to adhere to, cushion, and sound dampening. Unless otherwise stated on the product, it is NOT a moisture barrier.
Always follow the flooring manufacturer's guidelines. Some vinyl flooring products might specifically require an underlayment, whereas others may state that an underlayment will void the warranty.

Some flooring, like rigid vinyl, may have an underlayment already attached. In this case, there is no reason to add an additional layer of underlayment.
Video for Installing Vinyl Flooring
This video has a step by step from us installing vinyl flooring on both concrete and wood subfloors.
We have prepped several types of flooring in a multitude of different conditions, so if you have any questions, feel free to ask below. I will do my best to answer or find information for. However, I am not a professional installer so there are going to be scenarios that I have not personally encountered…yet.

Grab our free series "Weekend Home Projects that will Transform Your Life" Sign up below to receive updates including free printables, organization tips, home improvement projects, recipes and more! |
More Vinyl Flooring Projects
PS I love seeing your creations! Be sure to take a photo and tag #cravingcreative on Instagram! You can also stay in touch with me through following me on Instagram, Pinterest, and subscribing to the newsletter!
Sioux Falls Concrete Contractor says
Great reminder on the importance of prep! Properly prepping concrete before flooring installation is key to a long-lasting, flawless finish. That means cleaning, leveling, repairing cracks, checking for moisture, and ensuring proper adhesion. A well-prepped surface sets the stage for success, no matter the flooring type!