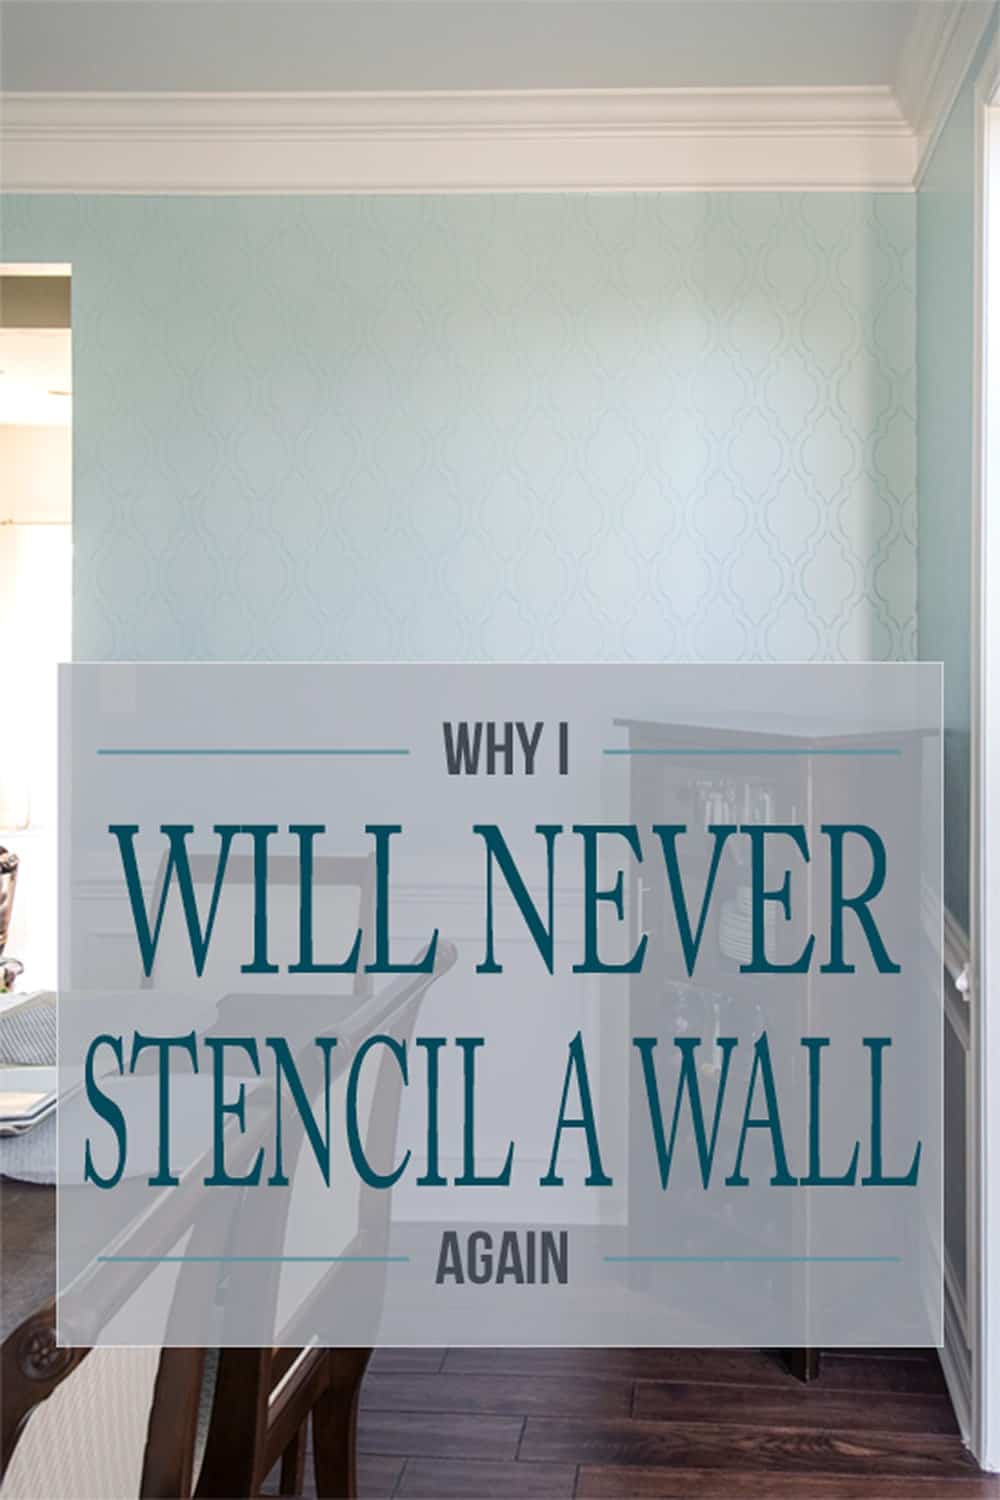
This post has actually been one I have wanted to write for two years. The truth is that I love the look, but I will never stencil a whole wall or room again. Ever. Mistakes were made and I hope that anyone attempting this can learn from my experience.
Let’s take a step back to my mindset before I ever began this project:
I blame Pinterest. The inspiration! The creativity! And every project is labeled as “easy”!
Have you seen all of the pictures of those beautifully stenciled walls on Pinterest? I mean there were the pros:
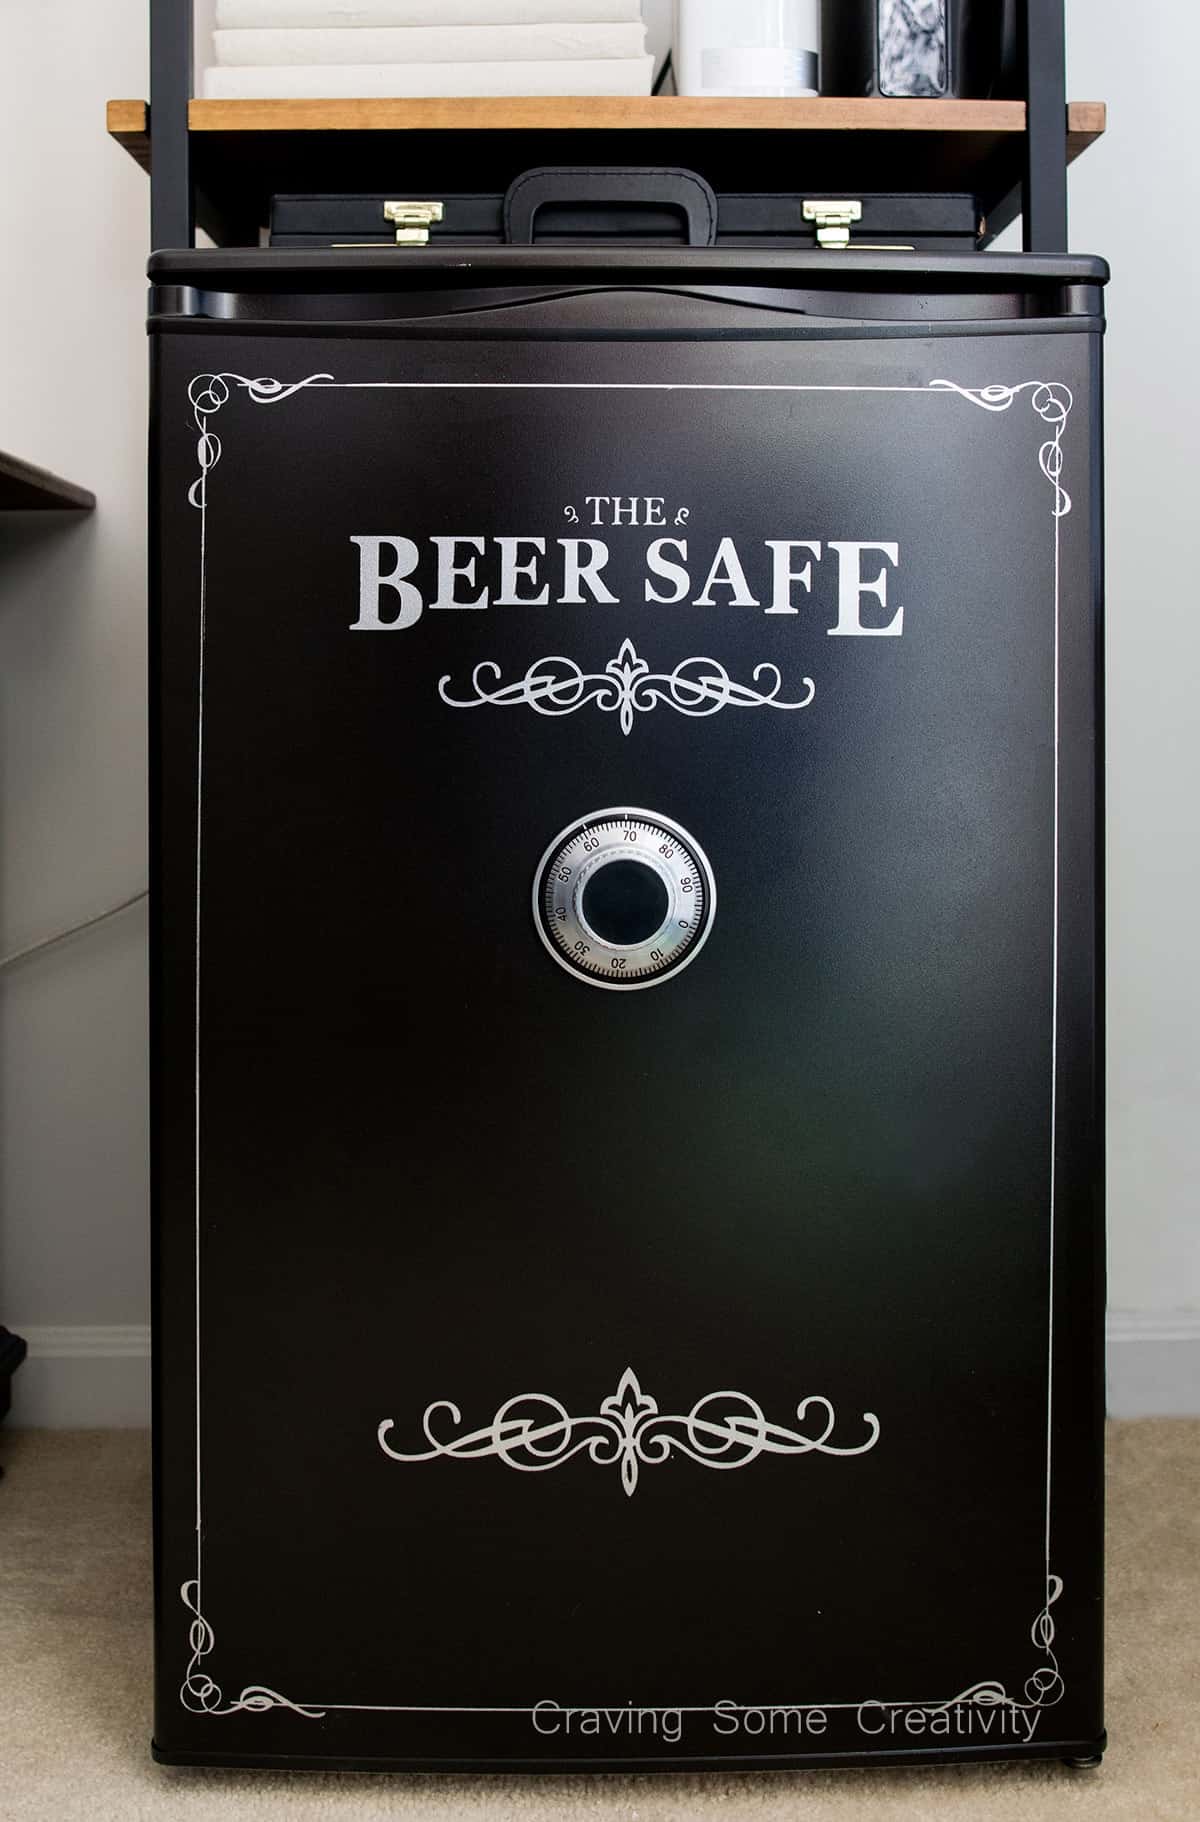
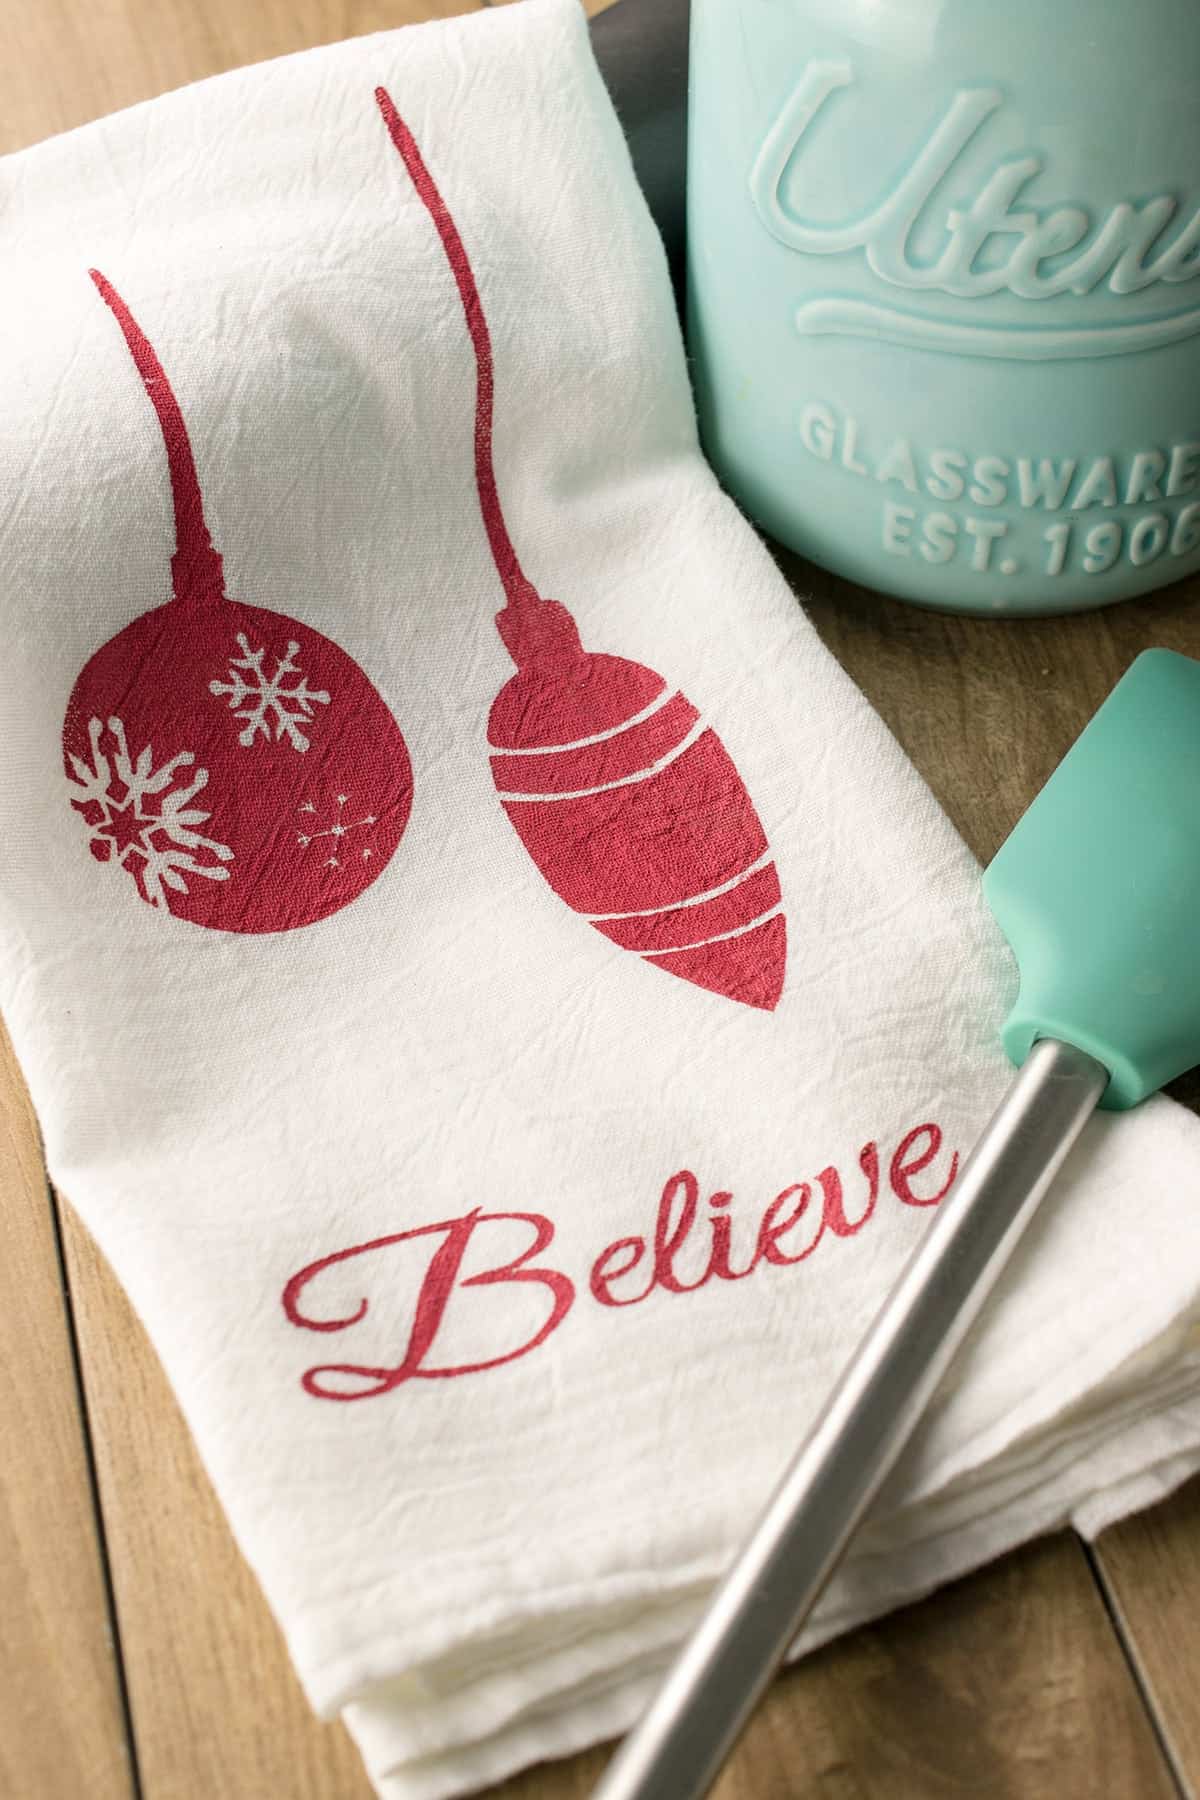
- I have stenciled before in small scale with many, many projects like this wall map, several signs including this Christmas Farmhouse Sign, and an intricate Beer Safe Refrigerator. Clearly, I don’t mind the concept of stencils.
- Wallpaper cost: about $400. Paint: less than $50. I like saving money!
- You can use any color combination you like.
Doesn’t it seem like a no-brainer?!
More like brain dead zombie as I trudged along during the stenciling process. So what happened?
This Dining Room Took 150 hours
Yes, you read that right. This includes the original wall painting, but not the wainscoting. Stenciling was single-handedly one of the most exhausting and tedious projects I have ever done and, truthfully, we have had our fair share of exhausting, tedious, and took-way-longer-than-we-thought projects. This one was especially grueling, however, because of its repetitiveness.
What went wrong?
1. The design area is smaller than it seems.
The stencil that I had was 20×24 inch but required a bit of overlap to lay straight. You can tell that it was designed that way on purpose. Therefore, you actually only do about 17×20 at a time and sometimes less depending on how it lined up.
Worse, you can’t lay a stencil down over fresh paint, so we developed a system where we alternated from one side of the room to the other to stencil. When doing this on a ladder, or in corners, it is much more difficult to move around.
2. Paint Choice
This one is fully my fault, I will concede. Mistakes were harder to notice while wet since I had chosen two colors that were very similar. In fact, when wet, the darker paint was almost identical to the wall paint color.
3. 1 Mistake = 100 Fixes
Truthfully, I am a perfectionist – and it’s not cute or endearing. I’m more in the category of “I can’t sleep without my 10-step bedtime routine” perfectionist. And I wanted crisp, clean lines.
Here’s the thing.
Let’s say that you make 1 mistake per area and some paint gets underneath the stencil or you don’t fully paint into all of the edges. Ok, now multiply that little mistake by the 100+ times I re-positioned the stencil.
While some may not be bothered by a few paint blobs or light areas, I wanted professional looking results. The vast majority of time was spent with me going around with a tiny paintbrush and fixing all of the mistakes and edges.
I might have honestly hand painted or fixed 20% of all of those shapes.
4. The Instructions Lied
Corners: the single largest reason I would never do this project again. I have seen several YouTube videos with users lining up their stencils so neatly in the corners. (One of the videos was directly from the company I purchased my stencil).
My stencil might as well have been like folding origami using a friend’s left hand. It was awkward, frustrating, and pretty much impossible. I ended up stenciling as far as I could on each side separately and then hand painting to connect it all.
Because of this, I was so convinced that my stencil was defective that I actually called the company to complain. I wasn’t necessarily looking for a refund or anything. I just wanted confirmation that I didn’t suck this bad as a DIY girl. They offered me a second stencil while assuring me that my stencil was absolutely up to their standards and it was normal not to fold into corners well.
Yeah, no thanks, buddy.
5. Not Using the Right Tools
Again, I can own this one as it being my fault, but high quality stencil brushes are quite expensive for a single use. A roller is of course much faster though and I was assured by the company that as long as I used a dense foam roller and only had a tiny bit of paint on it, everything would look designer perfect. NO way, Jose!
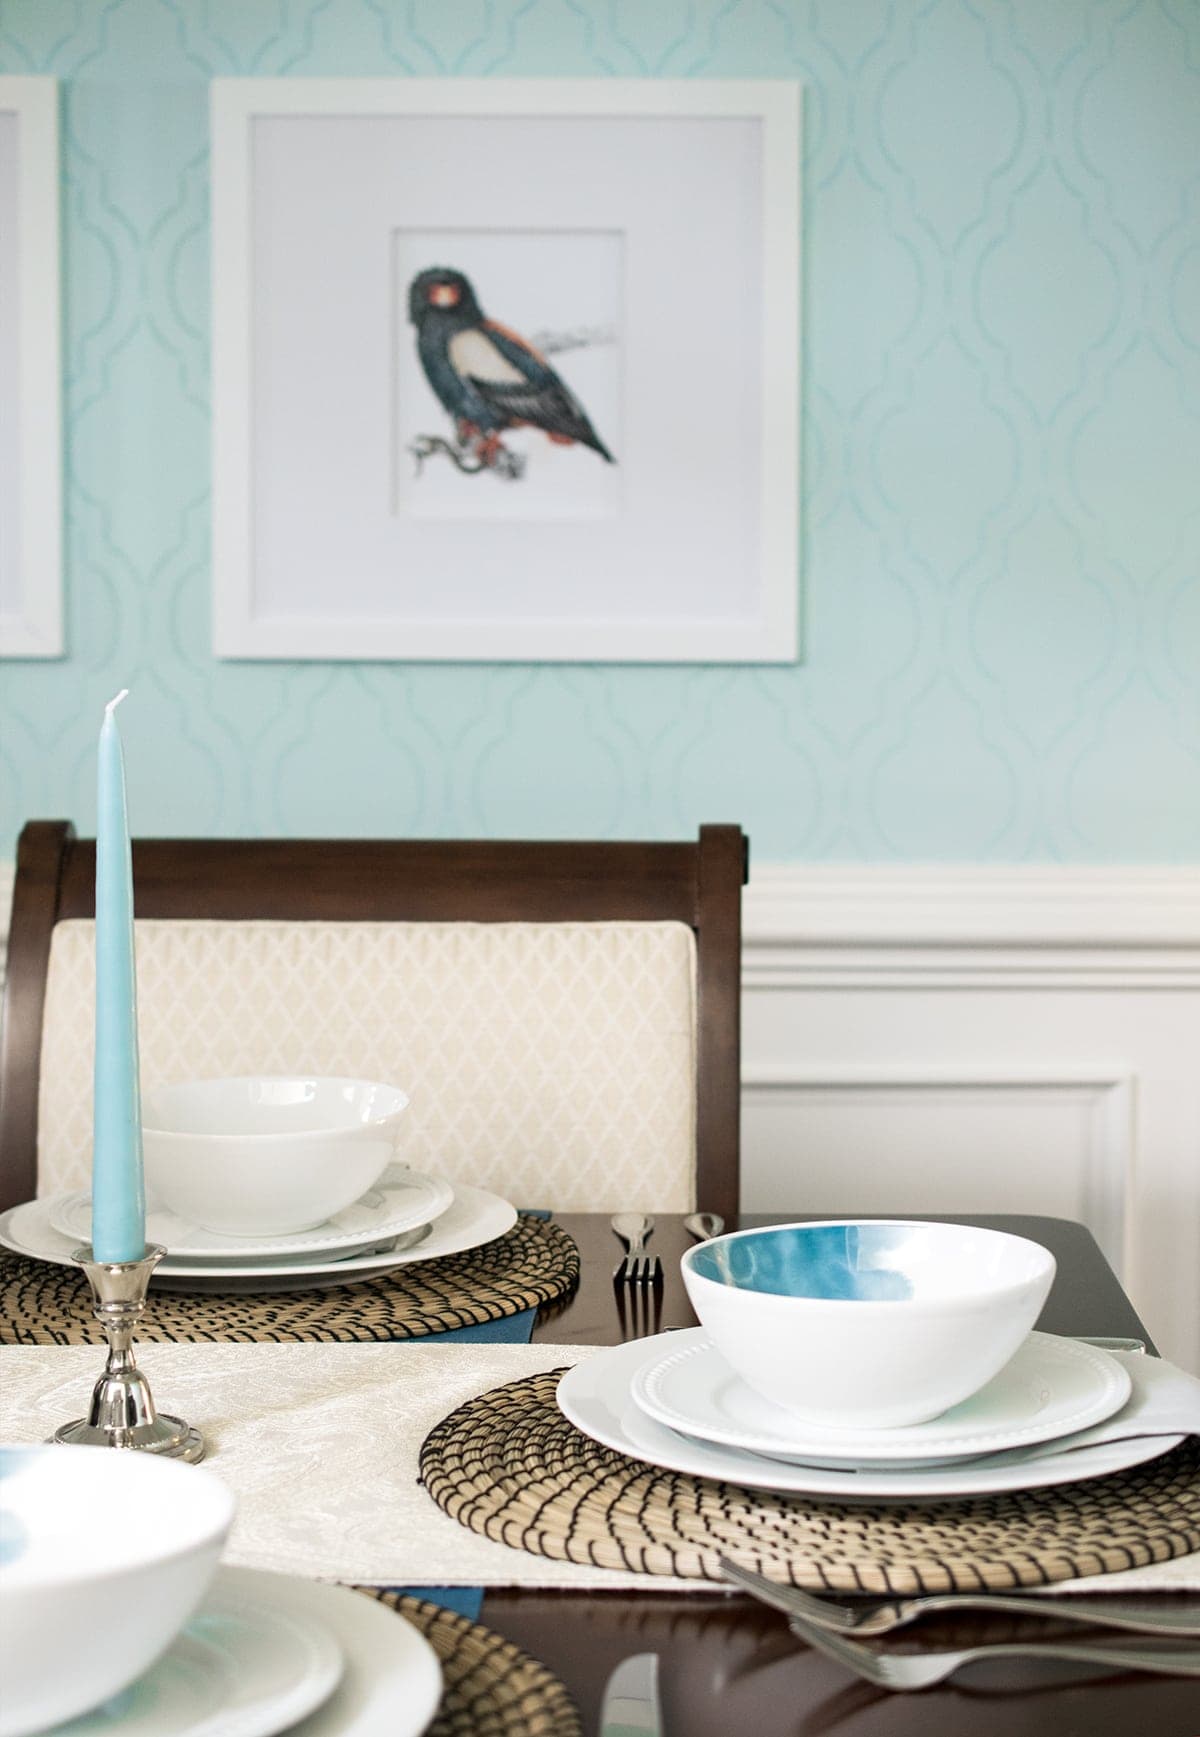
The end result is that the wall is beautiful, but I would never do it again. I mean never.
That isn’t to say that everyone should be scared of stenciling. I still love stencils for smaller projects. I just learned my lesson the hard way with this DIY stenciling project. I actually struggled with giving this post such a negative title. I do understand that some of my experience is user error. I made a lot of mistakes and I learned from them so I hope you can too. For me though, the nightmare is just still too real.

Grab our free series "Weekend Home Projects that will Transform Your Life" Sign up below to receive updates including free printables, organization tips, home improvement projects, recipes and more! |
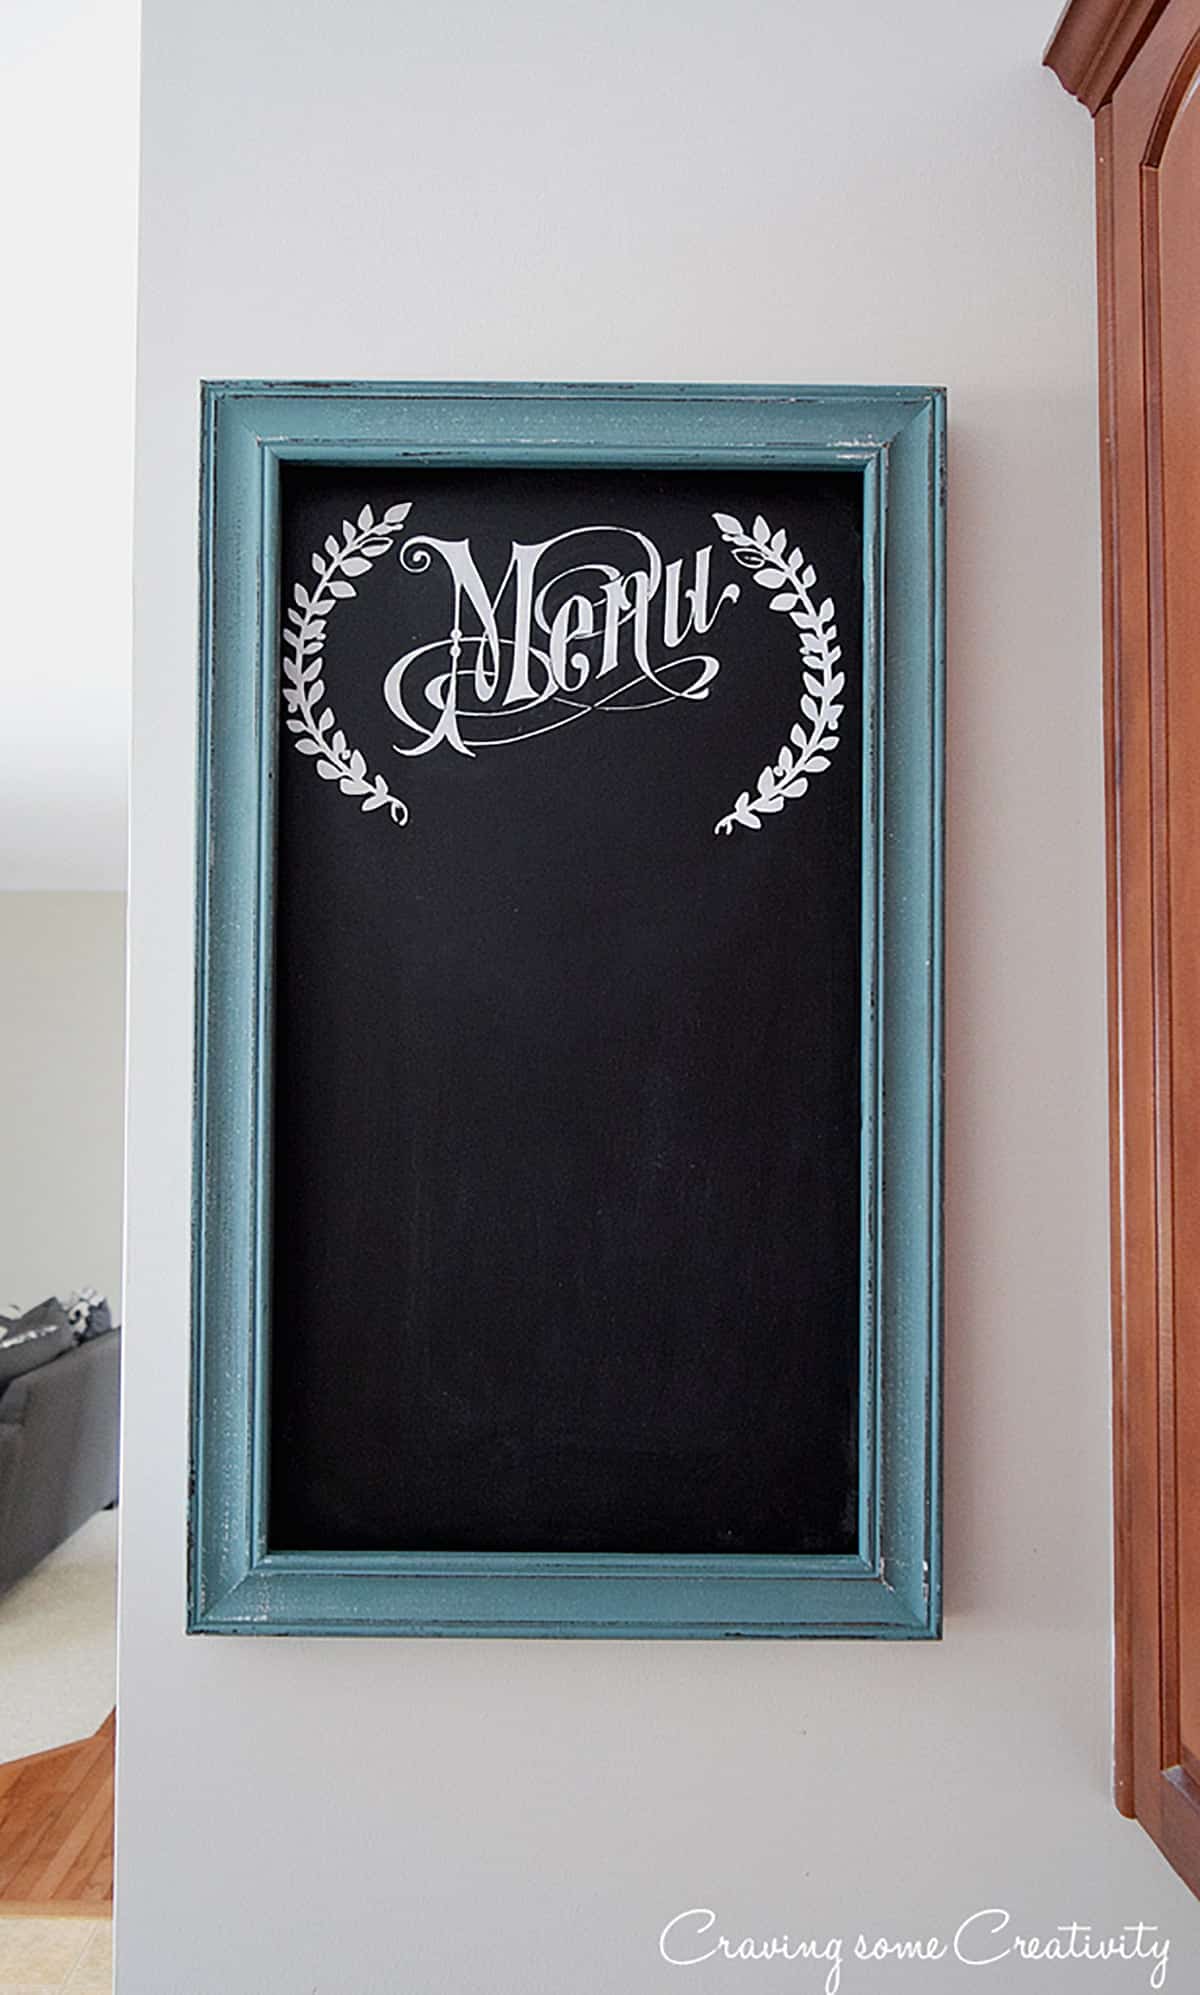
Stenciling Projects I would do again:
Elizabeth Macfarlane says
Having been a professional stenciller for 20 years, the description of your problems rekindled some memories of our disasters.( back ache being one)!
Measuring and creating our own true line( no room or floor is truly square we learnt when the very famous lnterior designer said we should add a tiny line above the3 foot boxed design ,he was right but as we got half way round the room we found there was no room for this line to continue as we met the cieling.We had to have a weeks work painted out and do it all again.
I don’t know why you were getting paint under the stencil.what paint were you using? Were you brushing inwards. We used oil based poster paint in a tin .from a shop called keeps in Holborn but l think it’s gone.Also have you tried shadowing using the discarded paper?where you can overlap
Resa says
No, no, no — don’t discourage people from taking on projects just because they’re difficult! Yes, stenciling a room is time-consuming, but you don’t have to complete it in a weekend. When you’re done you’ll have a personalized look that no one else will every copy, and — unlike wallpaper — the edges will never “roll up”.
Suggestions for success: Always use a stencil brush, never a roller. Staple a bit of velvet (buy an old dress from Goodwill) to a paper plate and use it as a “palate” to remove most of the paint — work with a very dry brush. Do a practice run on poster board to verify that you like the colors. If you don’t have “markers” on your stencils, poke them in yourself — then put sticky notes up on the wall to mark your spots. Wash your stencil between every other use — the bathtub is perfect for this. Consider doing just one accent wall. And take your time.
Rose says
I have always loved stenciling. I would never discourage anyone from this beautiful art
I only have experience because I started out small and learned what to use by trying the knowledge I gained by experiments. I’m in my seventies and going to take on my office.
Take your time and enjoy ! Its so very rewarding. A personal work of art when done. Best of not luck, but learning and loving your outcome.
Elísabet Kjárr says
Oh my frecking wits how you have saved me Rachel. I have bought stencil after stencil but but I suck at applying it so I have been scared to take on a huge wall. I’ve spent eons looking for big stencils to no avail (30×30 screams torture).
And why aren’t there cut out dots on the stencils to lay over to connect them perfectly?
If I would find 90×90 maybe I’d think about it so thank you lots for saving my walls, sanity and time.
Rachel says
Absolutely agree. It’s not you, it’s just a big project and Id rather wallpaper for faster, more even results. I love the dots idea too! They need to talk to people who actually use these things.
Janeen says
I wholeheartedly, 100% THANK YOU for your post!!!!! I was just about ready to start a project on one of my bathroom walls.
I think you just saved my sanity! I I am going to paint it one color and leave it alone! Have a wonderful day!
Pajimmerson says
Like anything else practice makes perfect and with all of the content in today’s world, no reason not to do your homework before you tackle a project, especially one this big. Try not to bash it too much, for most of us who are not 100% perfectionist actually have great results and end up helping and coaching our family and friends with their stenciling projects. So for those of you reading the negative comments and managed to steer you away from stenciling, do a small stenciling project and move up from there. You will be glad you did, stenciling can be very rewarding, with professional looking results.
Joanne says
Agreed! I have stenciled 2 bathrooms and am almost done with a two color bedroom wall with angled ceilings. Easy? No. Swearing? Maybe a little! But WORTH it? 100%! I watched tons of videos, used the right tools, and put on lively Irish music. Maybe that was the key! Having people love my “wall paper” as much as I do, makes me satisfied. And it will never have to be stripped!
Laura says
Would you need to sand the walls though, before painting again? To take down the ridges from the stencil?
Rachel says
Most likely, yes. I have since repainted this room and I did use an orbital sander over the motif. There are still a few places where you can see the stencil if you know it was there.
Jennifer Bilinski says
No pictures of the before and after? Would love to see! I am stenciling a damask pattern on my living room this weekend. After reading your pin, I probably should clear my weekends for the next two months! Wish me luck!!!!
Rachel says
I wish you the best and hopefully you won’t have a better stencil than I had. There are some before and after’s in our dining room makeover from several years ago, plus I shared how the same dining room looks today during the Christmas season.
Kristina Bailey says
Thank you for this! I am not going to stencil my daughters’ rooms after I read this. We only have a week or so before they move in, I definitely don’t have 5 weeks on hand to stencil. I know from my experience how easy social media makes everything look and how it turns out into a backbreaking project. I think I’ll come up with something less complicated and leave the stencil job for our bedroom ceiling when I actually have time. Best regards to you! Your home is gorgeous!
Rachel says
Today, I would probably recommend wallpaper, which has come a very long way in the last several years. It’s easier, has removeable and peel and stick options, and comes in an astounding variety compared even to a decade ago. There are also a ton of wall decal options from whimsical to watercolor or realism too. Good luck!
Resa says
First, your room is lovely — totally worth the effort.
Second, you get “bleeds” because you’re using too much paint. You must use almost a dry brush — and definitely a fat-wide-bottomed stenciling brush. Put the smallest bit of paint on your brush, then blot it on a paper towel to remove some. I promise, it works!
Linda says
Thanks, I needed this bit of reality slapping me upside the brain. It was in my thoughts to do a faux headboard. I
I think now wallpaper with trim around it will while not being cheap, it will be easier. I’ve wallpapered before and can handle it. Thanks. Glad you wrote this.
Kara says
I’m here to rebuttal David’s comment, because, per SO many tutorials online for large wall stencils, we DID use spray adhesive, and guess what? Our results were exactly the same as yours were. Regardless of the spray adhesive, which we used over and over again for this area wall we did, we STILL ended up with bleeds that I had to go back over and “touch up”. It was absolutely not perfect- as imperfect as can be- and turned out looking more like a boho wallpaper that had faded patterns and then sharper patterns. Thankfully, most people who see it do not see the errors right off the bat. Not until I start talking about it and point it out. But yeah…. I could relate to everything you said. The corners and the ceiling were no fun at all to do. I ended up trying to freehand some of it because I found it impossible unless I were to cut the stencil up.
G polt says
Thanks for sharing! I had a terrible experience trying to tile a backsplash in an older home. Nothing was level and the house had settled! Probably the only way it’s easy is if you like the boho design and are suing multiple paints and textures. The wall is stunning but I’m too impatient to do all of that work. Again, I appreciate the information!
Betsy says
I have to agree. Did my laundry room. Only 1/2 of each wall. I bought 6 identical stencils so I wouldn’t have to wait for dry paint one stencil at a time. However, corners required that I cut stencils to get them to line up. I had to leave those til the end. I’m convinced you shouldn’t do a large stencil project unless you are ok with small imperfections. You can’t avoid them.
David says
Did you spray the back of the stencil with repositionable spray adhesive? Makes all the difference in the world. No bleeding, much much faster, and no problem in the corners
Rose says
Thank you, had to laugh at some of these comments. You saved me some sanity. I think your dining room looks gorgeous though. The light turquoise was one of the colors I was considering to stencil. Maybe straight up paint will do the trick.
Rose