An easy way to transfer images onto fabric using a home printer. I have used a few methods for image transfer and these are the best methods for front load printers.
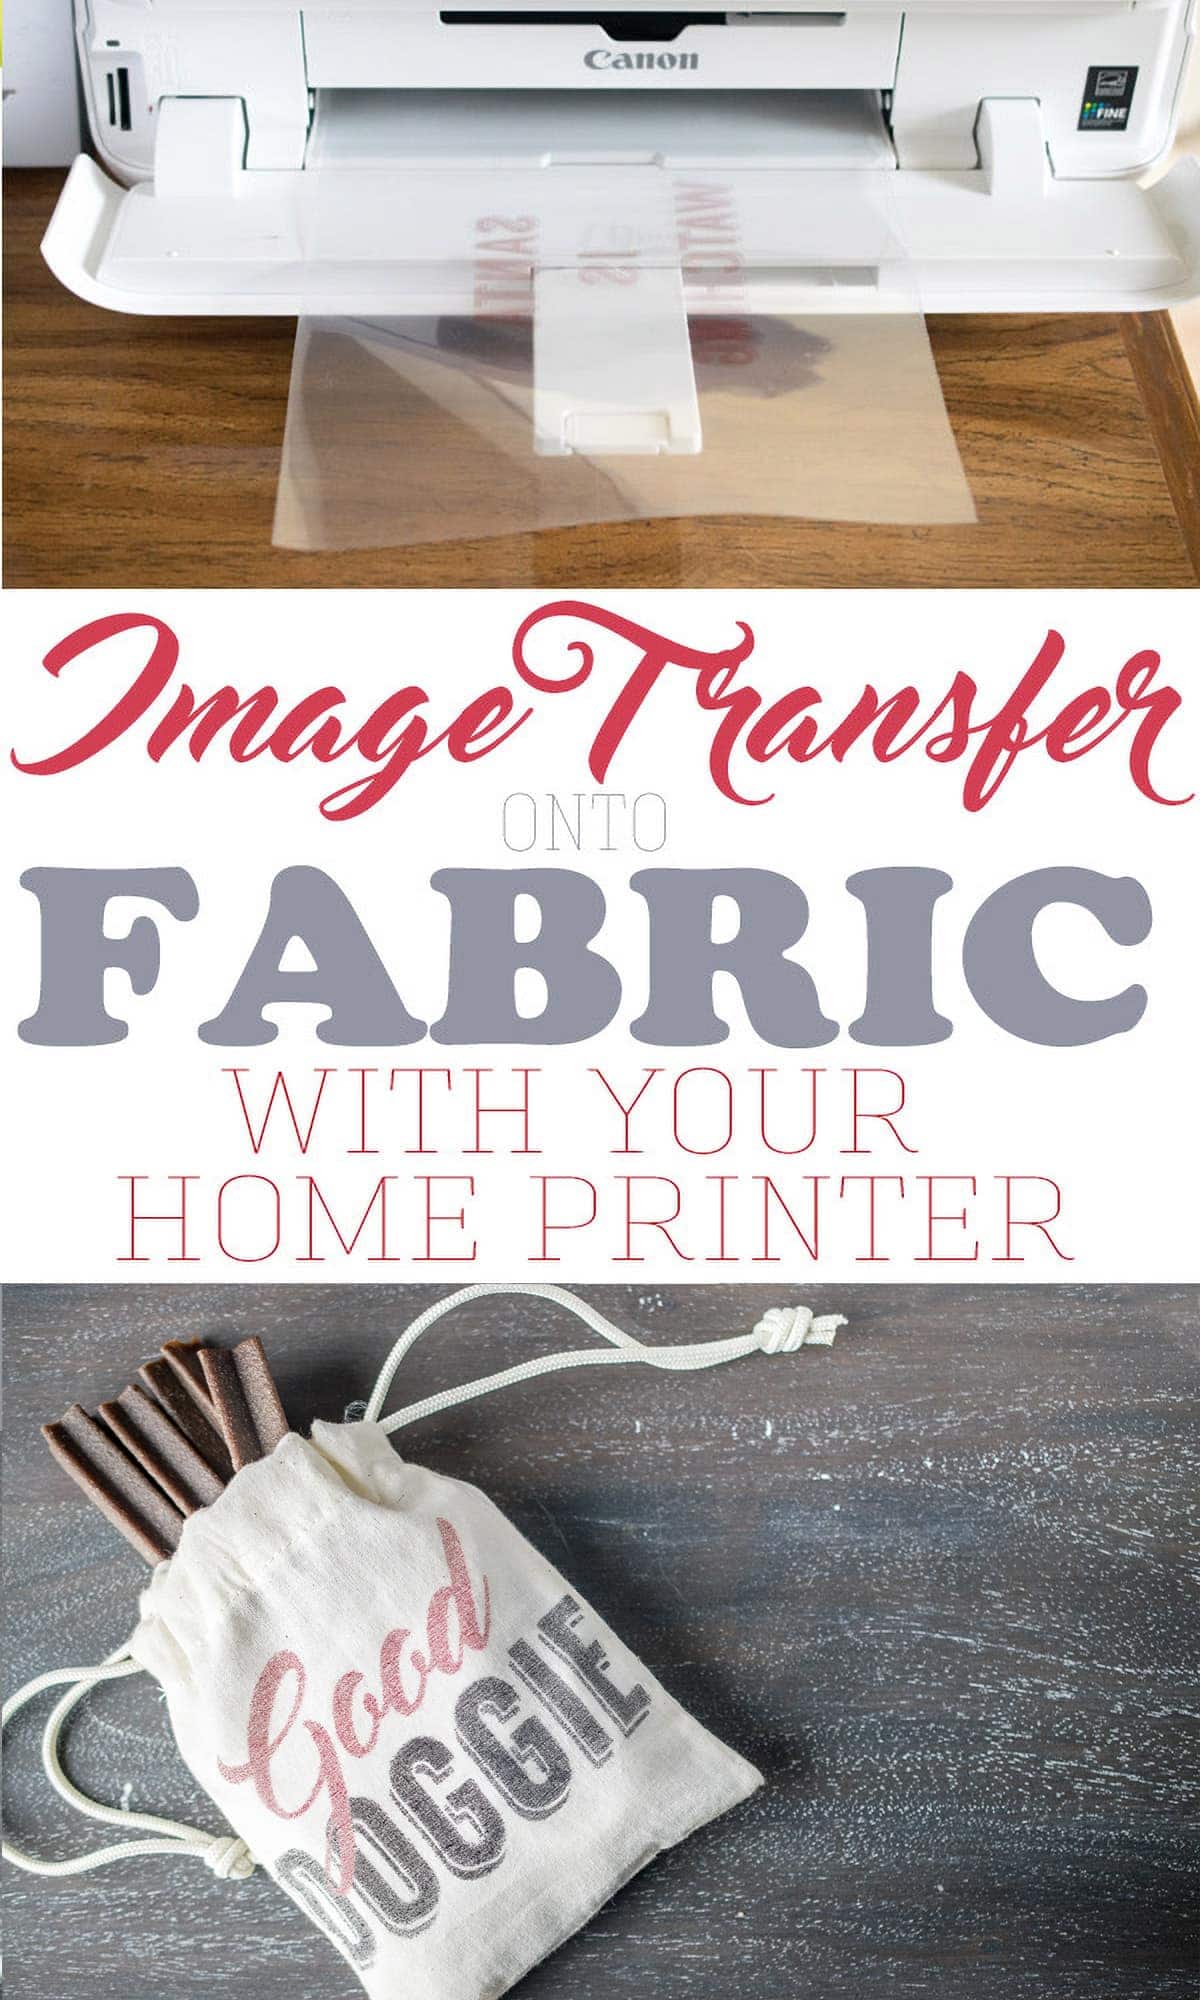
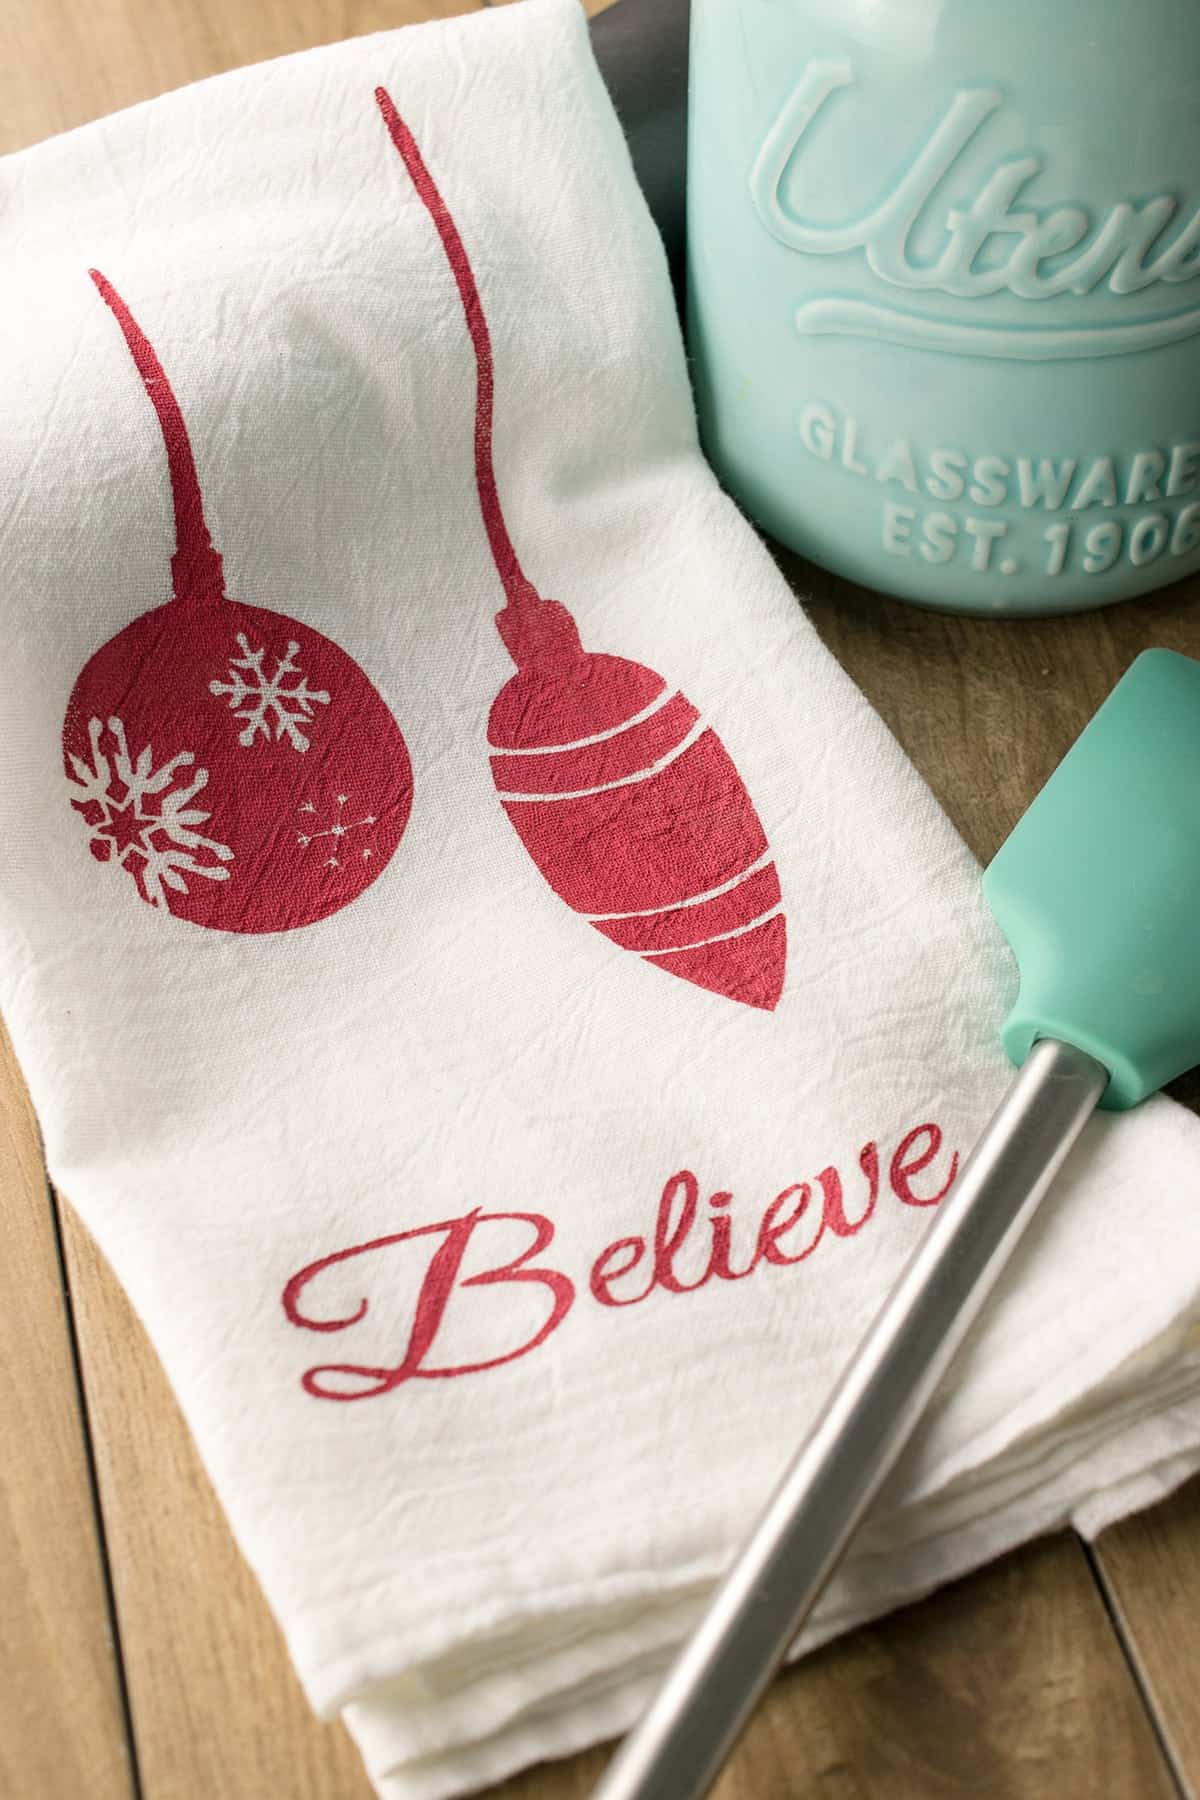
I love to make seasonal pillows, canvas artwork, and even cute little pouches and bags with image transfer. Over the years, I have tried several methods with mixed results. Below is a step-by-step guide to my favorite tried-and-true methods to transfer a photo or image onto fabric.
Materials
- A home inkjet printer (laser printers will not work because they do not use ink)
- Photo Transfer sheets or Dark Fabric Photo Transfer Sheets – (For Method 1)
- Clear plastic pocket protectors (For Method 2)
- A slightly damp sponge
- Make or find your design. You can size it as you need in Microsoft Word or Photoshop. For both methods, make sure you reverse the image before you print it.
Method 1: Using Photo Transfer Paper
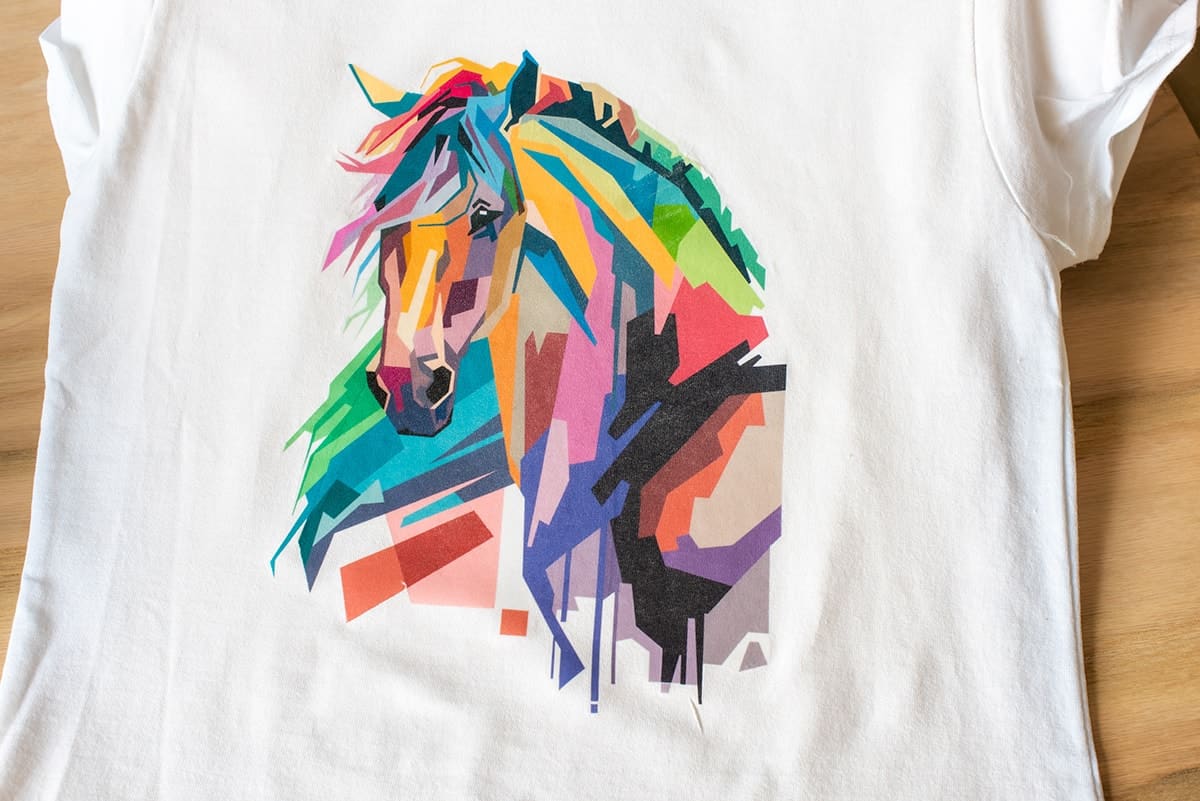
This method produces the most vibrant results and works well with dark fabrics too!
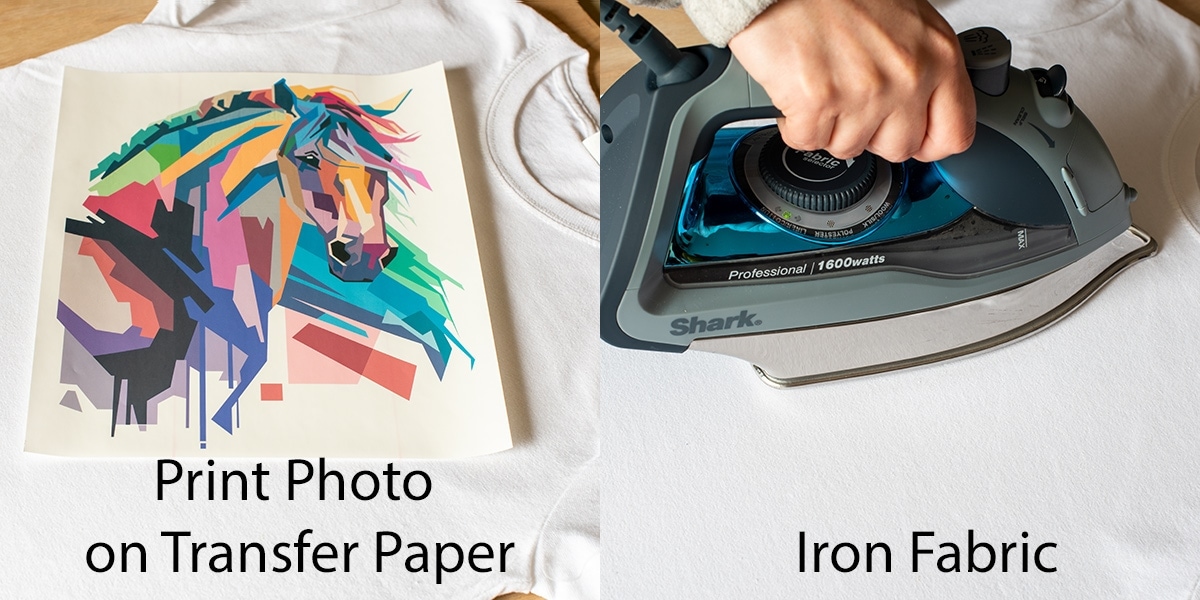
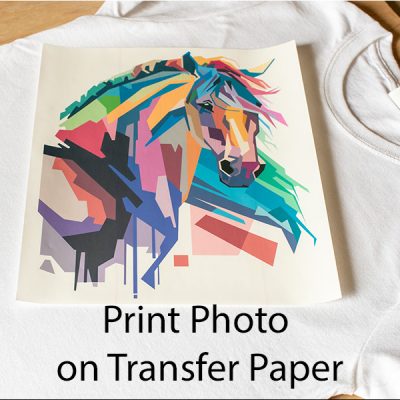
Step 1: Reverse your image and print your image to size onto heat transfer paper.
Step 2: Prepare the fabric. A few things to note:
You need a smooth, hard surface such as a mdf board. My ironing board isn’t smooth enough when the cover is off.
Check the fabric to make sure it is free of lint and dirt or hair. Iron the fabric to make sure it is smooth before transferring.
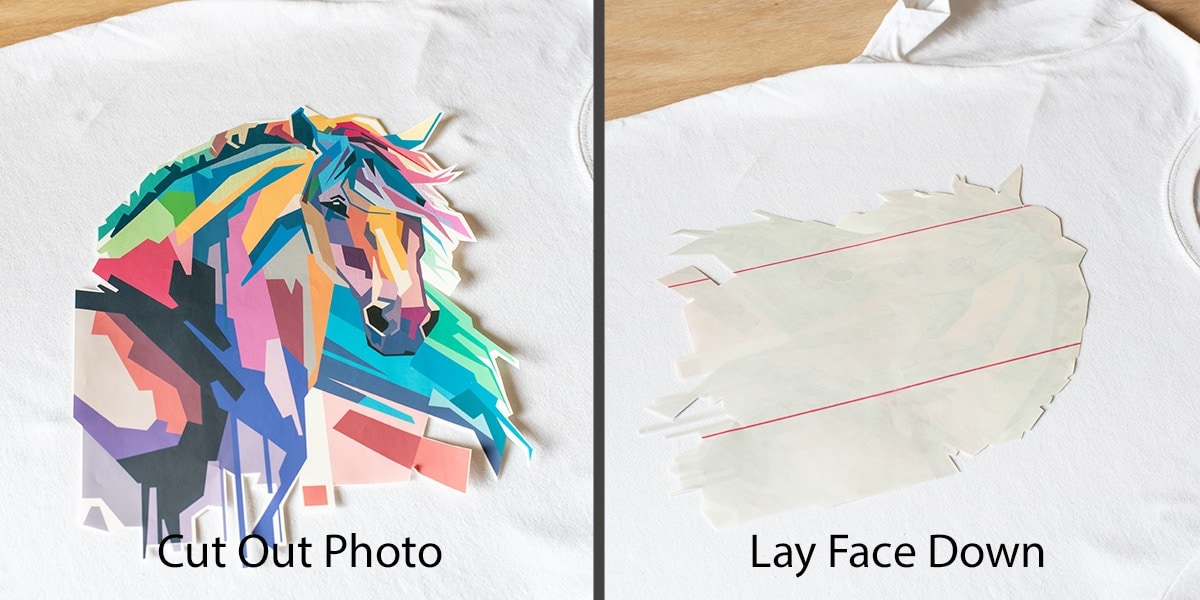
Step 3: Cut around the image and remove excess paper. The transfer paper is clear, so you don’t have to get right up to the edge for an intricate pattern.
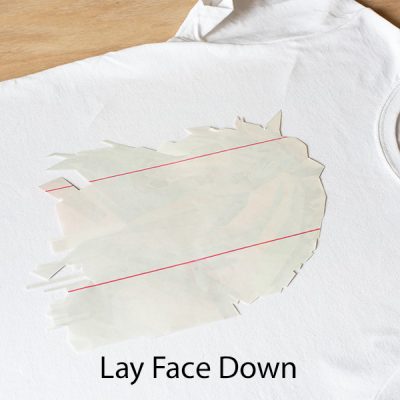
Step 4: Place the image face down in position on the fabric.
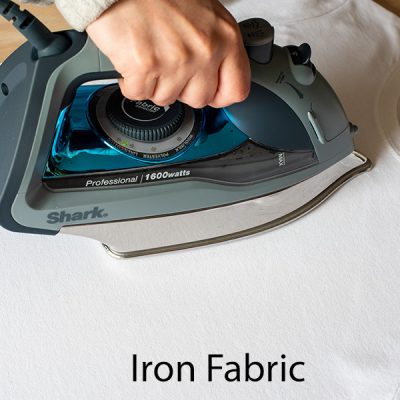
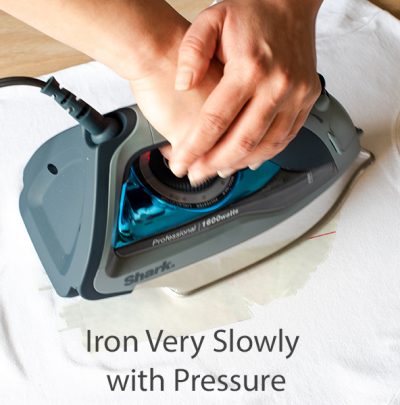
Step 5: Iron on the Image
The heat transfer paper should have instructions, but I am including how I do it, which is mostly the same.
Use dry heat for best bond with NO STEAM. I empty the water reservoir before starting. Then I put my iron on the highest setting. Cover every inch of the image and use a lot of pressure.
Thinner fabrics, like cotton – Iron 60 seconds for smaller images and 2 minutes for images larger than 8×8.
Sturdy Fabrics, like Canvas – 60 seconds for smaller images and 2 minutes for images larger than 8×8.
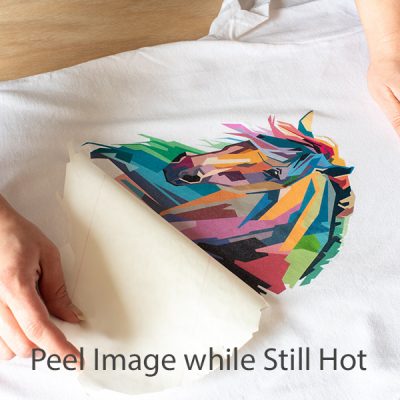
Step 6: Peel off the backing paper.
After the paper has cooled enough to touch, gently peel off the paper.
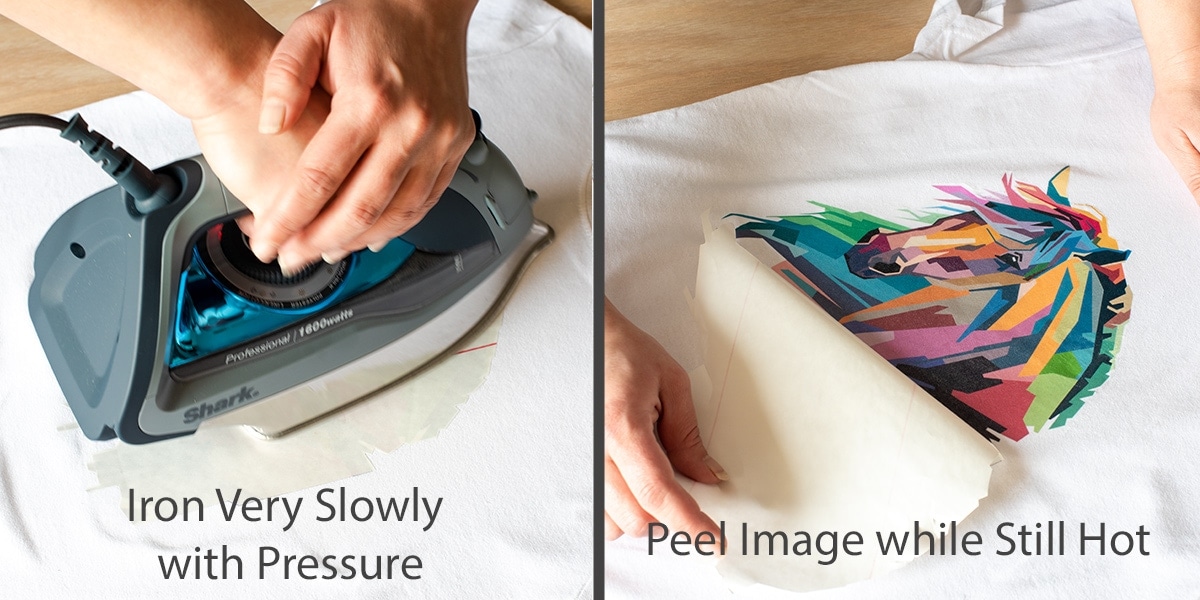
You want the transfer to be HOT while peeling for best results. Also, move in a smooth and even motion or you may get lines in your transfer.
Method 2: Use Page Protectors
This method involves soaking the ink directly into the fabric for items like purses or pouches. This method gives a softer look than the photo transfer paper.
Step 1: Prepare the fabric. You will want to work rather quickly once the ink is printed. Smooth the fabric and iron if necessary to remove any creases.
Step 2: Reverse your image in software. In the printer settings, I use glossy paper printing and best quality. Cut the edge off of the page protectors so that you have one flat sheet, not a pocket.
Step 3: Wipe the fabric down lightly with the slightly damp sponge. The sponge allows the ink to spread a bit into the fabric. Too much water means that the image will spread too much, so use sparingly.
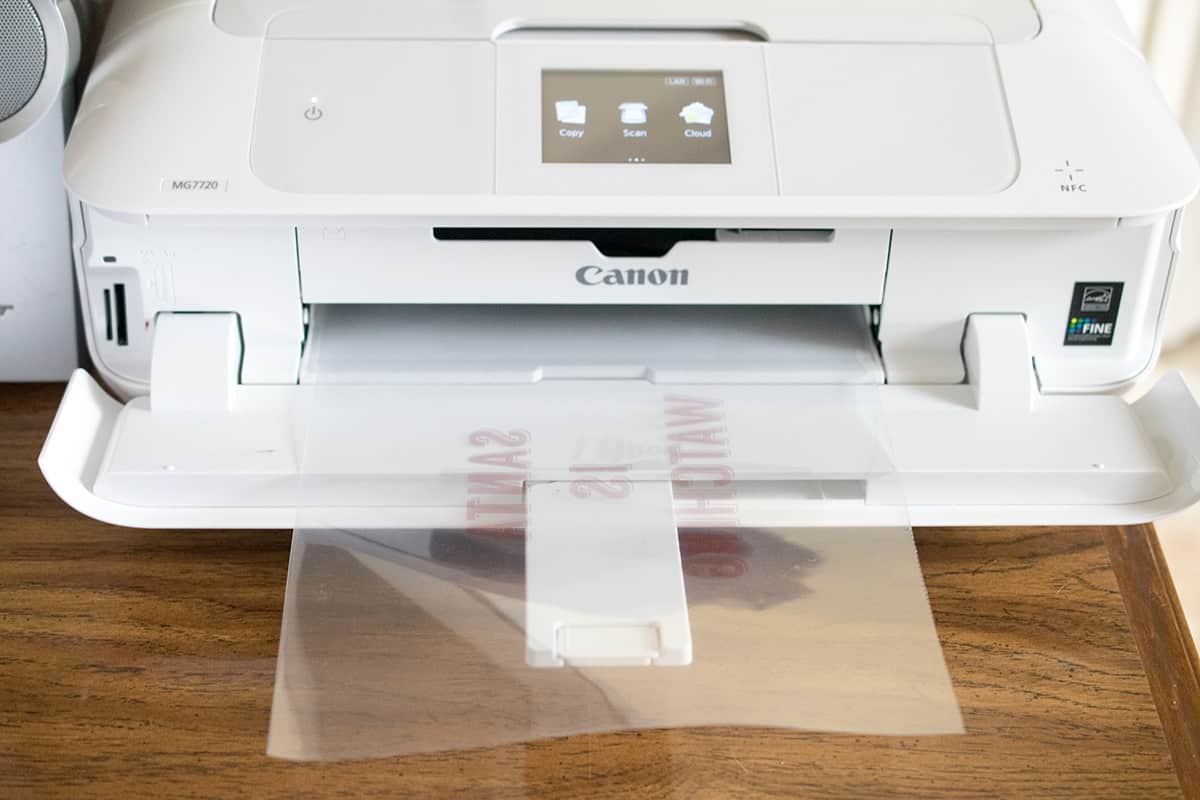
Step 4: Print your image onto the clear page protector and immediately lay the image printed side down onto your fabric. Make sure not to move the image to avoid smudges.
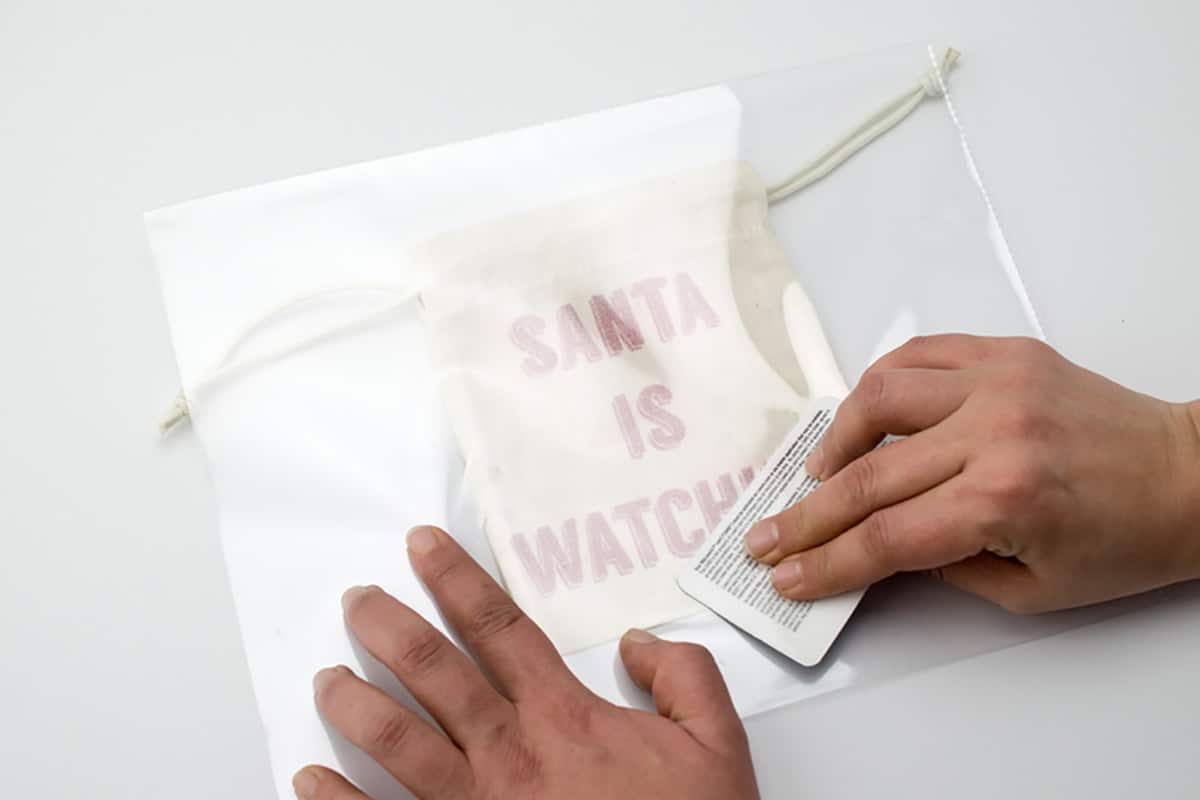
Step 5: Use a flat card or a paint scraper to gently rub the ink into the fabric. With clear page protectors, you can see how well the image has transferred. Once all of the image is transferred, gently lift off the page protector without smudging.
Want More Simple Craft Ideas? Look no further!
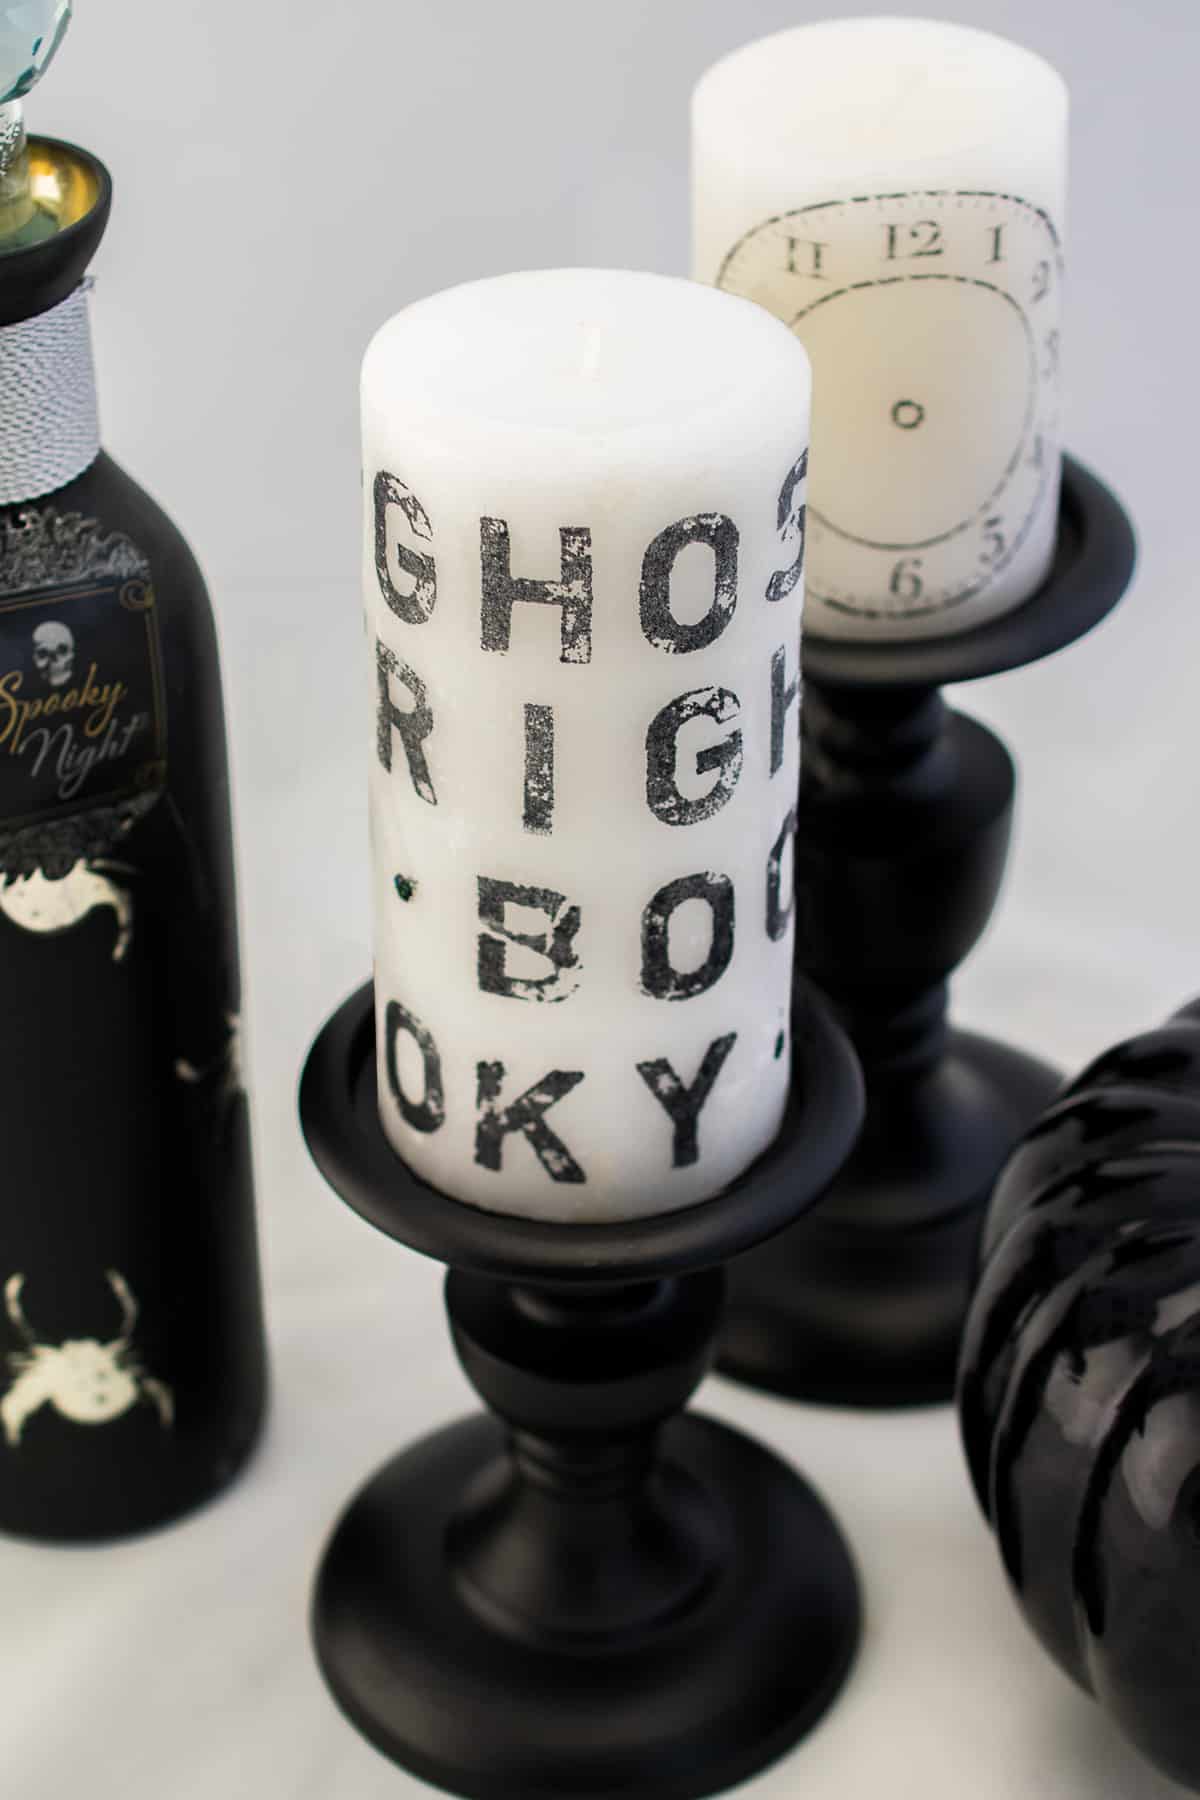
- 5 minute fail proof stamped candles
- Image Transfer for Hand drawn Designs
- 20 Ways to Decorate Your Walls Using Wood
- How To Paint Coffee Mugs with Sharpies (dishwasher safe)
Frequently asked questions:
If you are using a pigment-based ink (check your printer guide), then it should be washable. However, test first. If using a dye-based ink, I would consider hand washing at least the first few times or testing a small area (or scrap) to be sure. Dye based inks do have a tendency to fade or release in the wash.
In either method, I turn the fabric inside out and wash in the delicate cycle. Remember never to iron the transfer as the image will stick to the iron.
Methods of image transfer that I have never really liked include gel medium or the freezer paper method. If you have a printer that front loads, DO NOT USE WAX PAPER! The wax paper is very likely to jam.
These methods work best on tightly woven and flat fabric material with little or no stretch. Examples include canvas, linen, and most cotton fabrics.
I use Photoshop, but you can use Adobe Spark, Microsoft Paint, Apple Photos, or most any free photo editing software.
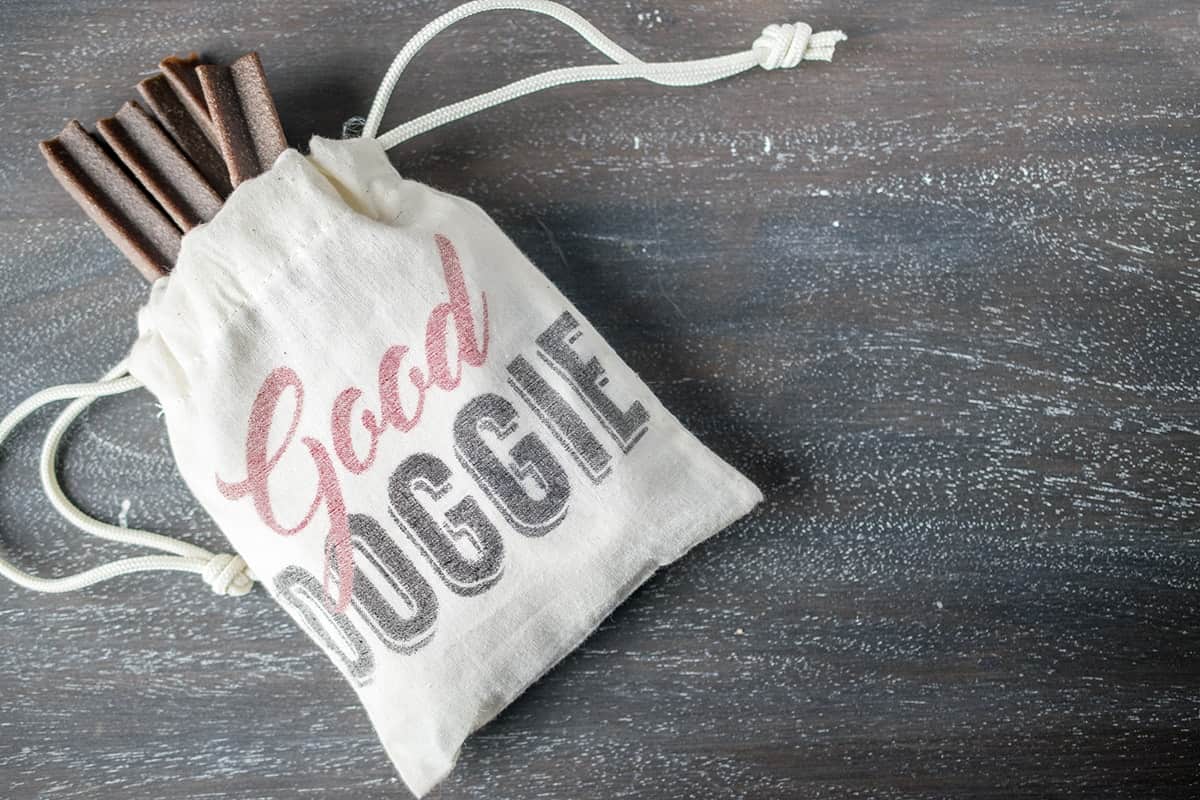
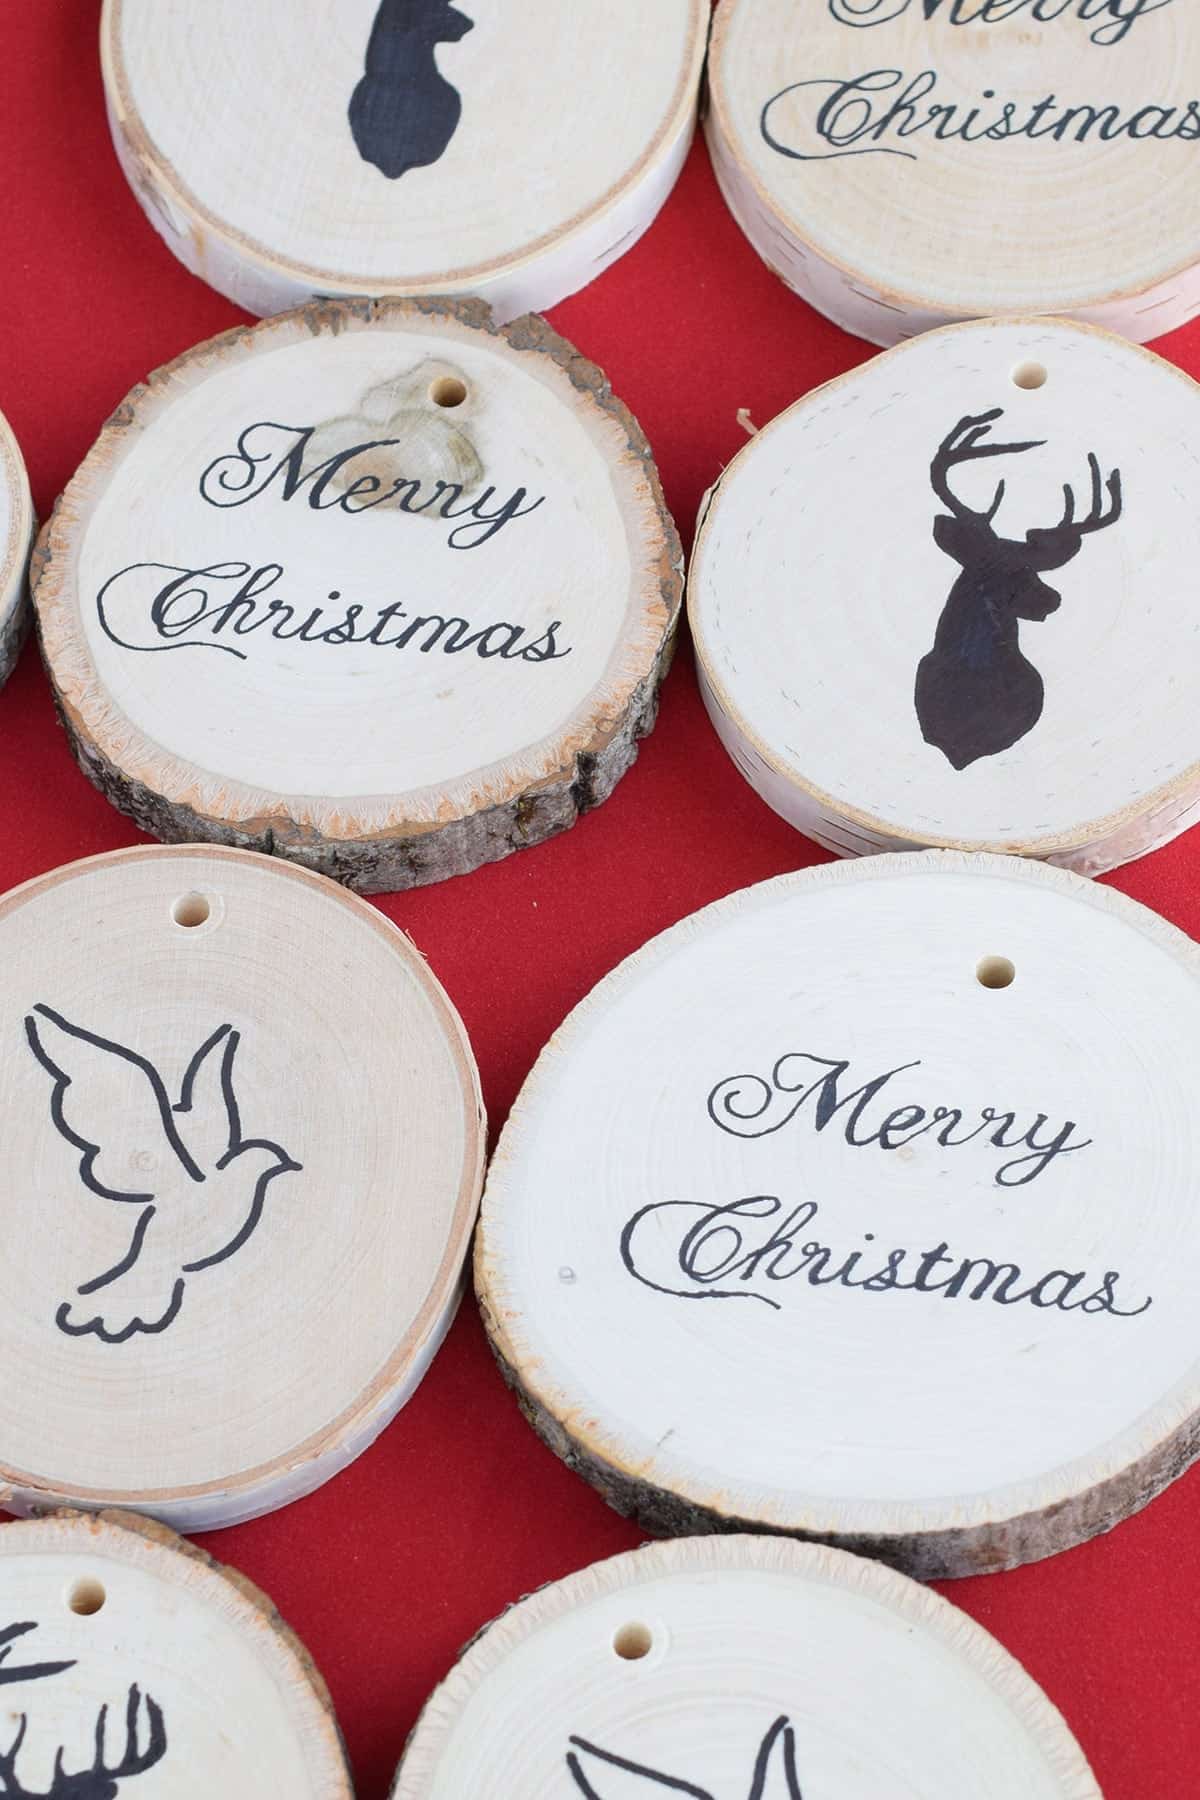
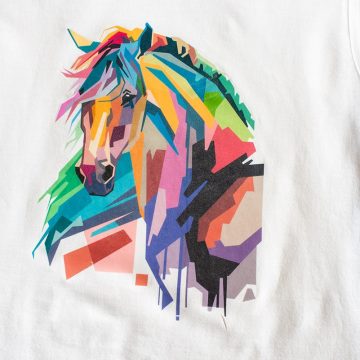
Pretty cute, huh? Much of how the image will transfer onto your fabric depends on your printer and how much ink it uses to print. My printer uses very little in and, thus, I get more of a lighter weathered look. However, I have tried this technique with other printers and it varies. If you would like a uniform look or the image doesn’t transfer in spots, use a fabric marker to fill in the areas.
PS I love seeing your creations! Be sure to take a photo and tag #cravingcreative on Instagram! You can also stay in touch with me through following me on Instagram, Pinterest, and subscribing to the newsletter!

Grab our free series "Weekend Home Projects that will Transform Your Life" Sign up below to receive updates including free printables, organization tips, home improvement projects, recipes and more! |
More Image Transfer Ideas
Fabric Image Transfer
Tools
- Iron
- Inkjet Printer
Supplies
- Heat Photo Transfer Paper for light or white fabrics
- Heat Photo Transfer Paper for Dark Fabrics can be used on dark fabrics
- Fabric for Transfer
Instructions
- Reverse your image and print your image to size onto heat transfer paper.
- Check the fabric to make sure it is free of lint and dirt or hair. Iron the fabric to make sure it is smooth.
- Cut around the image and remove excess paper. The transfer paper is clear, so you don't have to get right up to the edge for an intricate pattern. The dark transfer paper does require more detail since it is often opaque.

- Place the image face down in position on the fabric.
- Iron with NO STEAM for the best bond. Empty the reservoir tank. Thinner fabrics, like cotton – Iron 60 seconds for smaller images and 2 minutes for images larger than 8×8. Sturdy Fabrics, like Canvas – 60 seconds for smaller images and 2 minutes for images larger than 8×8.
- Peel off the backing paper as soon as it is cool enough to touch. You want the transfer to be HOT while peeling for best results. Also, move in a smooth and even motion or you may get lines in your transfer.
Becky says
Hi Rachel,
Your post really helped me to understand better how to print on fabric. I would like to print a logo on some cotton bags.
May I ask you what is the exact name of your printer? I need to buy a new one and would like to see if this could be better than others I considered.
Rachel says
My current printer is a quite a few years old now, but it is a Canon MG7720. The Pixma iP8720 is probably the newer equivalent.
Rosanne says
I am lost.
What is the page protector used for? You mention gloss paper… as in photo paper?
I am pretty good at directions but I am not following this at all.
Thanx
Rachel says
The page protector is what I used to print directly on. However, any type of glossy smooth plastic should work, like transparency pages.
mahek says
i love this, since the plastic protectors have a pocket inside do we have to cut it off so its just 1 peice of plastic
Rachel says
If they are thin, you shouldn’t have to. Not cutting it will keep it straighter, but you could use more sides if you did cut it.
star says
Would this work on jeans?
Rachel says
I think with denim, the texture of the fabric might make it seem even more washed out, especially dark jeans. In that case, I would almost certainly use the transfer as an outline and then maybe color it in more with a fabric marker. Good luck with your project!
Nell says
What is the care instructions?…Can it be wash
Rachel says
Hi! The care instructions are in the article, but they are buried a bit down at the bottom of the post. Here they are – “So you might be wondering if this is washable. There are some considerations and I have tried them in the past. First, if you are using a pigment based ink (check your printer guide), then it should be washable. However, test first. If using a dye based ink, I would consider hand washing at least the first few times or testing a small area (or scrap) to be sure. Dye based inks do have a tendency to fade or release in the wash.”
Lynn says
I just want to make sure that I have this right. You actually print on the page protector?
Rachel says
Yes, that would be correct! The plastic won’t soak up the ink so that you can transfer it. You can use a quality page protector (no matte), projection transparency, or anything like that.
Aimee Aimee says
Thank you for a great explanation. I was looking online for a similar idea and really appreciate it the way you describe the transfer
of image onto fabric was really amazing and informative to me and it really help me.
Linda says
What type of printer do u need ? Or can u use either inkjet or laser ??
Rachel says
Hi Linda! I use an inkjet printer at home for this method. A laser printer might be too hot for the thin plastic sheets. Alternatively, if you want a crisper image, such as a photo, you could use this transfer paper. For laser printers, there is also a specialty transfer paper.
katihousefulofhandmade says
These are the cutest, I need one for my doggie. And I am so excited to try the sheet protector to transfer the image. I too have tried and failed miserably with the jammed wax paper. The sheet protectors could be wiped off and reused too probably! Such a great tip!
The Cofran Home says
Ohh, I love this! Thanks for sharing! xo
Amanda says
Oh that’s so cute! What a great idea!
Rachel says
Thank you, Amanda! I know they will love it and I am happy to not have my pants pockets smell like dog treats anymore.
Sarah @ Making Joy and Pretty Things says
Your dogs are so cute! I love the little treat bags – I didn’t know you could transfer images that way. I’ve only seen the waxpaper way. Great idea!
Rachel says
Yeah, I tried the wax paper way and it was a total fail up to and including waiting on customer support to ship me a new printer. (Thank goodness it was still under warranty!) I will never do that again, lol.
Beth (@dailydogtag) says
The bags are adorable and so are your dogs!
Rachel says
Oh, thank you! They are becoming better behaved with all the love and guidance we give them.
arielgarneau says
Beautiful! Our kitties are adopted, and thankfully they didn’t need training I love the idea of christmas treat bag for the pooches though! I love those dog treats (not for myself, but for Bruce our dog 😉 )
Roxanne says
Your sweet dogs are the cutest!! We always give our dog presents on Christmas too, he gets so excited! Love the cute treat bags!
Rachel says
Thanks! It always warms my heart to hear doggies being treated well (And I bet yours are spoiled like mine!)
eclecticmommy says
I LOVE the design you created for the treat bags. Such a fun DIY for the holidays. #client