Discover the secrets to flawless shower wall tiling in our comprehensive guide! We walk you through our basement install with easy-to-follow step-by-step instructions and pro tips that we have discovered over many, many DIY projects and tile installations.
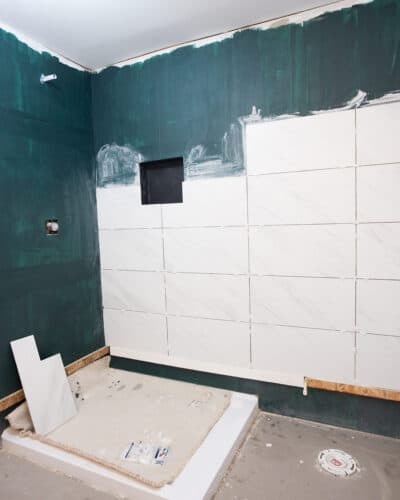
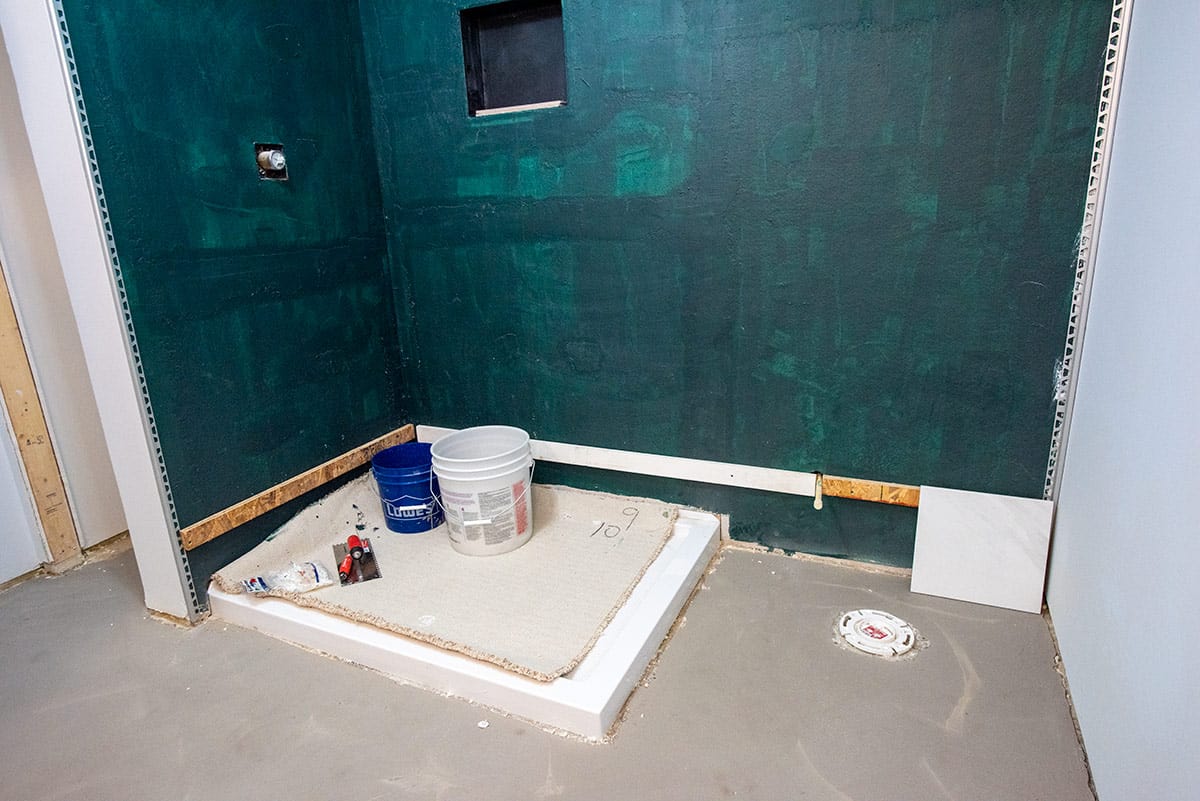
The basement bathroom is finally transforming from a blank canvas to a beautifully tiled oasis! This is how the basement started after the plumbers left:
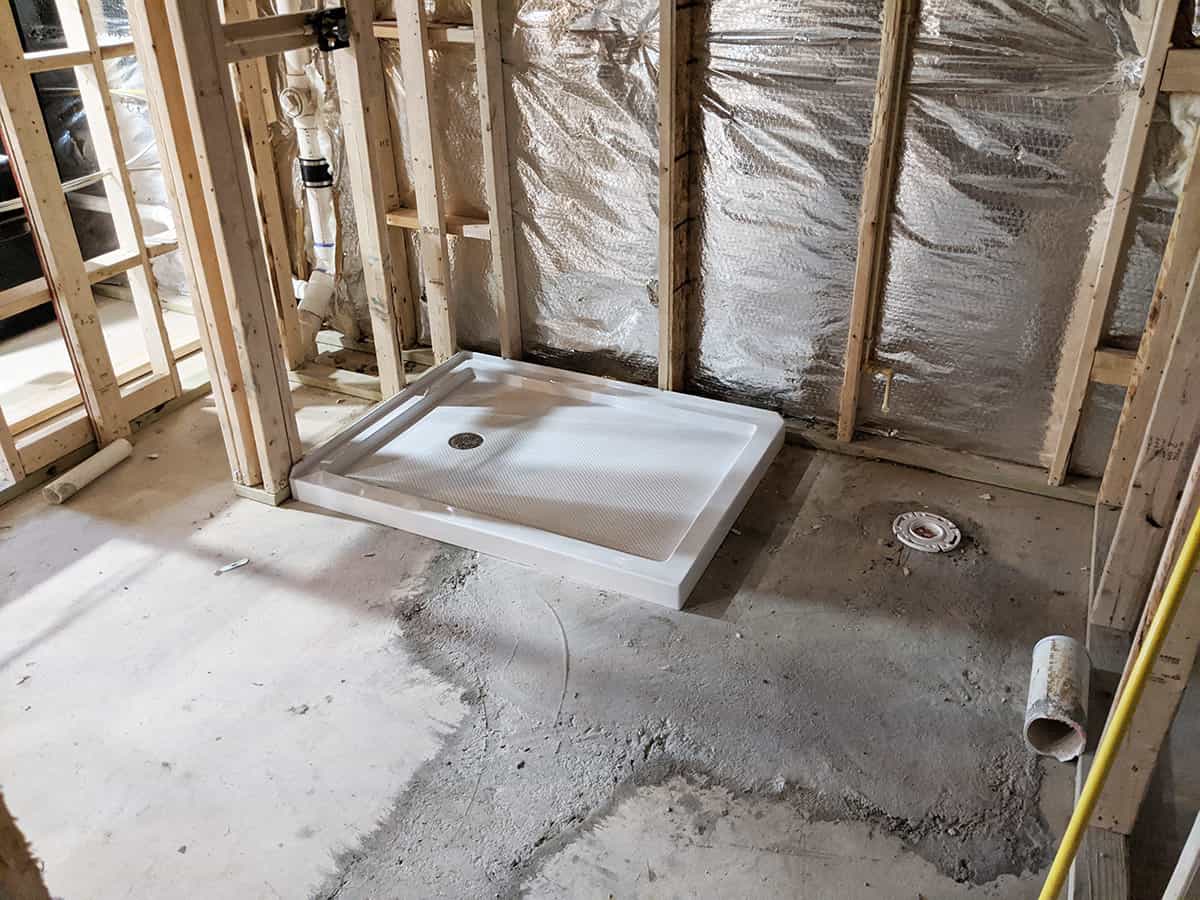
Since then, we have added drywall and green board to the entire basement. Now, we are moving onto the bathroom shower tile. Oddly enough, tiling is one of my special gifts (I get all the tedious, perfectionist jobs), so if you are new to tiling and eager to learn, you are in the right place!
How hard is tiling? This is definitely one of the more in-depth projects and I would rate shower tiling as above average difficulty for DIYers. The problem is that failures can be very costly. In general, I recommend starting with a tiled backsplash or regular wall to get some experience before tiling moisture prone or direct water areas.
Rachel’s Note: This is a very in-depth post, and it is organized backwards from most of my other content. The step by step is in a handy printable card just below an introduction to our current project. This acts as an overview of the tiling process, and then you can read the why, how, and troubleshoot your specific questions. It was the best flow to make sense to a reader.
Our Project Installation
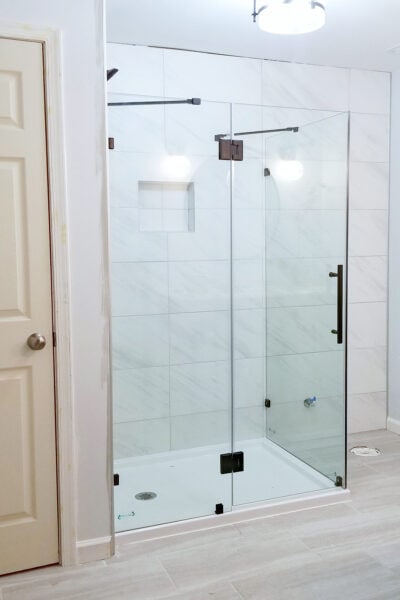
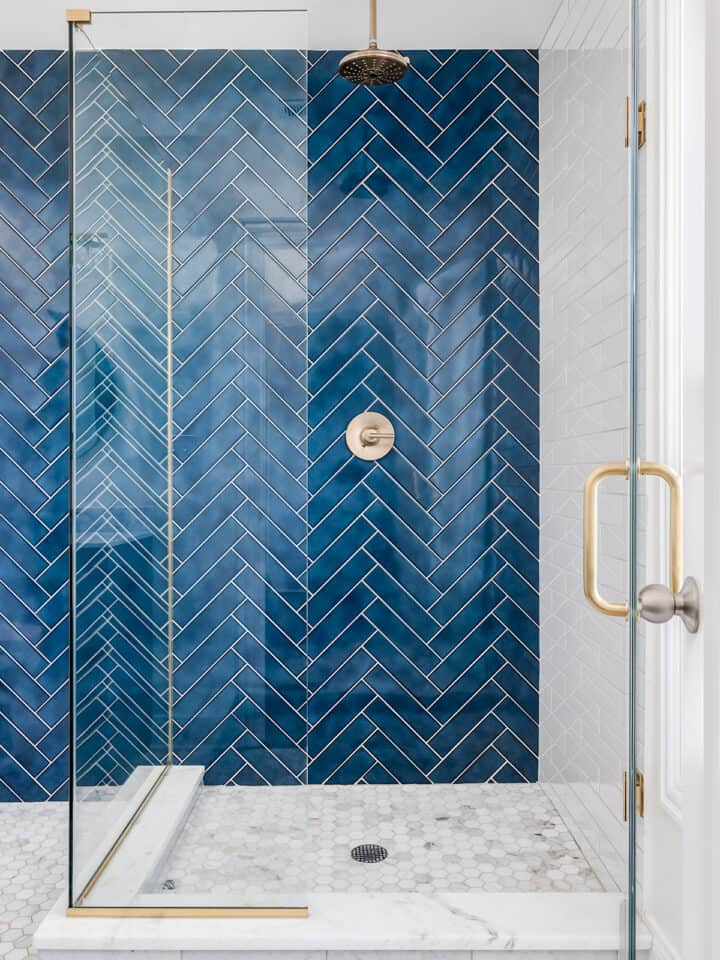
We have done many, many tiling projects from glass backsplashes to herringbone shower walls and floors over a variety of subfloor types. Today’s DIY project is a full bathroom with a frameless shower, toilet, sink plus vanity, and linen closet.
After installing a real marble floor in a bathroom floor years ago, I pay attention to the long-term maintenance needs when choosing materials.
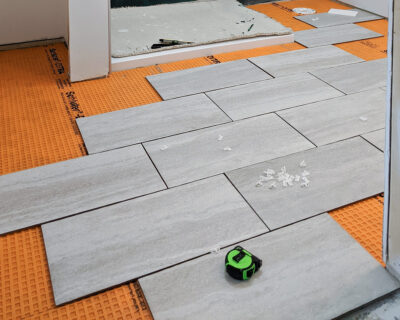
For this bathroom, we chose a 12×24 porcelain tile for the wall and 8×24 grey stone plank tile for the floor. To edge the tile, we are using metal strips. We are also using Mapei Grout in the color Rain.
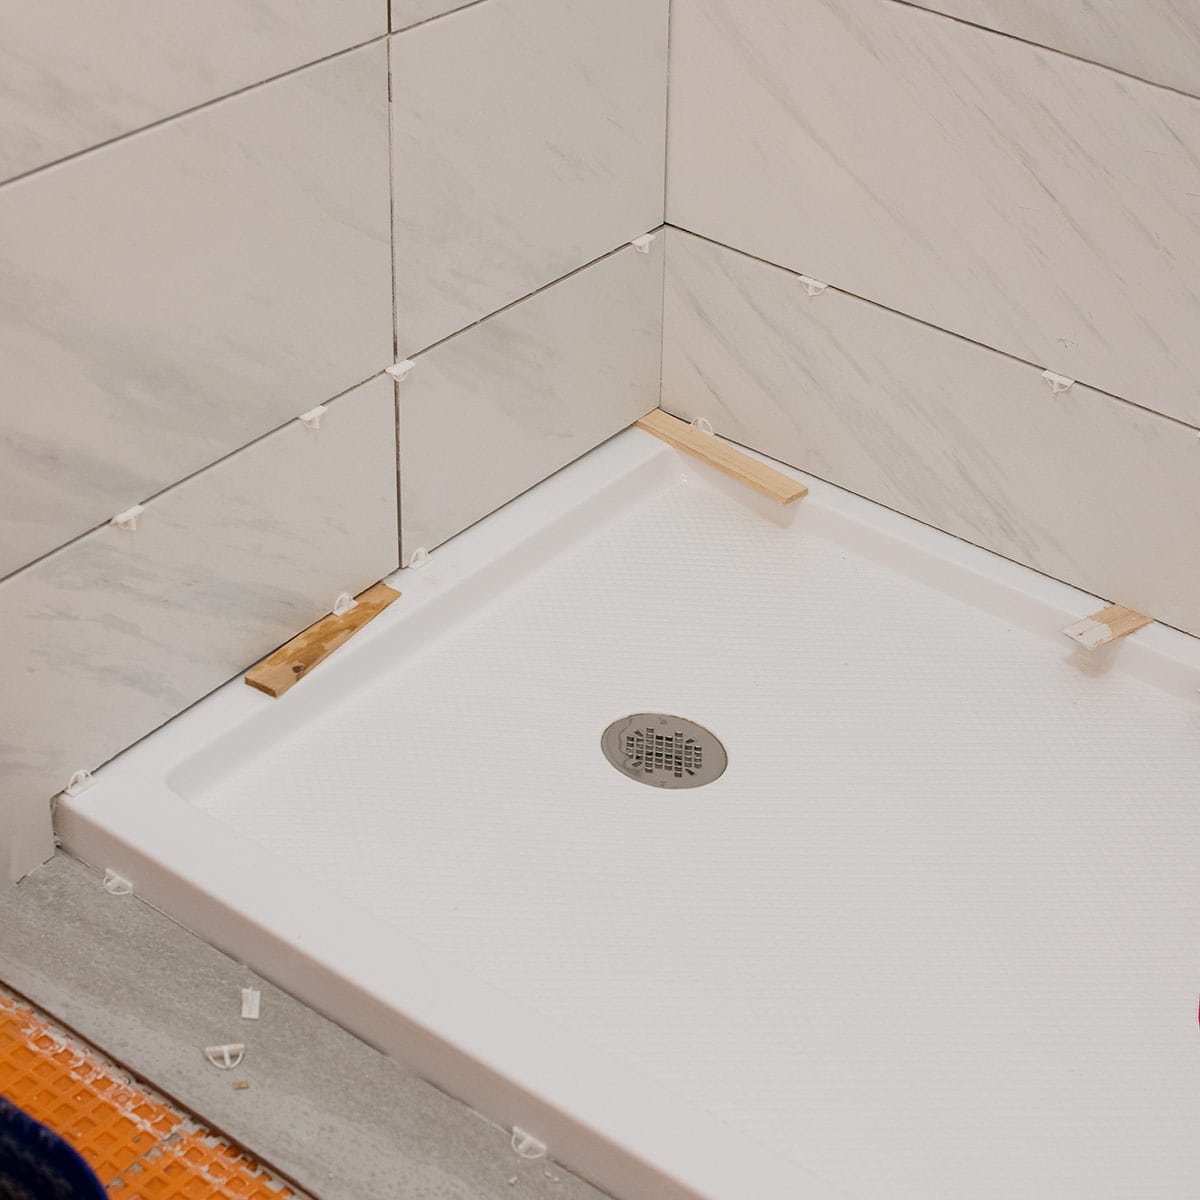
Why did we do the shower walls first? Since we wanted the wall tile to sit on top of the floor tile, we used a ledger board to tile all the way to the ceiling except the bottom row. Next, we installed the first few rows of the floor tile. Lastly, we removed the ledger board and did the last row of tiles so that the wall sat on top of the floor tiles. This flow worked best for our time constraints.

Grab our free series "Weekend Home Projects that will Transform Your Life" Sign up below to receive updates including free printables, organization tips, home improvement projects, recipes and more! |
How to Tile Shower Walls
Tools
- 1 Drill
- 1 Thin-set Mixing Paddle
- 1 Long Level or Laser level
- 1 Safety glasses
Supplies
- Tile
- Ledger Board
- T-spacers See note for other varieties.
- Wedge Spacers
- Bucket
- Thinset Mortar Use the type that is recommended for your tile.
- Grout
- Tile Sponge
- Caulk non-paintable
Instructions
Prepare the surface
- Ensure that your surface is clean, dry, and properly waterproofed.

- Add a ledger board. A ledger board is simply a very straight board you screw into the wall that the tile can rest on while drying. It is usually placed where the bottom row of tile would be and the next upward row of tile will sit. This keeps all tile perfectly level and better supported while drying.

- Set up your tools including the wet saw and cover any areas you want to protect.


Plan Your Layout
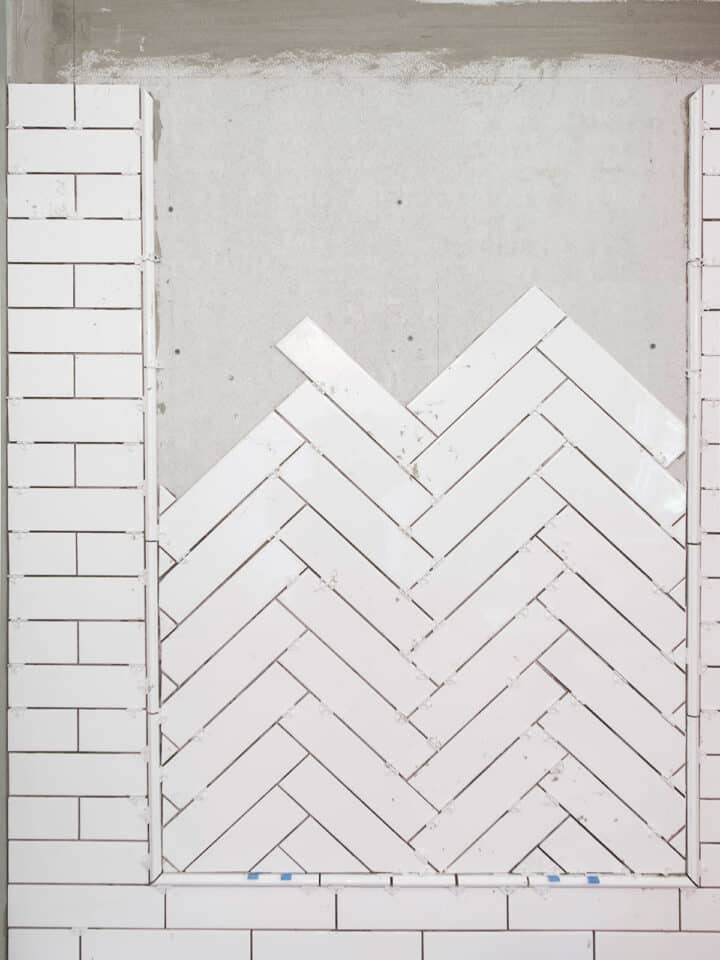
- For printed or patterned tile, avoid installing identical patterns next to each other by opening full boxes and loosely laying out at least a few rows at a time and making sure there are no defects. Also check for any intricate cut patterns you may need. Decide your start point. (Our stacked tile wall was quite easy, so the photo is how we dry tested the floor layout.)

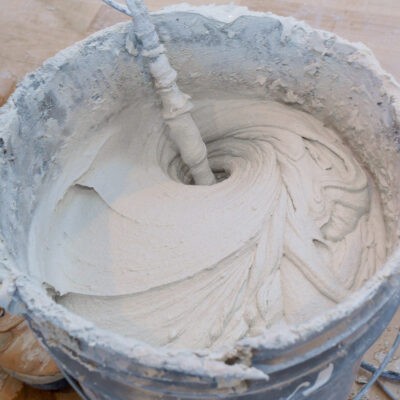
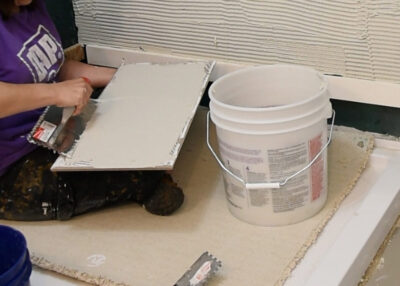
Mix the Mortar.
- Use the mortar manufacturer instructions for mixing ratios and setting time. Pour the appropriate amount of water or additive into a clean bucket. Start the drill with the mixing paddle attachment. Slowly add the dry mortar mix to the water while mixing continuously. Continue mixing until you achieve a smooth, lump-free consistency. Mix only enough that you can use before the setting time.
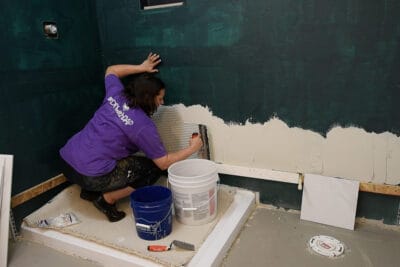
Apply the Mortar to the Wall.
- Spread a thin layer of mortar onto the wall using the notched trowel, covering an area slightly larger than the height of your tiles. Then, hold the trowel at a 45-degree angle to create ridges in the mortar.
Add Your First Row of Tile
- Measure and mark tiles for cutting using a tile marker or pencil. Use a tile cutter or wet saw to make precise cuts. Dry-fit the cut tiles to ensure they fit properly before applying mortar.
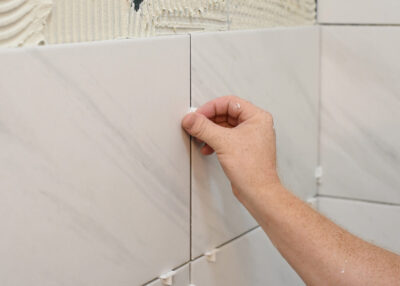
- If desired, back butter the tiles (scrape a thin, flat layer of mortar on the back of the tile with a trowel at about 30 degrees).

- Press the tiles firmly into the mortar, using slight twisting motions to ensure good adhesion. Check the edges are level with adjacent tile. Insert tile spacers between each tile to maintain consistent spacing. Check regularly with a level to ensure the tiles are straight and level. Wipe away any excess mortar from the tile grout lines and surface before it dries.
- Continue with the rest of the rows making sure to scrape off old grout spillover prior to placing fresh grout for next row.

- For the last row, unscrew and remove the ledger board. Tile the bottom row into place, making sure to leave spacers above the shower pan for caulk line.


Dry Time and Grouting
- Let the mortar dry according to manufacturer instructions before grouting, which typically takes 24-48 hours. The process for mixing grout is the same as mortar, mix enough grout to use within the setting time, or about 20 minutes.

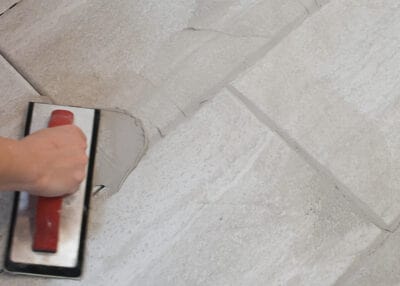
- Use a grout float to push the grout mixture into the lines and then wipe away excess grout. Make sure to push and wipe in multiple directions to completely fill the gaps.
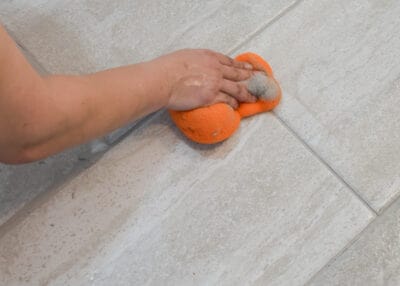
- After about 10-15 minutes, use a damp grout sponge to clean excess grout and make the lines smooth. Cleaning as much grout as possible will make haze removal easier later.
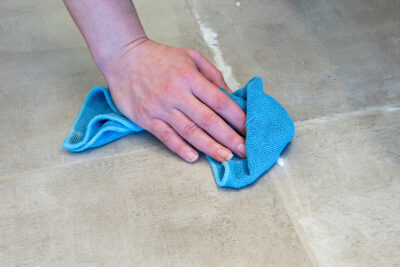
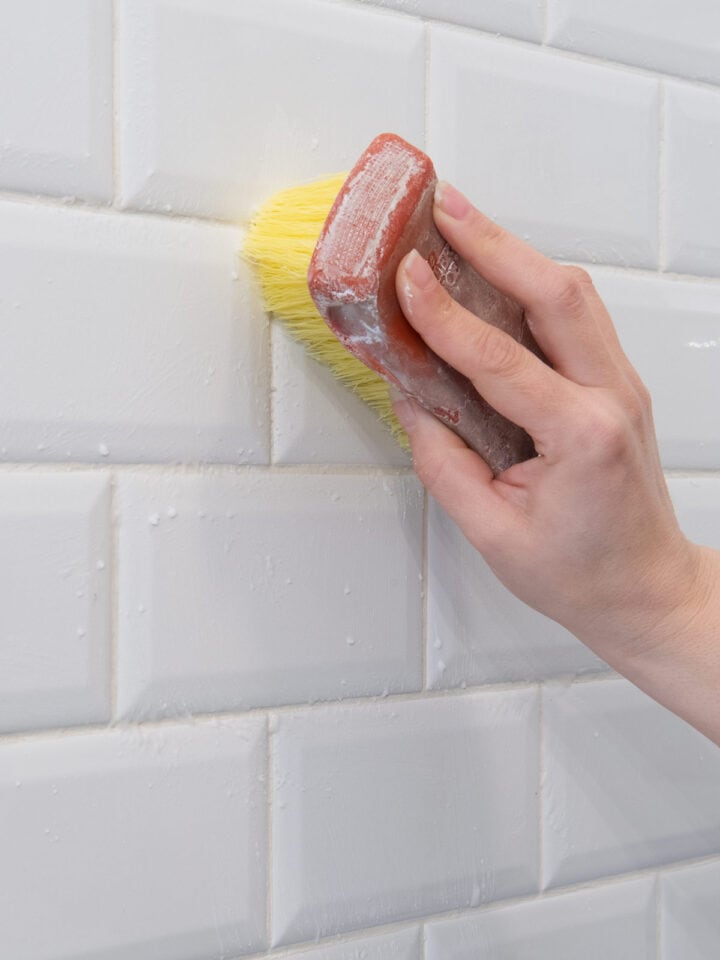
Haze Removal
- Wait at least 24-48 hours and wipe several times with a clean, damp sponge to remove any haze. The longer you wait, the harder it is to remove. Use a water bucket to rinse the sponge constantly and change out the water frequently. It may take a few cleanings to remove all of the haze. More will show up as it dries.
Finishing Touches
- Sealing grout. I do recommend sealing all new grout for longevity and maintenance. Even those with pre-treatments in them will last better with an outer sealant.
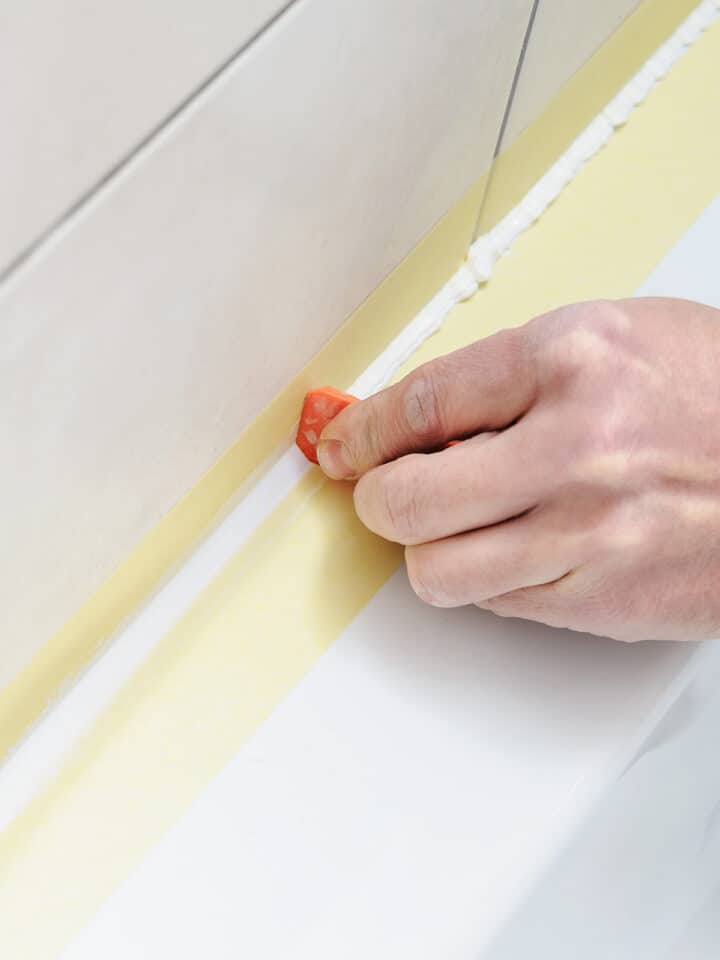
- Caulk showers, tub surrounds, backsplashes and other areas as needed. I always caulk after the sealant is fully dried.

Notes
Preparing the Surface for Tiling
Now that we have covered the basics of how to tile, there are many, many finer points to understand. The passages below include pockets of expertise that might help you best plan your tiling project.
Removing Old Tiles and Repair Damage
Honestly, if I am going to retile a shower, I find the easiest way is to start fresh at the studs. You just don’t know if the walls are completely straight or if there are problems lurking behind that surface. Better safe than sorry.
Use a hammer or prybar to break up the old tile and throw it out along with the backing board. This will ensure that you have straight walls and no damage, mold, pests, or other problems.
Check surfaces for level and plumb
Before you ever put a single tile, check for level in relation to the other elements that may be on the same wall. You may or may not be able to fix it, but you can plan around.
- Is the ceiling edge level?
- Countertops, benches, or perhaps cabinets?
- Check for bowing or trueness of corners.
When checking for level over long spaces, use at least a laser level or 3-4 foot level like this one, not a little level.
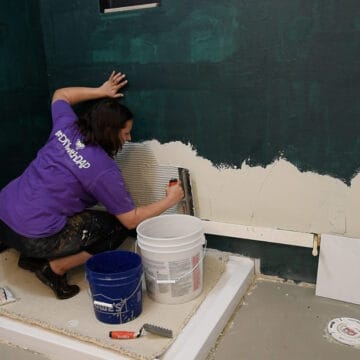
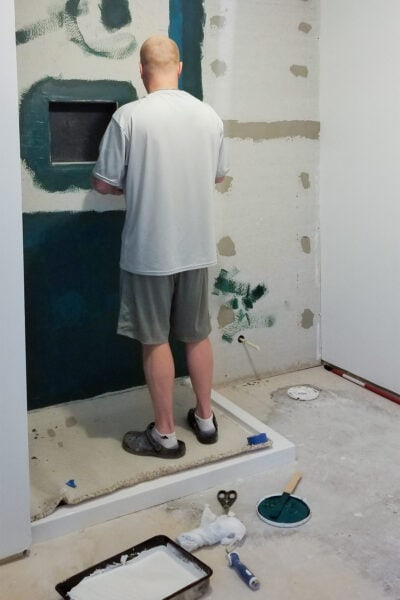
Ensuring Proper Waterproofing
There are a few options for waterproofing walls and showers. I go into much more depth in our post on how to waterproof a shower. For this installation, we used cement board with a liquid waterproofing membrane.
Measuring the Shower Wall
Measure all walls horizontally at the bottom, mid-point, and top (remember your level checks from earlier because walls sometimes shift like a rhombus). Measure height as well. Find the center point in each of those horizontal line and check with a level to see if your walls are out of plumb before deciding a start point.
Dealing with Uneven Walls
The best solution is to measure at the studs and shim the greenboard/concrete board before installing them, but there are situations where this is not possible or ideal.
From personal experience, even ceilings are a pain and may require some creative solutions. For example, in our upstairs classic bathroom remodel, the ceiling bowed heavily in the center. Since it’s a 9-foot ceiling, we only tiled up 8 feet to avoid the problem completely. In this bathroom, we patched one larger spot in the ceiling because it bowed upward. Paintable caulk that matches the ceiling color also helps disguise this.
In another bathroom, the wall measurement at the top was nearly 2 inches wider than the bottom. For that situation, we marked the center line vertically plumb. We started out from center and it’s not noticeable.
Planning and Layout
There will always be special considerations for your specific project that deciding ahead of time will make tiling much easier. Here are just some of the examples of situations we have ran into and how we solved them:
- Tiling around plumbing. In this bathroom, we lined up the tile so that the shower fixtures lined up in a vertical grout line for easier tile cuts.
- Tile Edges. You have a choice to end the tile at the edge of the shower or extend beyond it. We have done it different way such as going just to the edge in our herringbone tiled shower and we went a few inches further because of the shape of the tub in this bathroom, which you can see in my post on caulking a bathtub surround.
- Sliver Cuts. It is usually better to start in the middle and tile out to the edges, but you may end up with tiny tile in the corner, which is not ideal. Layout your tile end to end and adjust as needed. For example, we started at the corner with full tiles on each side.
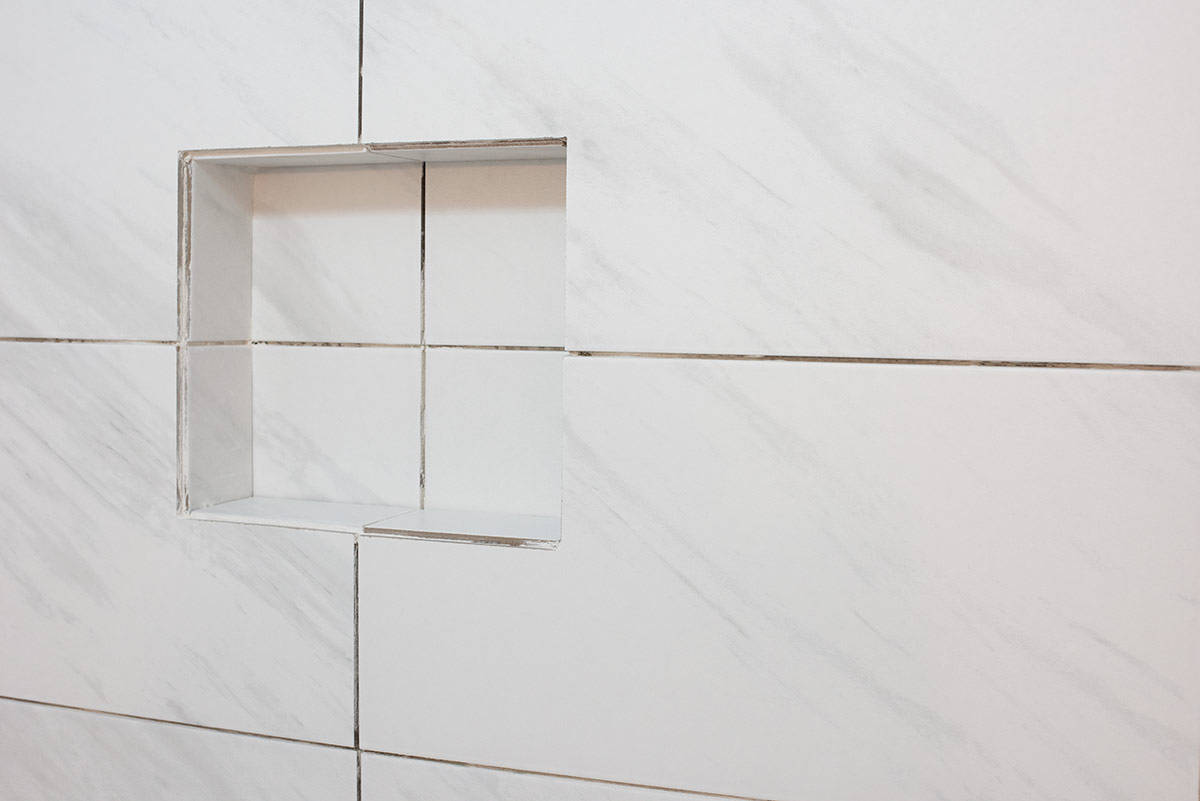
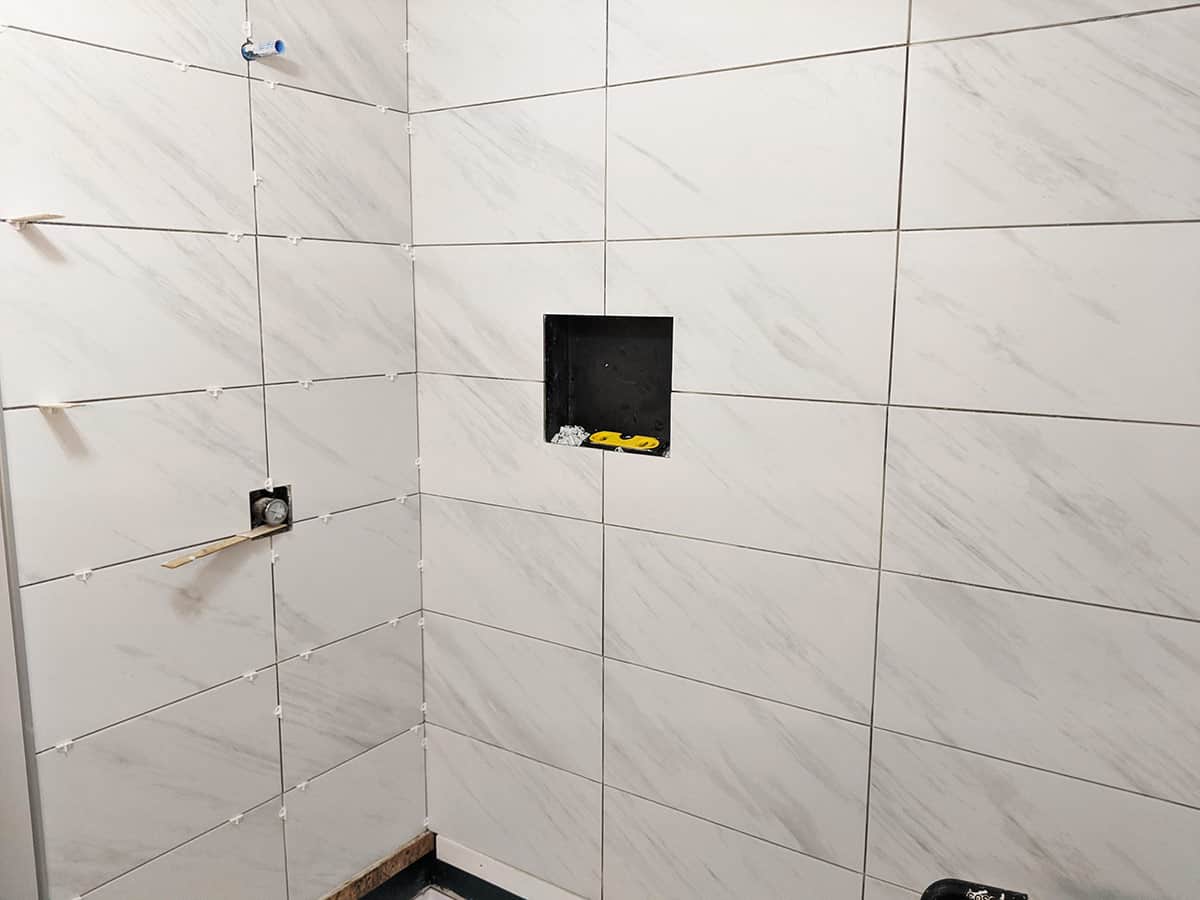
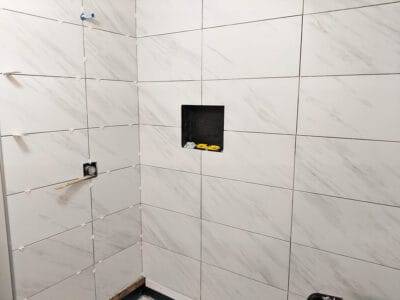
- Shower Niches. In this bathroom, we wanted a very modern look, so rather than lining up the niche tile centered, we cut all of the tile to line up with the grout lines of the wall tile.
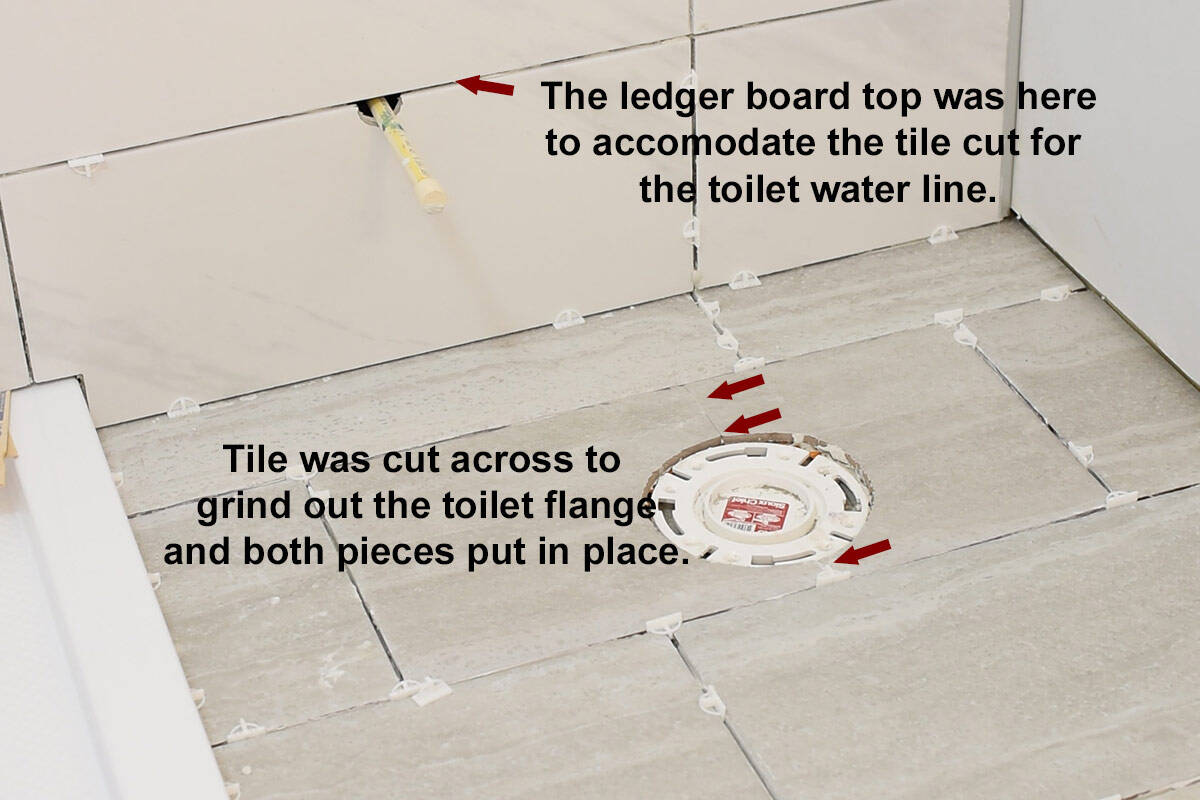
- Toilet Flange. This is more related to tile floors, but I will add it here. How we approached this was to mark the flange and cut the tile across. Then ground out the hole for the flange and installed both pieces. The crack along the tile is hidden after the toilet installation.
Pro Tip: Roughly layout your tile pattern to ensure that you won’t end up with a sliver in a corner or something else odd and adjust accordingly.
What is a Ledger Board?
On a wall, we start at the bottom because gravity might cause the tiles to slip downward. I generally recommend adding a ledger board at the bottom, where the first tile row should go – this gives an even and level surface to start your tiling job.
A ledger board is just a very straight board you screw into the wall that the tile can rest on. When the upper tiles are dry, unscrew the ledger board and tile in its place.
Normally, we place the ledger board at the height one full tile (plus room for caulk) from the bottom. However, take your specific project into consideration. In our case, the best idea was to lay the ledger board 1 inch lower so that we had a tile edge to cut for the toilet water valve.
Tile Installation Tips
- The first row is definitely the most important to get perfect. Take your time.
- Your tile type and weight will dictate what kind of tile adhesive you use. For example, we used 12×24 inch tile, so we used Large Format Tile Mortar for Wall and Floors.
- Check that you are keeping a consistent height and width with a long level every few rows.
- Tile spacers need to be sized to your desired grout joint width. The most common sizes are 1/16 and ⅛. My preference is to use these T-spacers in between tiles on the wall, these leveling spacers on floors, and these wedge spacers for areas that can vary.
- Make sure there is no lippage!!!! Every time you put up a tile, check that the tile is level/flush/even height to all the surrounding tile at every seam. I brush across the seam with my fingers or use a small level.
- Maintain a clean workspace to ensure grout mortar isn’t tracked all over the house.
- A dropped tile can easily dent, scratch, or chip bathtubs, shower pans, and other tile. So, take some time to protect surfaces by covering them with multiple layers of towels and plastic sheeting. A scrap piece of soft carpet is my favorite thing to use.
- Do not grout right above a shower pan or bathtub (a stone floor is ok to grout). That area should be sealed with waterproof silicone caulk. Check out Caulking a Shower or Bathtub.
- I prefer using a grout additive rather than water. In bathrooms that I have used it, the grout lasted longer and is more even colored.
Tips for Cutting Tile
You will definitely need a wet saw for cutting tile. For years, I used this one with most of our tile projects, but we had to upgrade because of the larger format. We got a sliding tile saw.

Straight edges are pretty self-explanatory, maintain square.
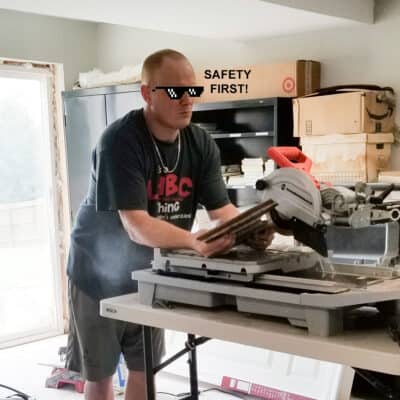
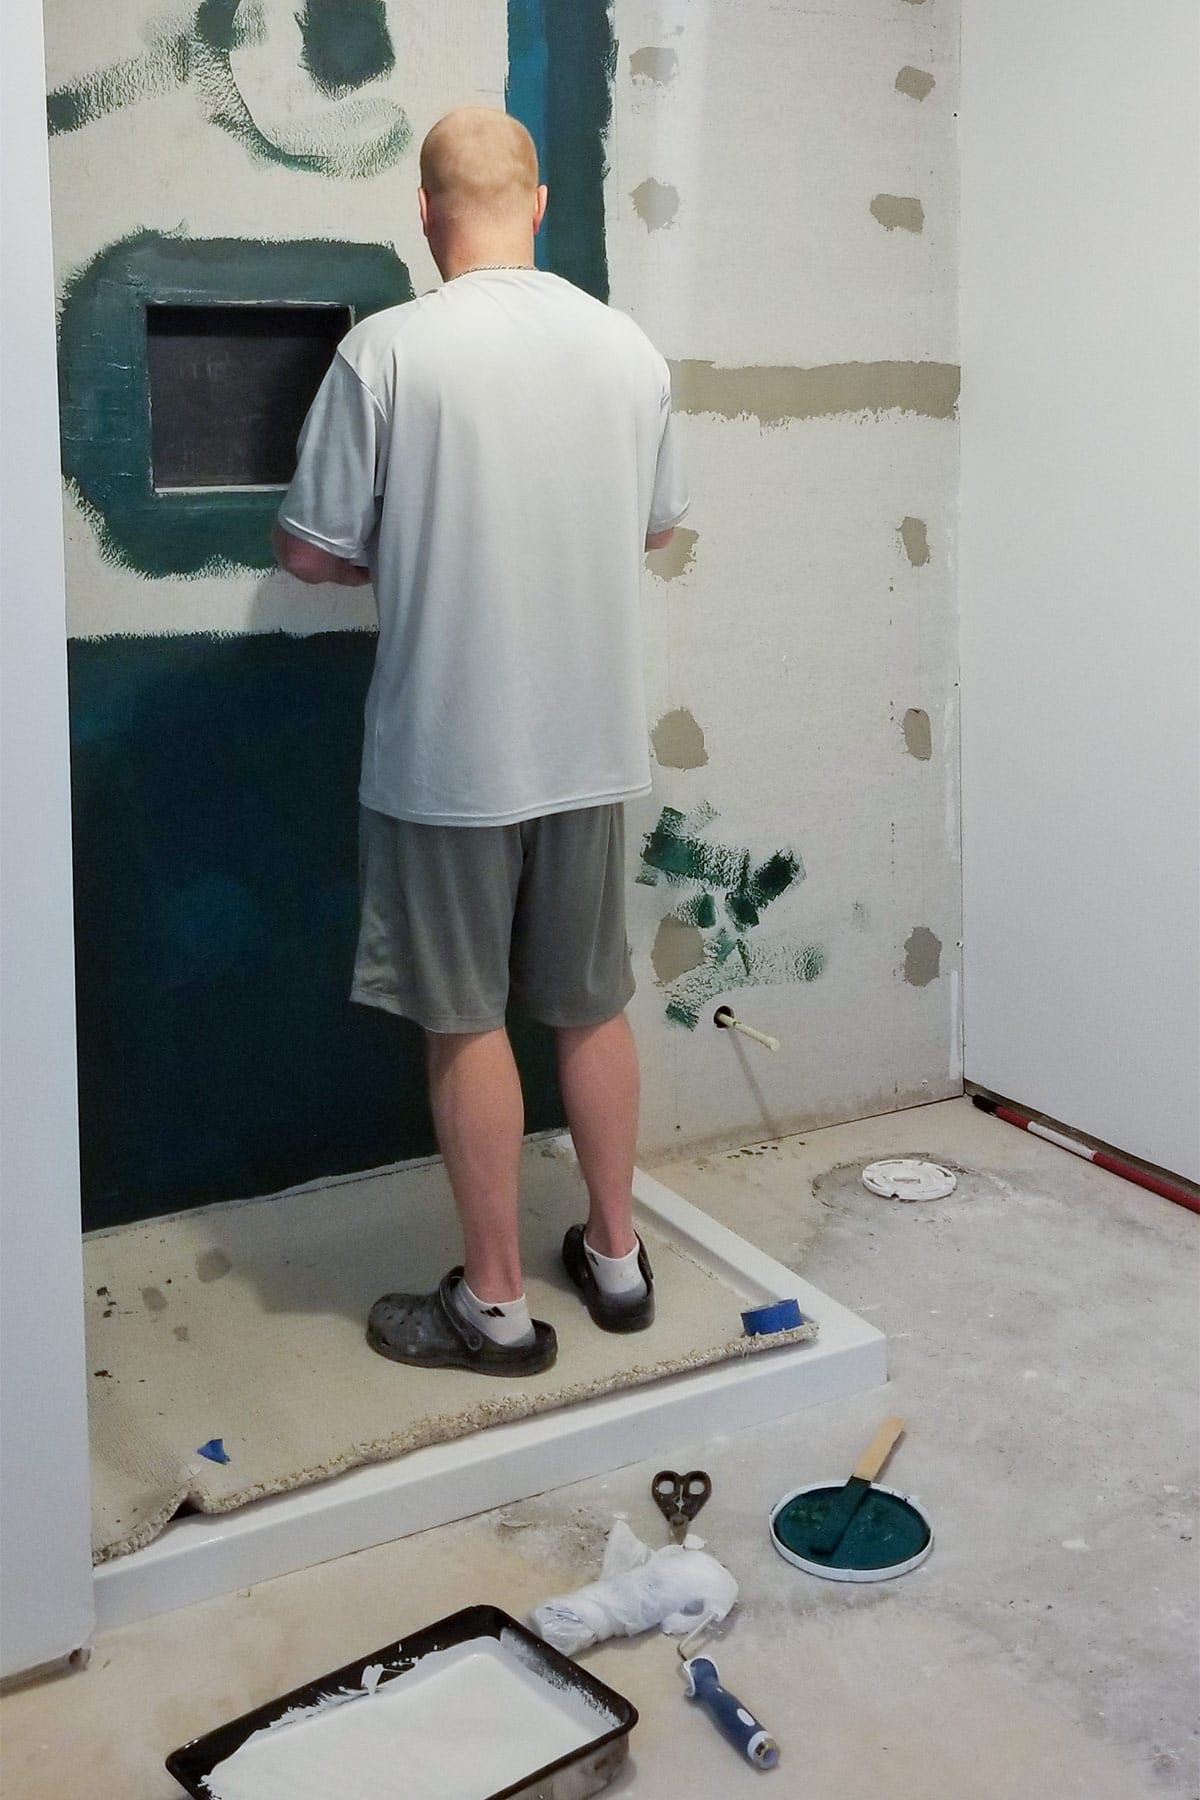
Round Cuts. This photo is my husband demonstrating how to grind off the edges if you need to cut a round hole, such as those for plumbing. The problem with these saws is that they cut at an angle so the top side will cut unevenly, like a scoop.
Drilling holes in tile. This is definitely the most difficult and I recommend layouts that avoid this. Even with special drill bits, tiles can crack. Go very slow and larger holes (over ¼ inch) can be even more difficult or require special equipment.
Pro Tip: These saws fling water and dust around frequently. Wear safety glasses and keep towels underneath the saw or saw table. I usually wear scarves to protect my hair.
FAQs
There are so, so many questions surrounding tile installation so if you have something specific to your situation, I do answer comment questions. It may take a few days if I am in the middle of another project.
Theoretically, yes, but I strongly advise against it because space is lost, and it doesn’t work well with fitting shower pans or bathtubs. Worse, if you have any moisture problems at all, this makes the problem harder to fix. Generally, I recommend just starting fresh with fresh concrete board or other suitable waterproofing.
Haze remover is best in situations where the haze has been on the tile too long (over 72 hours). Otherwise, I feel that water works just fine to remove haze.
Conventional wisdom is to make a centerline and start in the center, radiating out to the sides. However, there are many considerations that may cause you to adjust such as ending up with slivers in both corners or working around plumbing. It’s best to layout the tile as a dry fit and see if you need to adjust.
Floor is often the best since you want the wall tile to sit on top of the floor for best drainage.
Drywall or sheetrock is not rated for wet areas. You must include some sort of water-resistant board (such as concrete board) or a waterproof membrane behind tile walls.
For spacers, there are a variety you can use, but they need to be sized to your desired grout line. The most common sizes are 1/16 and ⅛. My preference is to use these T-spacers in between tiles on the wall, these leveling spacers on floors, and these wedge spacers for areas that can vary (like a tile not sitting straight or the edge of the bathtub on the bottom row).
I don’t recommend hidden tile spacers in joints at all. They provide a weak point for grout to crack.
Mortar and grout will not bond well to most tile fronts including glazed tile and printed porcelain or ceramic. You should be able to pry off dropped mortar with a strong, wet cloth without damaging the tile. For grout lines between tiles, gently use a small chisel to remove excess mortar. You only need to get it about ⅛ inch deep so the grout can cover the mortar.
More Bathroom Tiling Tutorials
PS I love seeing your creations! Be sure to take a photo and tag #cravingcreative on Instagram! You can also stay in touch with me through following me on Instagram, Pinterest, and subscribing to the newsletter!
Leave a Reply