How to build an outdoor wood sign that is personalized! This tutorial includes tips for creating a frame, weather proofing, sealing, and painting so you can have your own unique creation for your home.
We really like to go all out at my house for Halloween, and the kids in my neighborhood get a huge kick out of it. A few years ago, I had seen some “Dead and Breakfast” Signs (B&B) signs and I loved the idea!
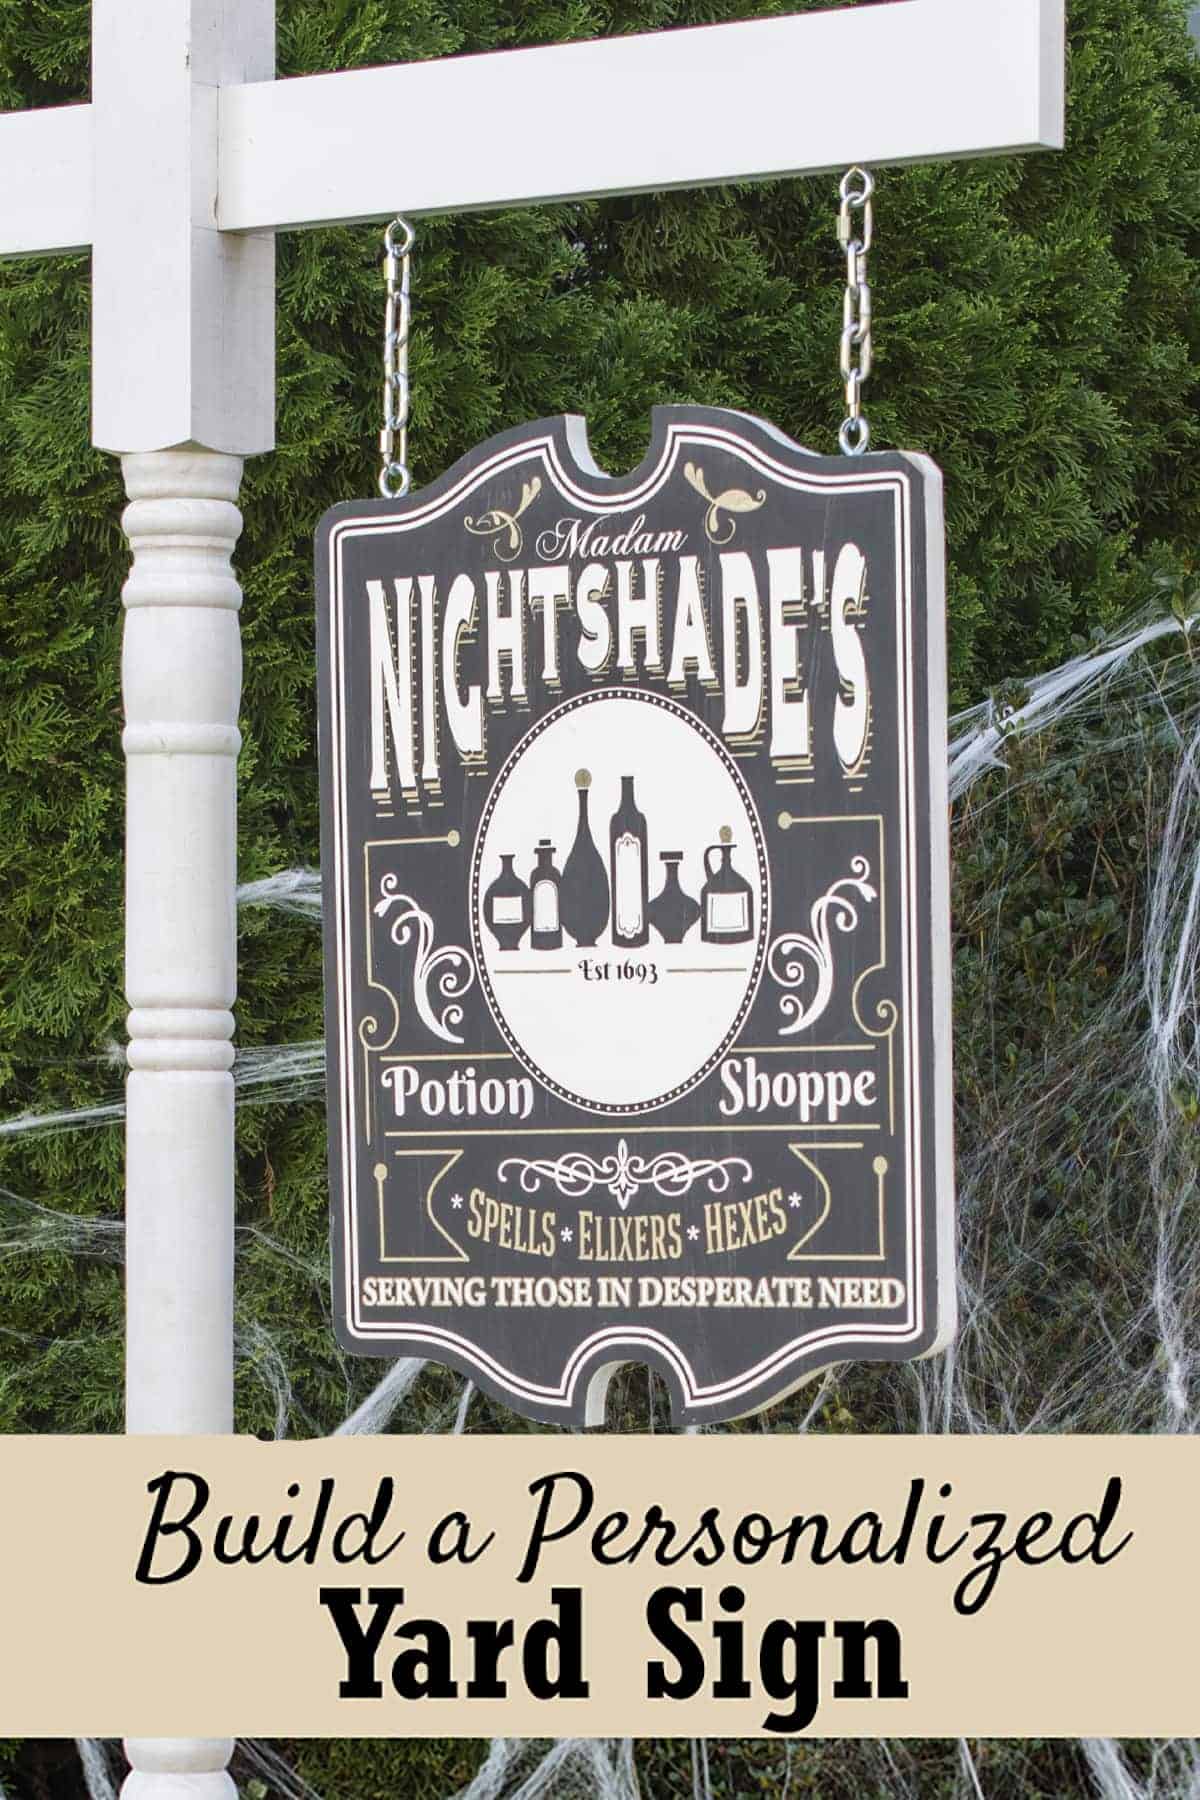
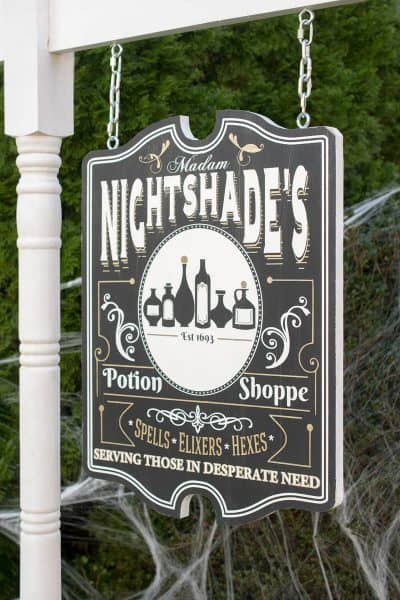
However, I wanted to put my own little spin on it (of course!) and made a Potion Shoppe Sign to go with the theme of most of our decorations…plus that I get to dress up as a witch to hand out candy to trick or treaters!
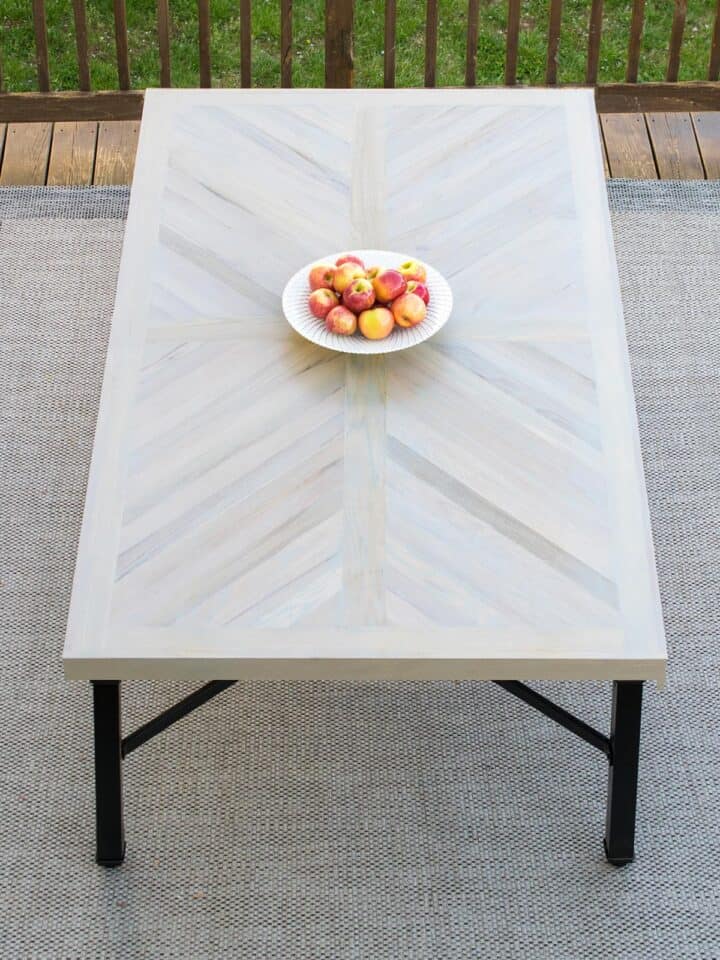
I love working with outdoor projects like a front porch welcome sign, and even building an outdoor dining table. Working with wood outdoors always has a few challenges, so I made this tutorial to guide anyone through making an outdoor wood sign because there are so many uses from displaying house numbers to seasonal décor!
Supplies Needed
For the sign:
- Wood Sign Cut to Size (see appropriate types of wood below)
- Stencils and decorations
- Exterior Paint or Stain
- Sealer
Hanging Materials:
- Eyelet screws
- Carabiners and chain
- Post Frame (options and sources are below)
- Ground Anchor
What kind of wood to use Outdoors?
To make the sign, we used MDO plywood (medium density overlay). It’s a plywood that is safe for outdoor use and water resistant. It’s mostly used for outdoor commercial signs and siding or garage panels.
However, it can be difficult to find and may need to be ordered at a local building supply company. Other options for outdoor wood signs are pine, outdoor fencing, pvc panels, and marine plywood. Do not use red oak, regular plywood, mdf or other porous wood surfaces that are prone to rot.
How to Build an Outdoor Sign
This is both a step-by-step and an overview of our particular project.
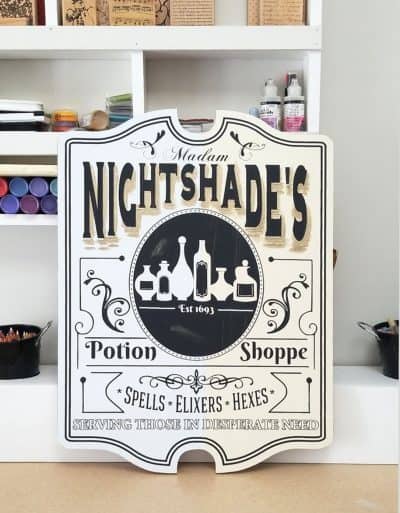
- Cut the wood to size. In my case, I painted the sign black, let it dry, and then added a stencil to get the right shape for my cut. This particular template was designed and made using a Cricut Machine. Then we cut it out using a jig saw and a lot of patience.

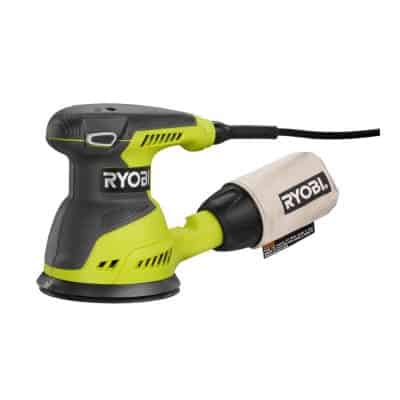
2. Prep. Sand the edges from the cuts and, if needed, sand the top layer of the board lightly to get the best bond. Plywood generally doesn’t need to be sanded.
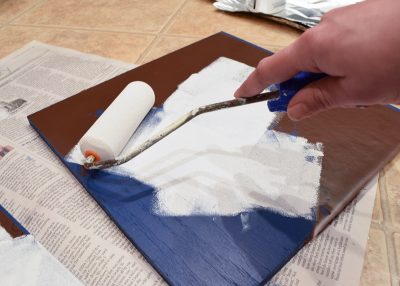
3. Paint. On the stencil, I used both gold and white exterior paint to bring in different elements. With outdoor projects, I recommend sealing or painting the entire surface. If you don’t want to paint the entire surface, you can seal with an outdoor polyurethane.
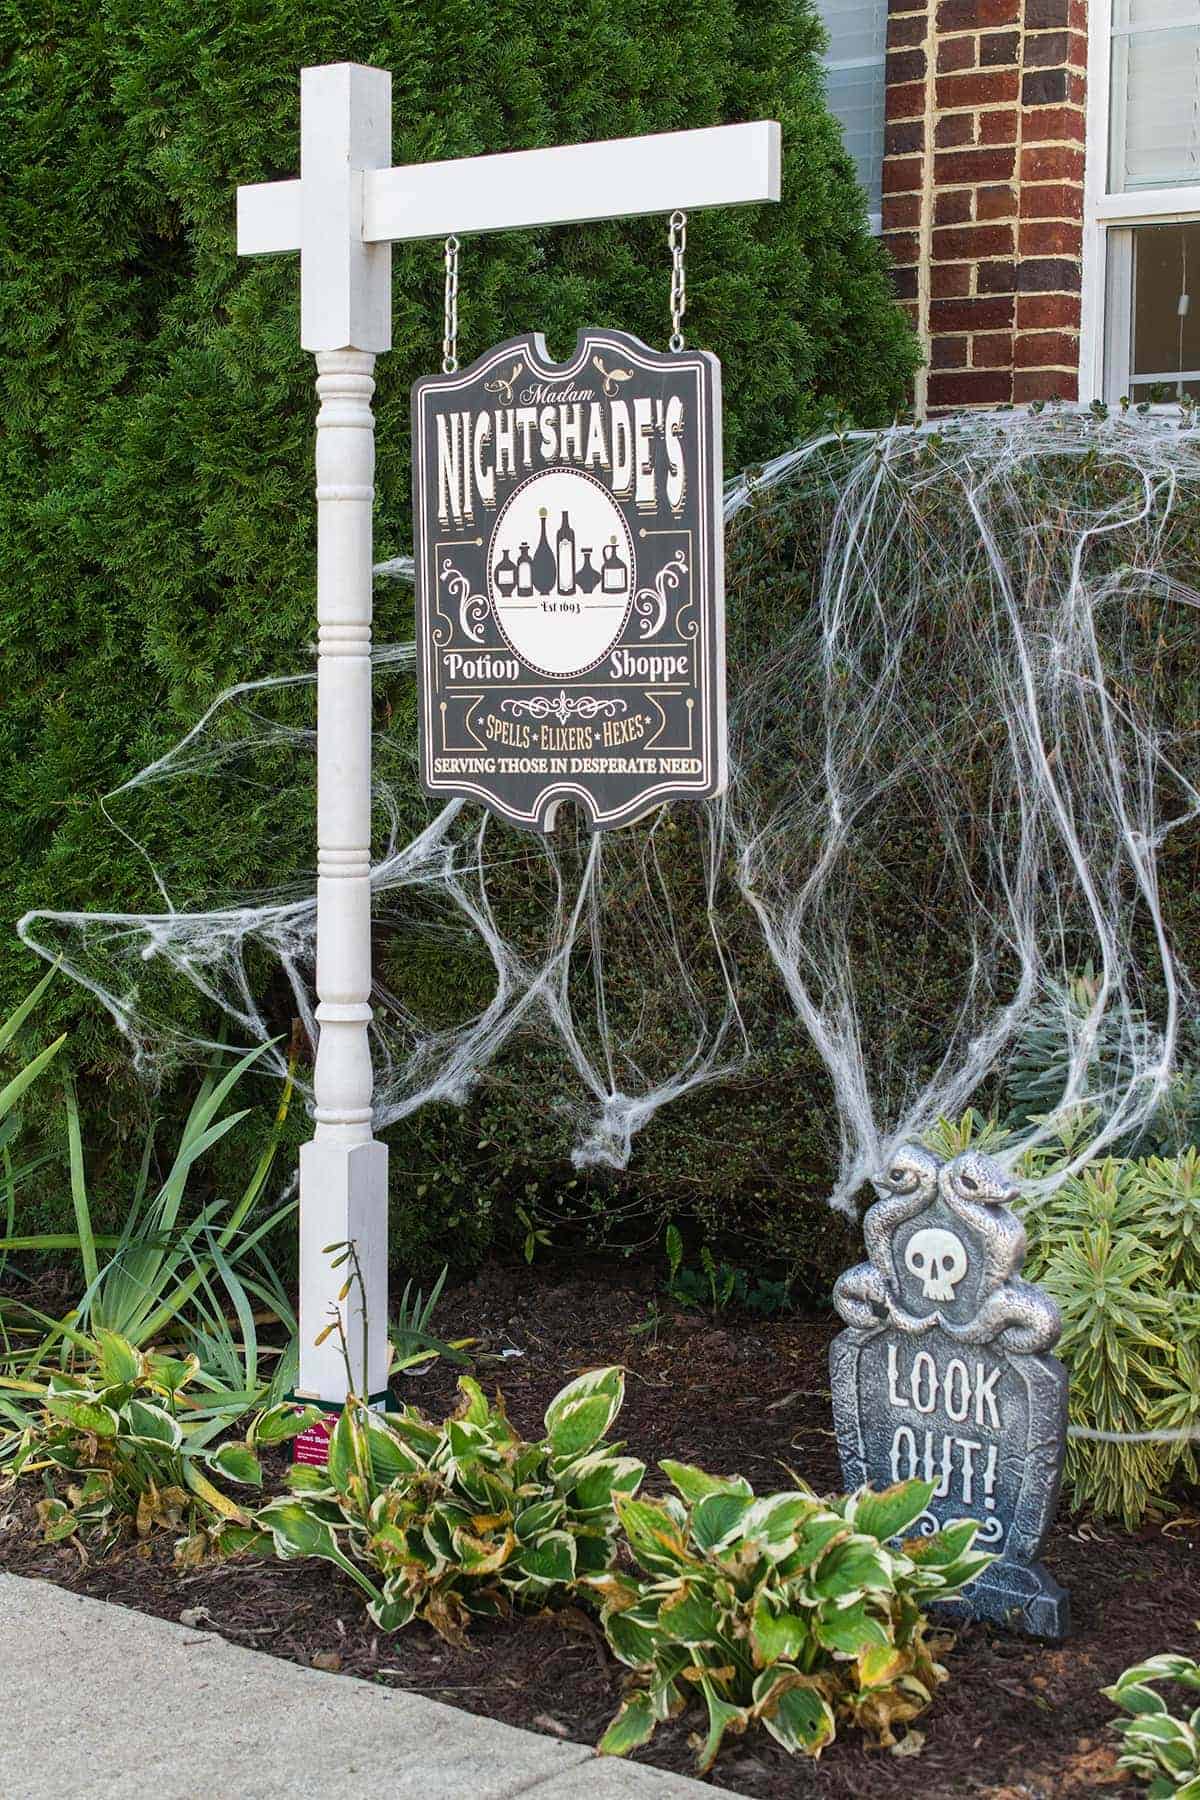
4. Hang the sign. I found these porch columns at Lowe’s for $47. We used a large drill bit and hand chisels to create the hole for a pvc board to be anchored across the top. Lastly, we attached the top with some eyelets and carabiners like these.
I have also made these types of signs to hang on mailboxes for classy house numbers or a last name and they look great.

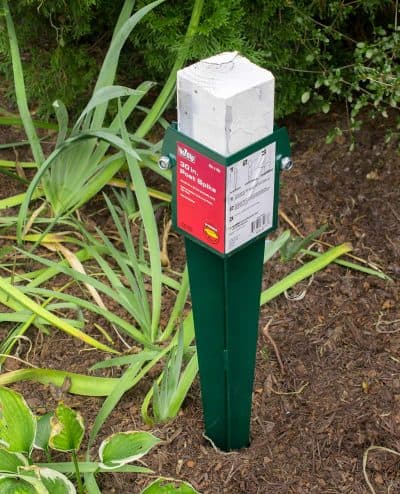
5. Anchor in the ground. I don’t plan to have this post up year-round, so we found a deep post spike and drove it in the ground. The top anchors the post nicely but we can take the post down any time we want!
Other options for anchoring include concreting the post in the ground or anchoring it with a large plant pot filled with gravel.

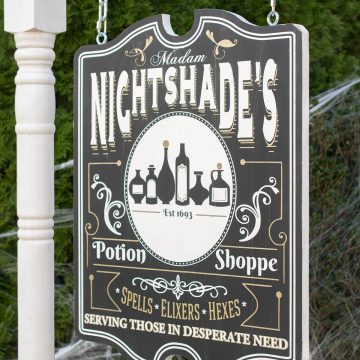
And here is how the sign turned out…
Pretty Spooky-Awesome, right?!
This sign is a part of our Witch Decor Halloween Display with Dancing Witches in a Séance and Luminaires, but it’s the one item that brings the whole style together. I also made the sign reversible, so the backside has a Santa Workshop theme, so it’s great fun!
Frequently Asked Questions
For signs and outdoor furniture, teak, cedar, and redwood are some of the best softwoods as they are resistant to both insects and rot. Pine and pressure treated wood are generally the best value. For signs and flat surfaces, waterproof plywood, such as marine plywood or Medium Density Overlay (MDO) plywood. PVC “wood” is also a great option as it will never rot, warp, and won’t be attractive to insects.
Paint is one of the best sealers as it provides the most protection against ultraviolet degradation and moisture. The seal, however, is only as good as the condition of the paint. If the paint starts chipping or flaking, the seal will be broken.
You can use outdoor rated polyurethane over raw wood or oil-based stain. It does have a tendency to amber which gives a warm, rustic look. Although exterior paint does not necessarily need a sealer, polyacrylic or water-based sealer works best over water-based stain and any kind of paint. A sealer may help the paint last longer and reduce weathering.
I made this stencil myself although a few of the components like the bottles from the Silhouette Design Store.

Grab our free series "Weekend Home Projects that will Transform Your Life" Sign up below to receive updates including free printables, organization tips, home improvement projects, recipes and more! |
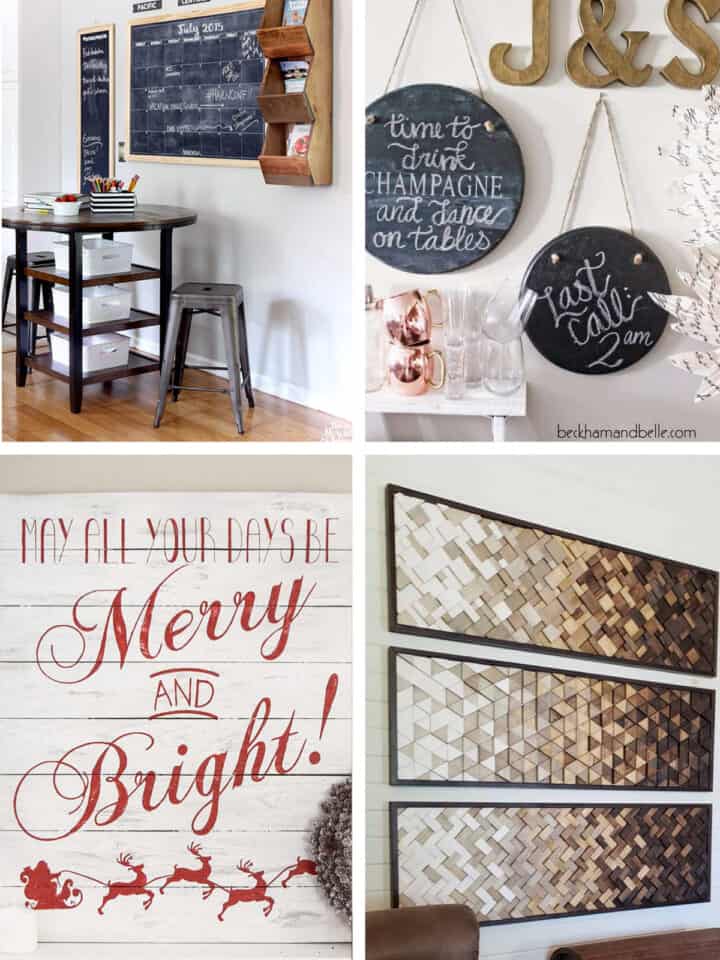
More DIY Outdoor Projects


PS I love seeing your creations! Be sure to take a photo and tag #cravingcreative on Instagram! You can also stay in touch with me through following me on Instagram, Pinterest, and subscribing to the newsletter!
How To Make an Outdoor Wood Sign
Tools
Supplies
For the Sign
- 1 Wood Sign See appropriate types of wood in the notes
- 1 Appropriate Wood
- 1 Stencils and decorations
- 1 Exterior Paint or Stain
- 1 Sealer Optional (see note)
Hanging Materials
- 4 Eyelet Screws
- 4 Carabiners
- 2 pieces Chain links
- 1 Post frame or place to hang the sign
Instructions
- Cut the wood to size. For more intricate shapes, you can use a jigsaw to cut out the template.

- Prep. Sand the edges from the cuts and, if needed, sand the top layer of the board lightly to get the best bond. Plywood generally doesn't need to be sanded.

- Paint. With outdoor projects, it's best to paint or seal the entire surface. If you don't want to paint the entire surface, you can seal with an outdoor polyurethane.

- Hang the sign, if desired. You can build a frame from these porch columns. Attached top with eyelets carabiners, and chain.

- Anchor in the ground. Build a supporting frame in a larger planter and fill with gravel or use a deep post spike driven into the ground to anchor the post frame.

Dena says
Hi, you don’t sell this do you? I was looking to make a very similar sign- for a potion shop display and yours is way better than anything I could do. Looks amazing!
Rachel says
Thank you so much – I do love it and it has lasted perfectly. Unfortunately, I do not sell my designs yet and the machine I used to make the stencil has since stopped working.
Emily says
Do you sell your cricut file?! Would love to make one of these myself! Thank you!
Rachel says
Sorry, I don’t have a shop. Too much work to manage with the website too.
Laura says
What size is your sign?
Rachel says
My particular sign is about 18×24.