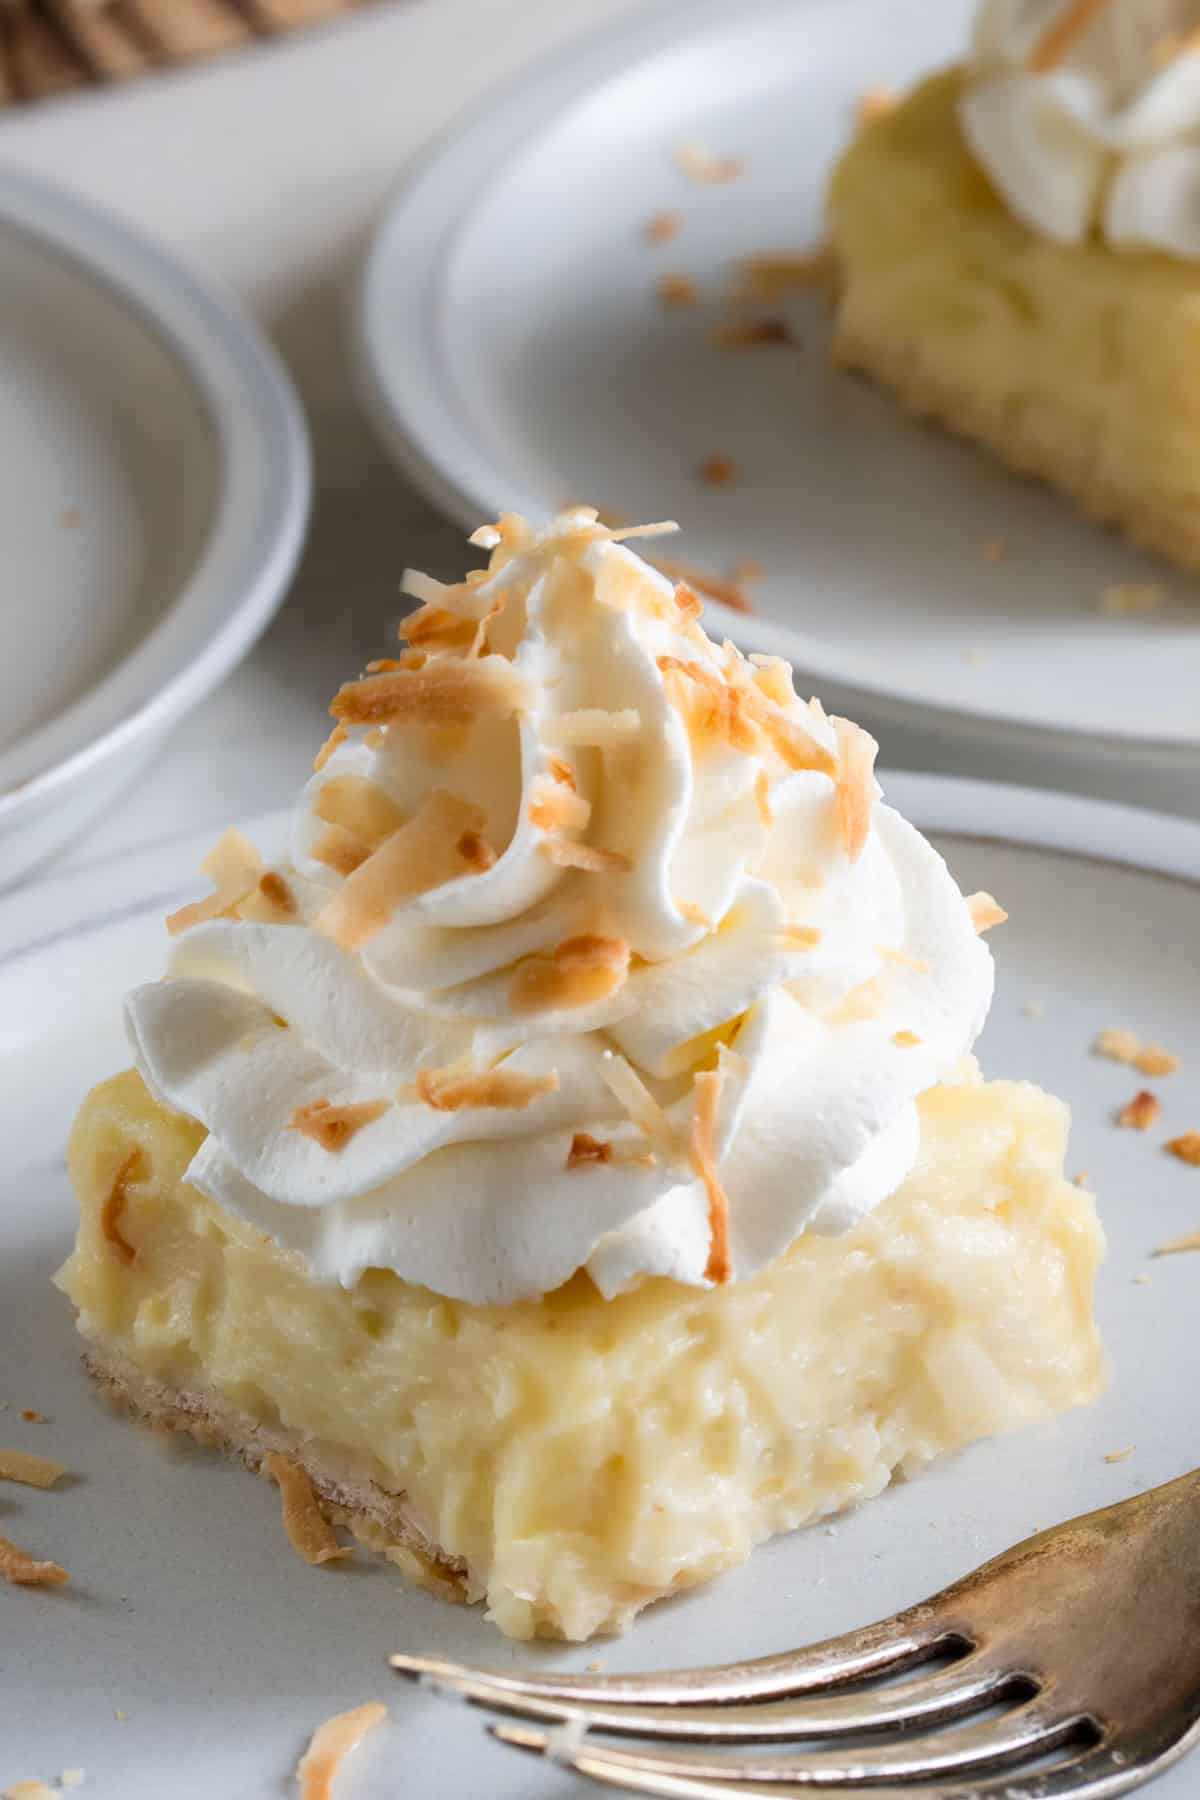
These Coconut Cream Pie Bars deliver all the creamy, dreamy indulgence of the classic. With a buttery crust, silky coconut custard, and pillowy whipped topping, each bite is light, luscious, and irresistibly nostalgic. This recipe is inspired by my Dad's lifelong love of coconut cream pie!
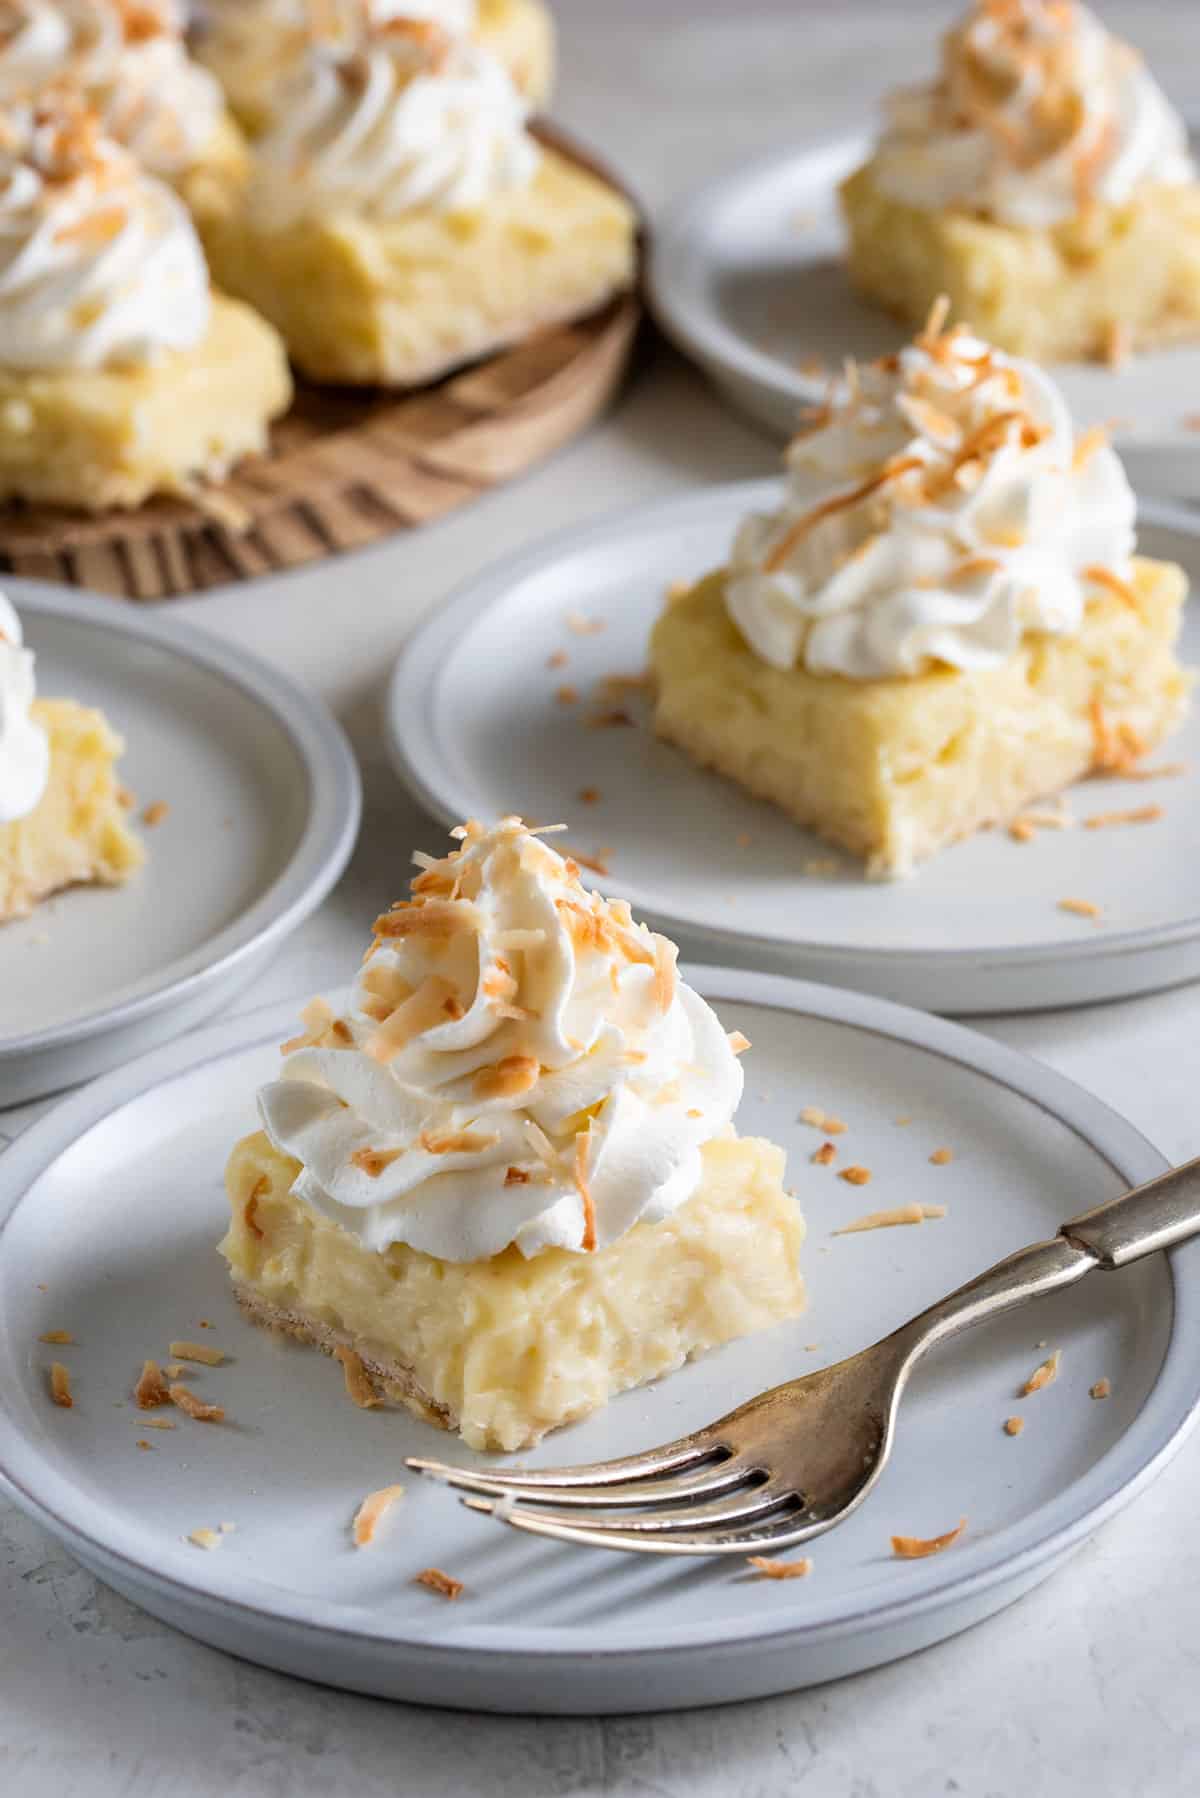
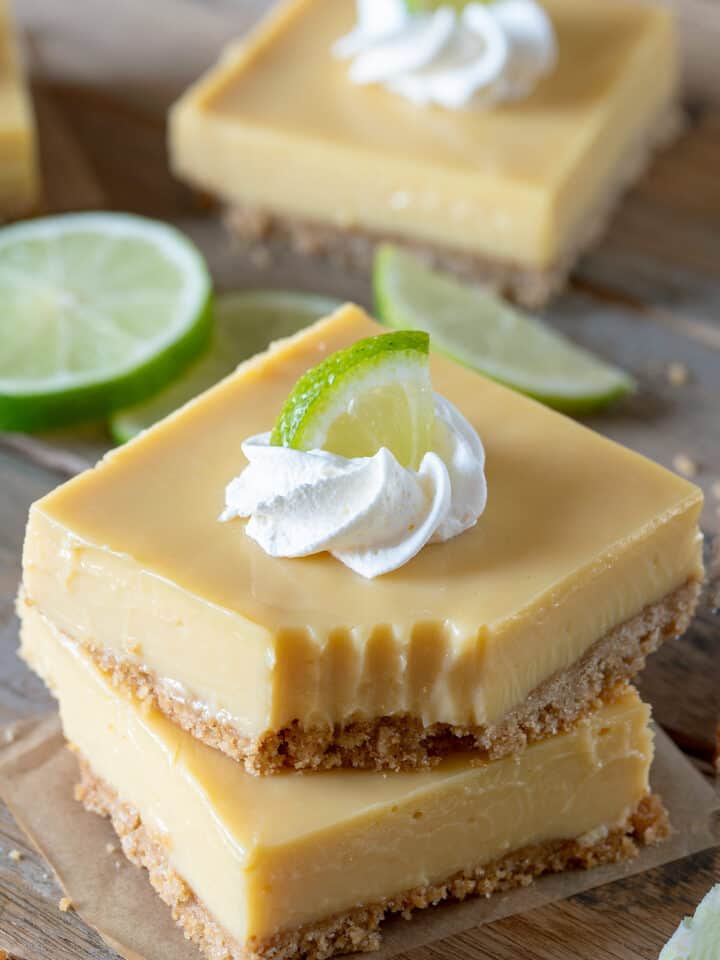
Coconut Cream Pie Bars take everything we love about the classic-the soft and creamy custard with real coconut milk, the tender crust, the fluffy whipped topping-and turn it into an easy, sliceable dessert bar that's perfect for sharing. The toasted coconut on top adds a warm, nutty crunch and just the faintest whisper of caramel. Bar desserts like Lemon Bars, Easy Strawberry Cheesecake Bars, or my personal favorite, Key Pie Lime Bars, have a special place in my recipe box. Simple to slice into neat portions and always a crowd-pleaser at potlucks, brunches, and holidays.
This recipe is extra special to me because I’ve been perfecting it for my dad's birthday, who has a lifelong love of coconut cream pie and it’s also developed an impressive fan base during all our final taste tests.
Ingredients and Notes
Need a substitute or maybe not sure where to find it in the grocery store? That’s what this section is for. While I am not advocating any particular brand for this recipe, you will need:
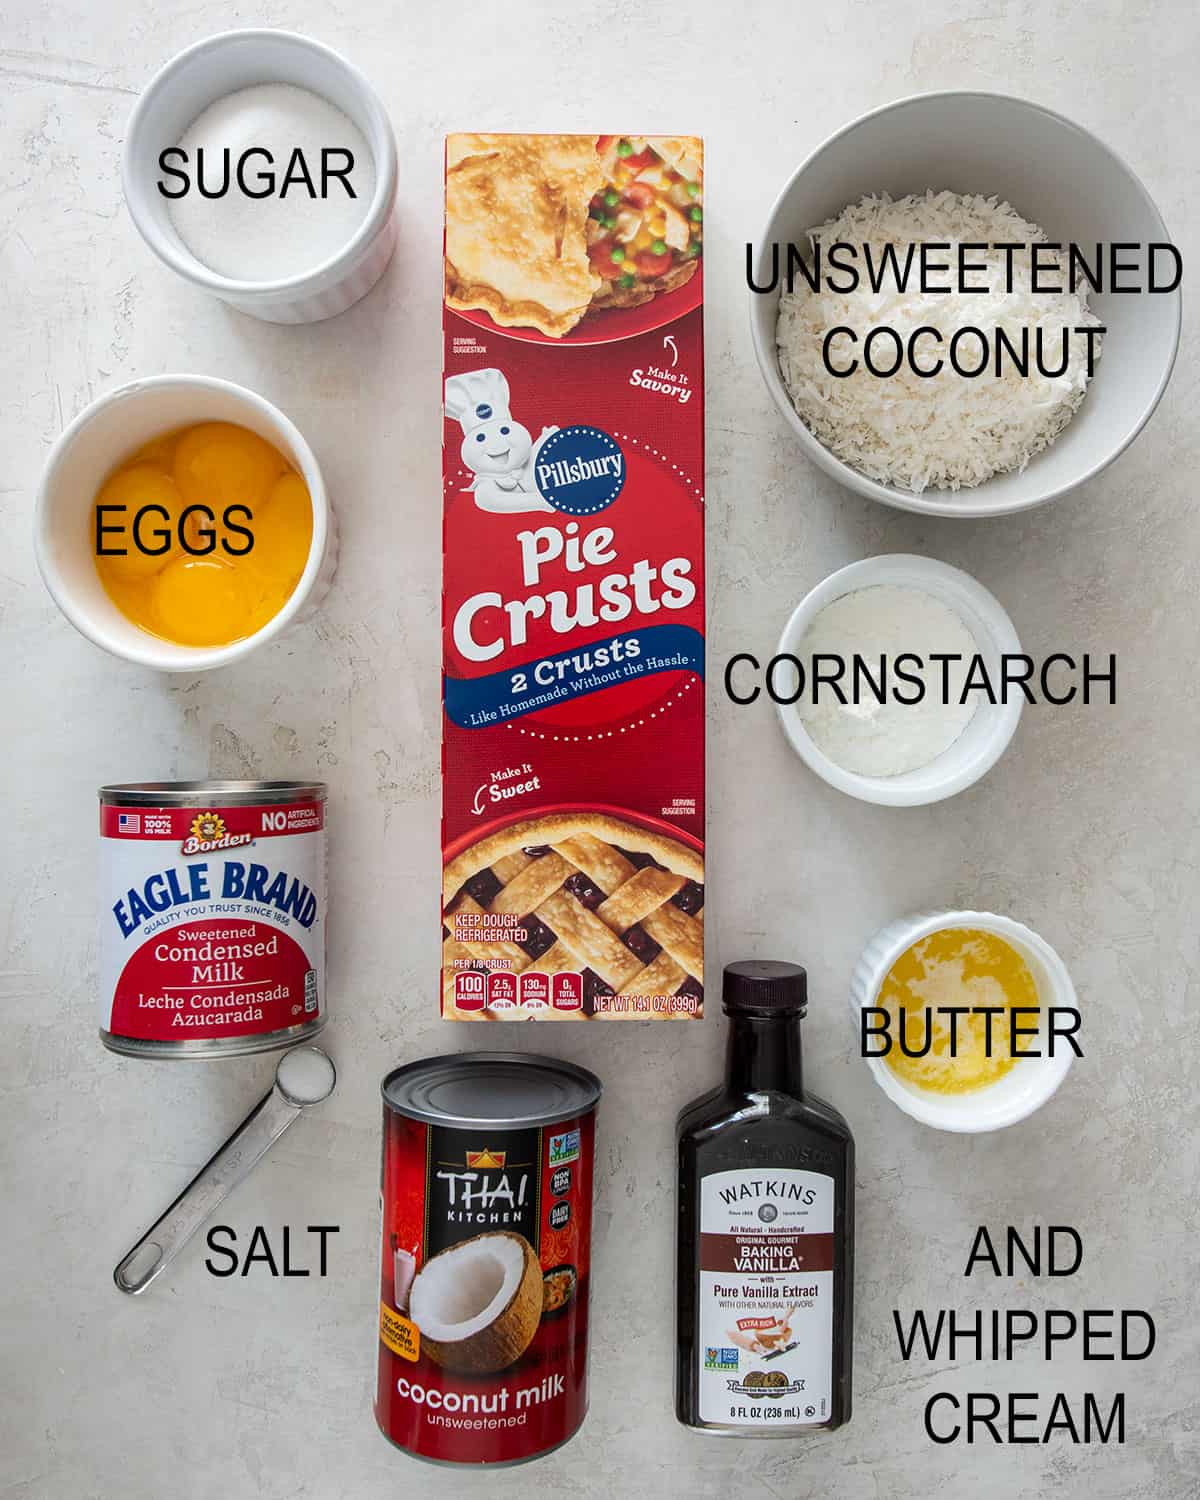
- Roll-out pie crust – You'll find this in the refrigerated section near the canned biscuit dough. I like to use a pre-made crust for ease, but a homemade crust, shortbread crust or graham cracker crust works too. They are sweeter.
- Egg yolks – Large eggs are standard and should be set out about 30 minutes before use or when starting. These are key to thickening the custard and giving it that rich, velvety texture.
- Cornstarch – Don't swap for flour-it won't give the same smooth finish.
- Full-fat coconut milk– Look in the Asian or international foods aisle-make sure it's unsweetened and full fat.
- Sweetened condensed milk – This adds creaminess and sweetness in one step. It's not interchangeable with evaporated milk.
- Granulated sugar
- Salt
- Unsweetened shredded coconut – Get this in the baking aisle, not the sweetened kind near trail mix. The first cup goes in the filling; the ½ cup gets toasted for topping. Toasting makes it golden and nutty-so worth it!
- Melted butter – Salted or unsalted is fine depending on your preference. I use unsalted.
- Vanilla Extract – Pure vanilla if you can.
- Heavy whipping cream
- Powdered sugar – You can also use granulated sugar, but powdered sugar dissolves a bit more smoothly.
Quick Tip!: I prefer homemade whipped cream personally, but you can use store bought as a shortcut.
Recipe Visual Guide
I take photos along as I bake the final recipe to help with any questions and to give visual confirmation that this is the best coconut cream pie I have ever had (That is not hyperbole!)
I highly recommend a glass pan or a dull (not non-stick) metal pan. This type of crust has a tendency to shrink so I have some tips below.
Mix the egg and cornstarch separately from the milk as we need to temper the eggs (to warm them slowly to keep from becoming scrambled eggs).
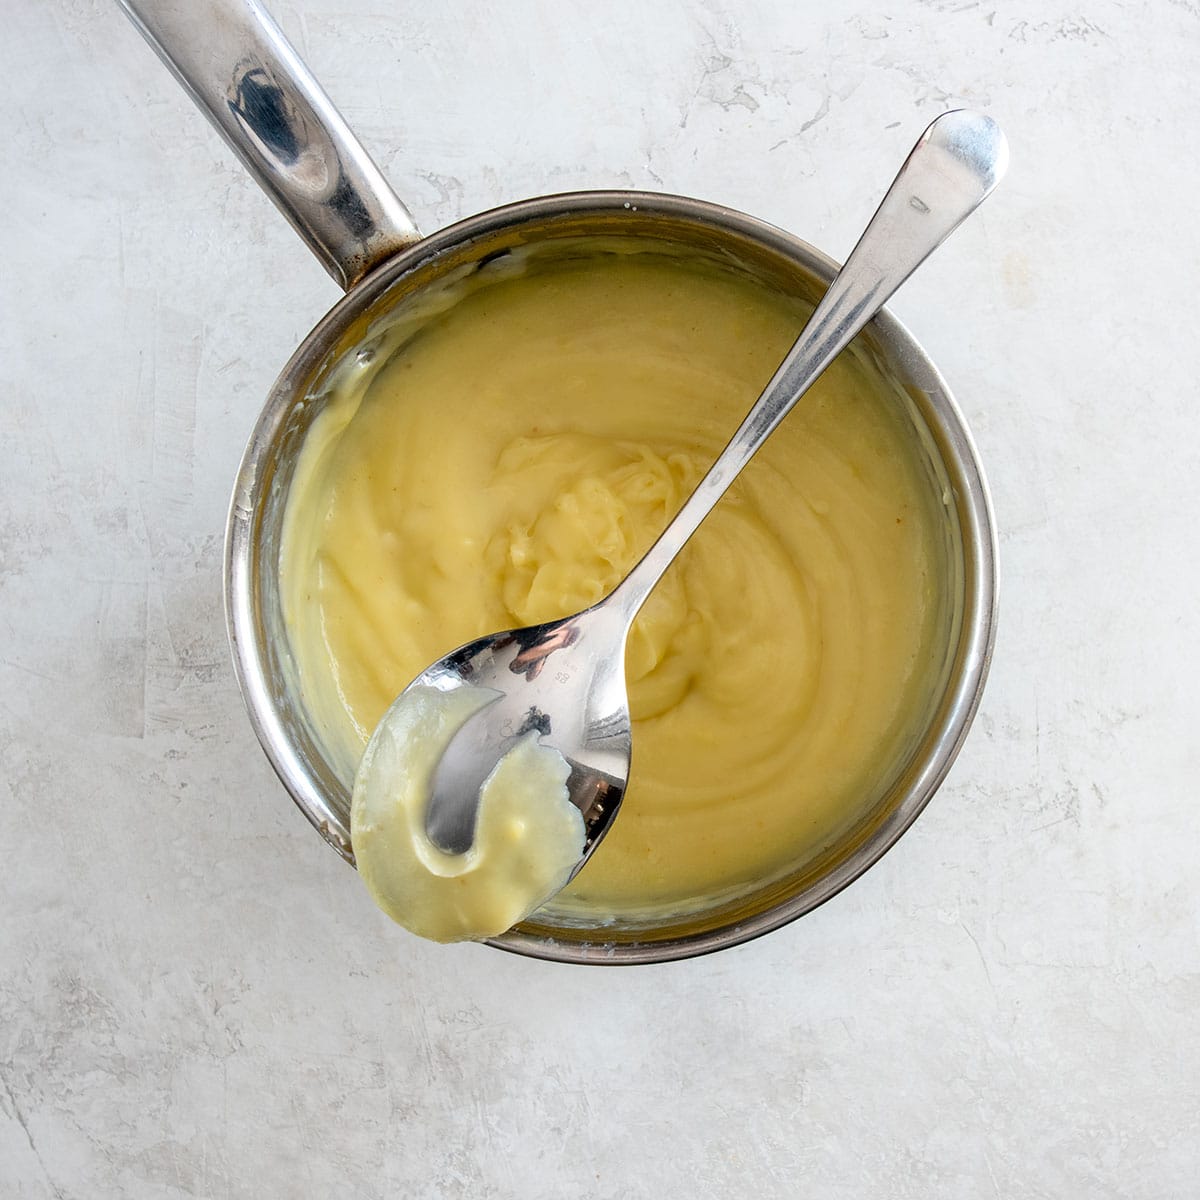
The custard should stick to the back of the spoon when done. It should look like pudding when ready to pour over the crust. For a thicker, more flavorful filling, you can boil it about a minute longer. The filling may then look like mashed potatoes.
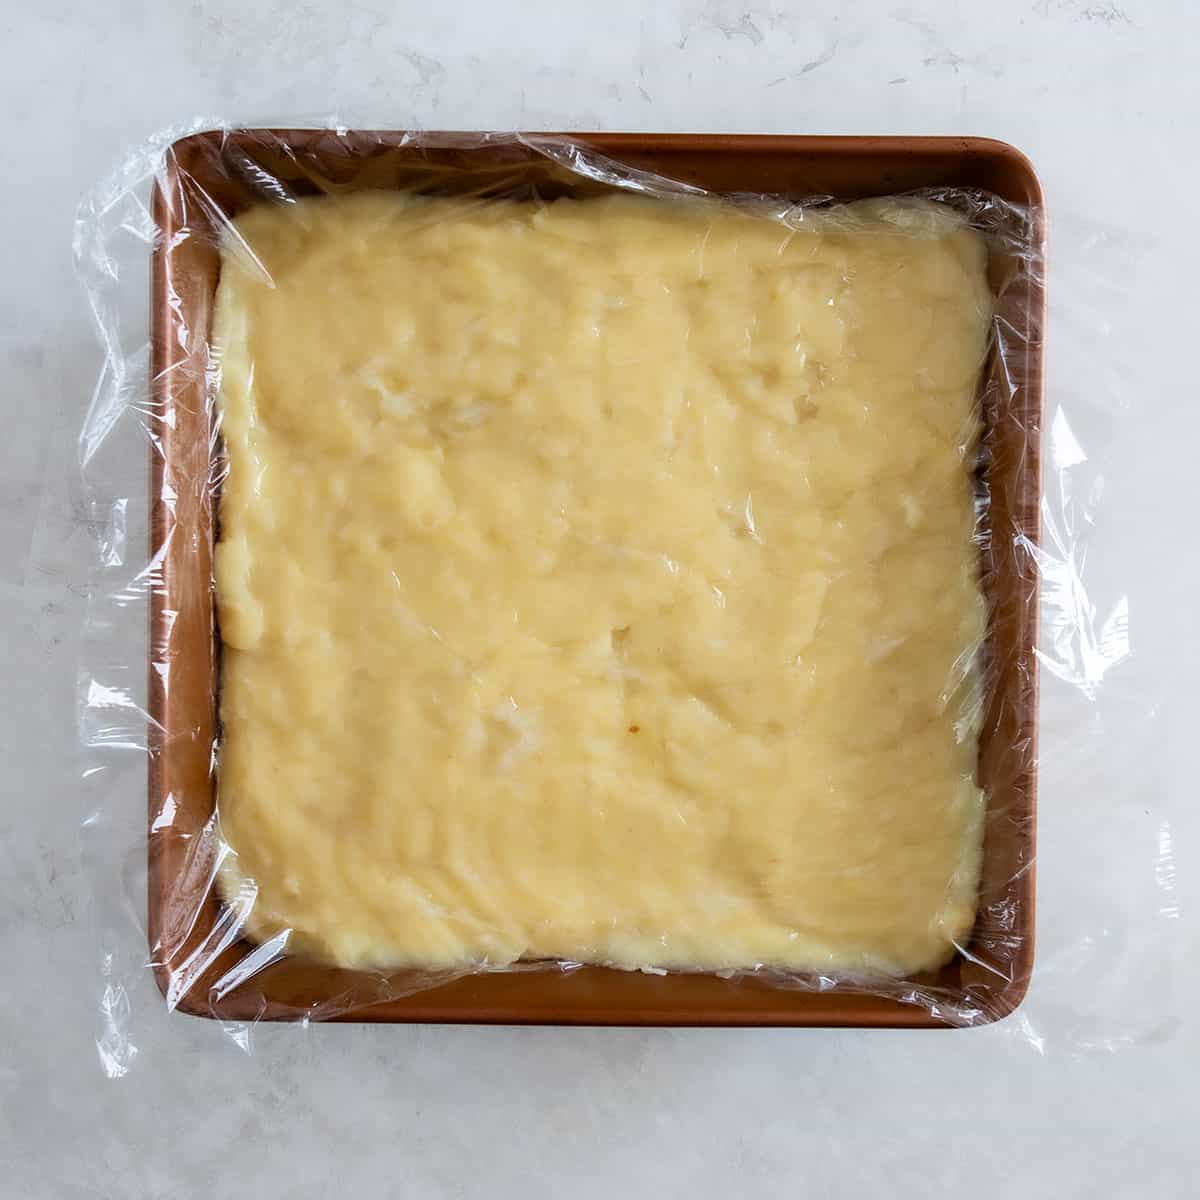
Cover with the plastic directly on top of the bars for cooling. This will keep any skin from developing or drying out.
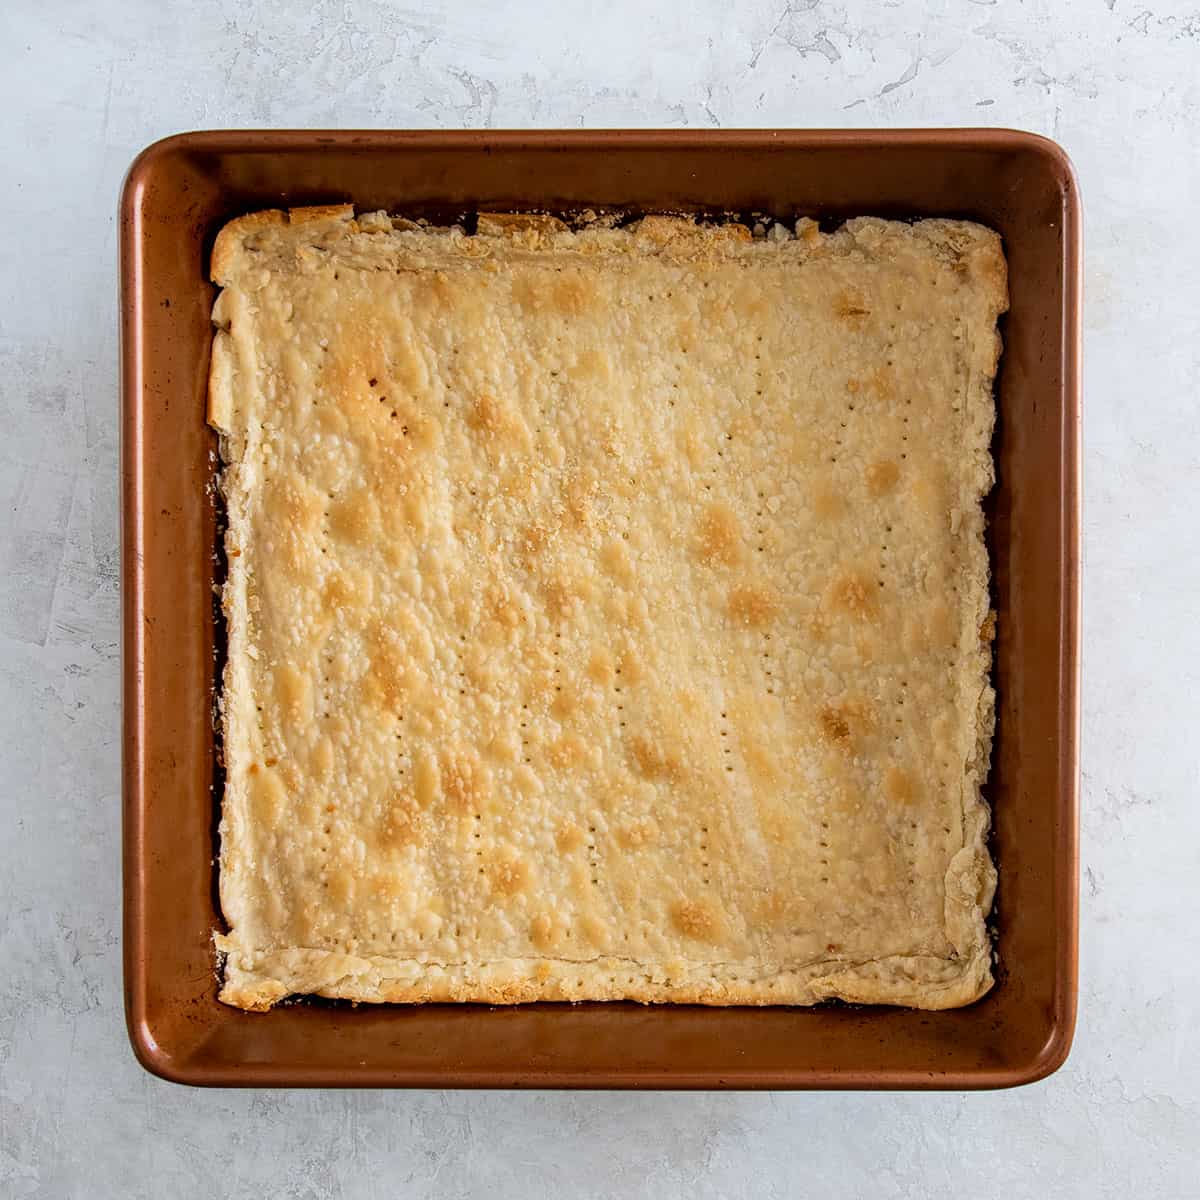
Pie Crust Tips
One of the troubles that I had while developing this was the crust shrinking too much. Alternatively, you can use a shortbread crust like I have in my lemon bars, which isn’t prone to shrinking. Here are some tips to minimize any shrinking:
- Make sure the dough is fully thawed and sits on the counter for about 15 minutes before putting into the pan.
- Use a glass baking dish or a dull metal pan. Non-stick pans will cause more shrinkage.
- Do not stretch the dough. Lay gently and flatly into the pan, then shape.
- Don’t push the dough into the sides. This stretches it. Instead, press evenly well so that it sticks, especially in the corners.
- Your dough should reach at least 1 inch on the sides. If there are any areas that do not, you can cut some excess from another area to seal into that area.
- Prick the dough with a fork generously across the bottom and sides.
- Bake just until it starts to brown. For me, this was just under the instructions baking time.
- Immediately after baking, the crust will be most pliable to trim excess off the sides.
FAQs
I do not recommend skipping this step. Blind baking, baking the crust sans filling, keeps the pie crust from shrinking excessively.
Fridge: These should be kept in an airtight container in the refrigerator and enjoy within one week. If you like them room temperature rather than cold, pull a few out for an hour or two on the countertop and enjoy.
Freezer: These may be frozen for up to several months. Let cool completely and cut before freezing.
You can, but it will make the bars significantly sweeter. I prefer unsweetened for better balance.
Yes! These bars are great made the day before. Just wait to add the whipped cream and toasted coconut until right before serving or transporting.
Yes. I would recommend the kind in tubs in the freezer section rather than those found in an aerosol can, like Reddi-whip, as these tend to deflate quickly.

Not Sure
What's For Dinner?
Signup for recipe updates and get a free cookbook of Easy Weeknight Supper Solutions!
More Homemade Bakery Delights
PS. If you make this recipe, leave a COMMENT AND A STAR RATING in the comments section at the bottom and be sure to take a photo and tag it #cravingcreative on Instagram! I appreciate you for taking the time to read about me and my family recipes.

Coconut Cream Pie Bars
Equipment
- 8×8 Square baking dish with deep sides Glass preferred as a non-stick pan may cause the dough to shrink.
- Electric Mixer
- Medium Saucepan
Ingredients
Crust
- 1 pre-made roll out pie crust *See note for other options
Filling
- 4 Large egg yolks
- ¼ cup Cornstarch
- 1 14-oz can Full fat, unsweetened coconut milk
- 1 14-oz can Sweetened Condensed Milk
- ½ cup Granulated Sugar
- ¼ teaspoon Salt
- 1 cup Unsweetened, shredded coconut
- 2 tablespoon Melted Butter
- 2 teaspoon Vanilla Extract
- ½ cup Unsweetened, Shredded Coconut for topping
Whipped Cream (or Substitute Store Bought)
- 4 tablespoon Powdered Sugar or Granulated Sugar
- 2 cup Heavy Whipping Cream
- 1 teaspoon Pure Vanilla Extract
Instructions
Prepare the Crust:
- Thaw the Pie Crust. Make sure the pie crust is thawed the night before. You can pre-prepare the pie crust up to 3 days ahead of time. Cover and keep in the refrigerator until ready to use.
- Blind bake the crust. This recipe is best in an 8×8 square glass or dull metal baking dish. To keep the pre-made dough from shrinking, lay it in the pan without stretching and press into to the sides, corners, and bottom so that it sticks in place. If your dough doesn't quite reach an area up the sides about ½ inch, you can cut a bit of excess from the sides to add to that area, sealing them together. Prick bottom and sides generously with a fork. After baking, you can trim any excess crust and set aside to cool completely.
For the Coconut Cream Filling:
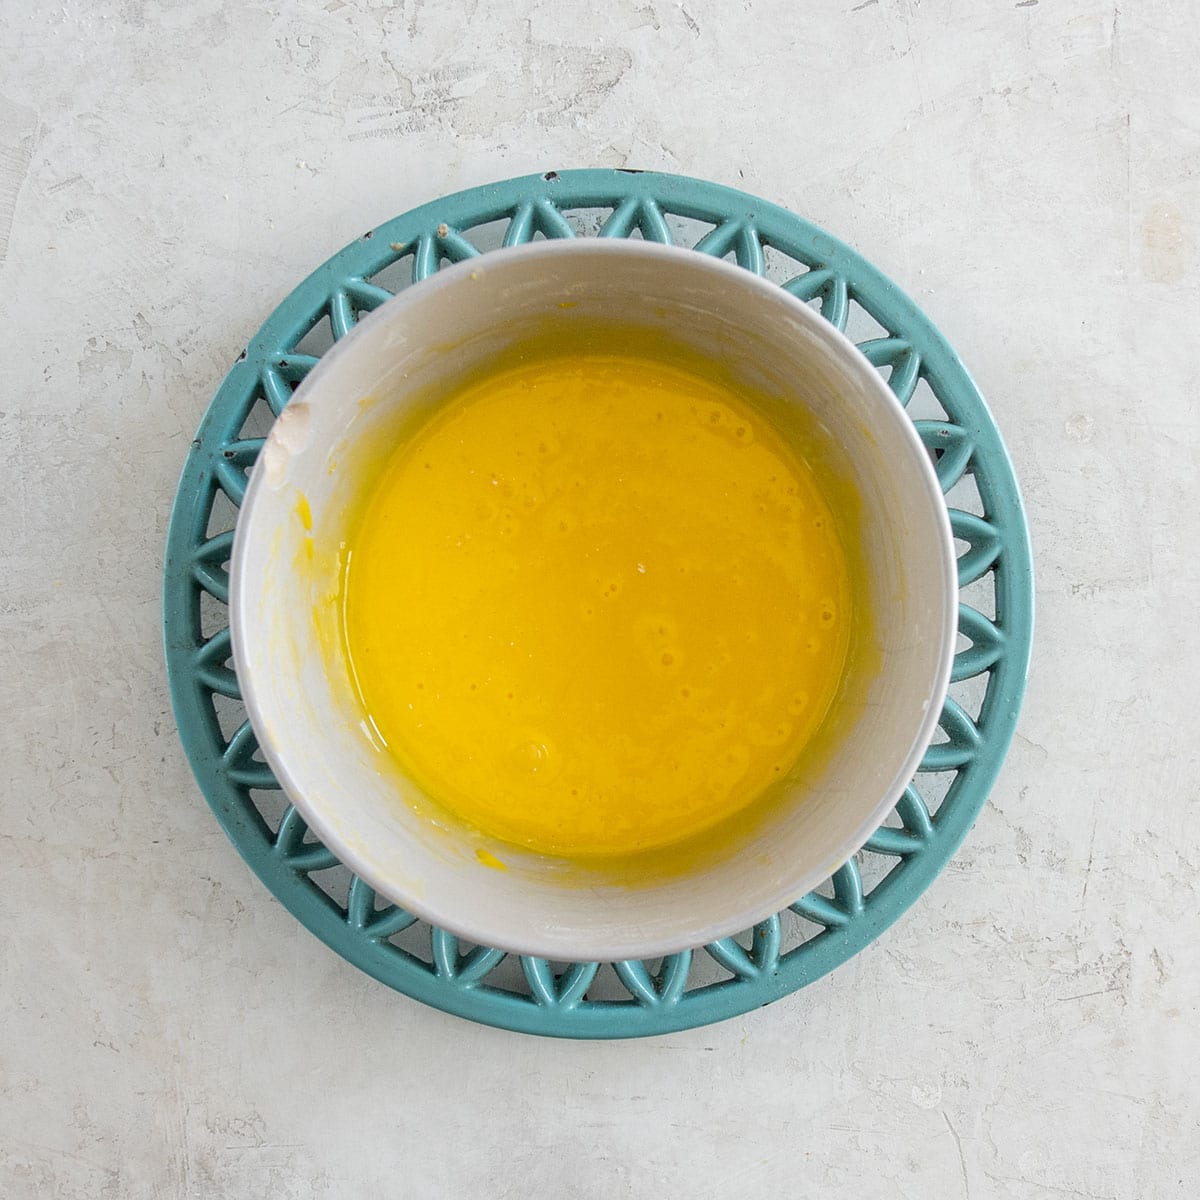
- Egg mixture. In a medium bowl, whisk the 4 Large egg yolks and ¼ cup Cornstarch together.
- Start the Custard. In a medium saucepan over medium heat, whisk 1 14-oz can Full fat, unsweetened coconut milk, 1 14-oz can Sweetened Condensed Milk, ½ cup Granulated Sugar, and ¼ teaspoon Salt together. Whisking occasionally, bring to a boil. Boil for 2 minutes, then reduce temperature to medium-low heat. Note: This produces a pudding like texture. For a thicker, richer custard, boil an additional minute.
- Temper the egg mixture. Remove about ½ cup of the saucepan mixture. While whisking, slowly pour it into the egg yolk mixture. Keep whisking so they don't scramble. Then slowly incorporate and whisk the egg and custard mixture back into the saucepan.
- The custard will immediately begin to thicken. Whisk and cook for slightly over 1 minute. The custard is ready when you can draw a line in the coating on the back of a spoon and the line stays. Remove from heat and stir in the 1 cup Unsweetened, shredded coconut, 2 tablespoon Melted Butter, and 2 teaspoon Vanilla Extract.
- Pour the warm filling over the cooled pie crust. Cover tightly with plastic wrap directly on the surface of the custard. Refrigerate for at least 3 hours or overnight until chilled and thickened.
For the Topping:
- Toast Coconut. Preheat oven to 350 degrees. On a sheet pan, place the remaining ½ cup Unsweetened, Shredded Coconut and bake for 5 to 6 minutes or until the coconut is lightly toasted. Rotate pan and stir around the coconut once in the middle of baking.
- Homemade Whipped Cream. Using a hand mixer or a stand mixer with a whisk attachment, whip the 2 cup Heavy Whipping Cream,4 tablespoon Powdered Sugar, and 1 teaspoon Pure Vanilla Extract extract on medium-high speed until medium peaks form, about 3-4 minutes. When you lift the beaters or whisk out, a peak forms that holds for a moment, but then gently bends over at the tip. If you like a stiffer whipped cream, beat an additional 2-3 minutes or until the peaks stand straight up and look more rigid.
- Top the Bars. Pipe or spread the whipped cream on top. Garnish with the toasted coconut, if desired. Chill the bars uncovered for up to a few hours or serve immediately.
Recipe Notes
Freezer: These may be frozen for up to several months. Let cool completely and cut before freezing.
Rachel says
Welcome to the comment section! Here you can leave me your feedback with a star rating. Readers, like yourself, can find comments helpful. In testing this recipe, I discovered there are many more people who love this dessert than I knew. And most exclaimed that the final edition was the best they had ever had!