Thinking about using a paint sprayer but not sure where to start? We used a spray gun to paint our basement walls-trim and all-and it was a total upgrade. Follow along as we share the steps, sprayer techniques and tips, and real-life lessons we learned. Skip the guesswork and get pro results without picking up a roller.
Now that all of the box trim and crown molding installation is complete, it’s time to tackle painting the walls in our newly finished basement. Whereas traditional flat walls may be relatively easy to paint with a roller, box trim increases the level of difficulty. We wanted an efficient way to get a smooth, professional-looking finish. So, we broke out the paint sprayer-and honestly? We're never going back.
Follow along as we walk you through how we painted our basement walls with a spray gun-from prep to cleanup-so you can skip the trial & error and get great results the first time. Whether you’re working with custom trim design or simply want to speed up your paint process, this guide has you covered.
Should You Spray or Roll Your Walls?
If you’re staring at a big paint project and wondering whether a sprayer is worth the hassle, here's a quick breakdown of when spraying is a smart choice-and when a roller might be the better bet.
- Spray if you're working with a large, open space.
Paint sprayers really shine where there’s minimal furniture to work around. - Roll if you're doing a furniture packed room or only covering one wall.
For small spaces or accent walls, rolling is often faster and doesn't require as much cleanup. In those cases, it gives you more control with less prep. - Spray if you’re working over trim or crown molding.
Trim generally has to be hand painted, which can be very time consuming. If you’re color drenching the walls and trim the same color, spraying is a lifesaver and provides a smoother finish. - Spray if you want the smoothest possible finish.
Sprayers eliminate any chance of “flashing” - where you see roller lines in your paint. It's the reason we love spray painting cabinets, too. - Roll if you're not comfortable masking and prepping.
Spraying requires more prep than rolling-period. If you don't want to cover every surface, a roller is easier to manage. - Ready to roll? Read my secrets to painting without brush marks.
💡Pro Tip!: Not all sprayers are created equal. If you're unsure which type you need, check out our guide to choosing the right sprayer before you dive in.
Tools and Supplies You'll Need
Before you start spraying, here's everything we used (or wish we had on hand) to make the process smoother and the results cleaner. Click each item to see exactly what we used:
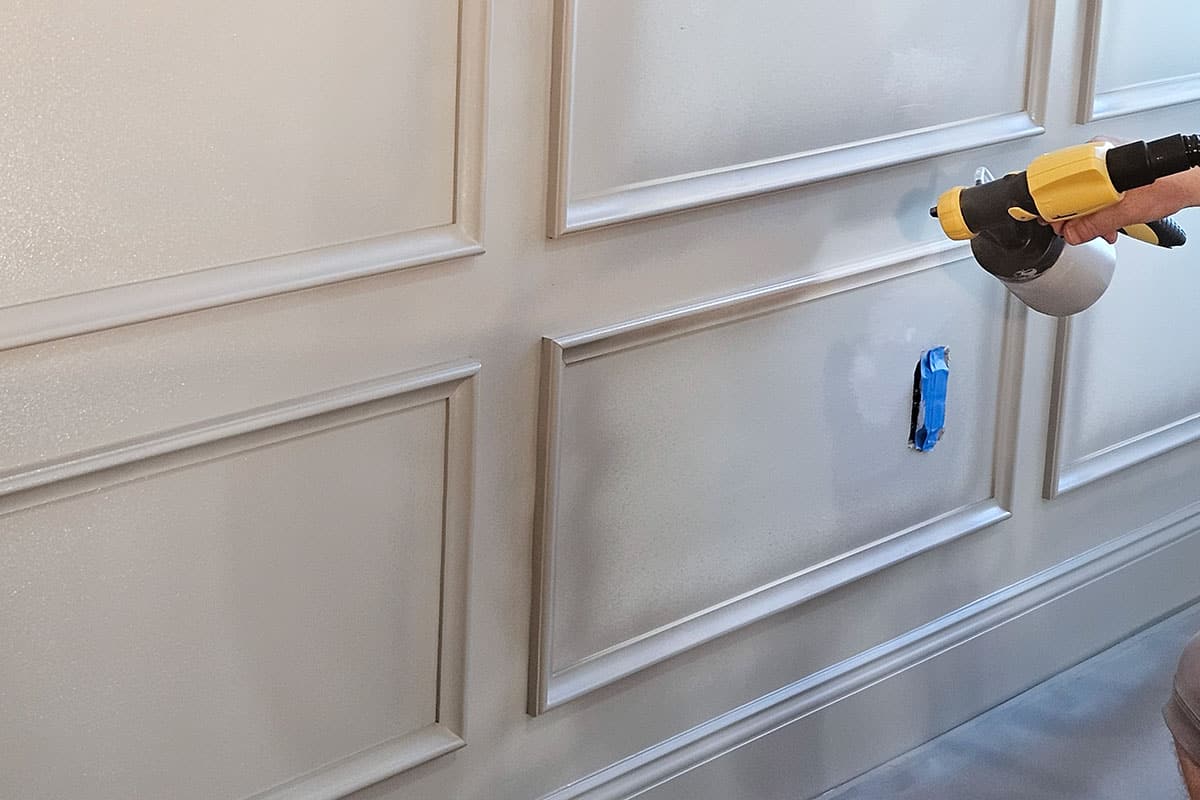
- Paint sprayer - While an airless sprayer is my overall preference, we’re demonstrating this project with an HVP sprayer because it’s a bit more beginner friendly, albeit slower to spray. We also want more precision on the box trim without worrying about overspray or drips.
- Drop cloths or plastic sheeting – I recommend this type for doors and ceilings because of how it clings. I prefer heavy duty thickness for flat areas like floors and windows, as it’s less likely to blow around and into your paint. Contractor’s paper is also a great option for floors.
- Painter's tape
- Respirator or mask
- Safety goggles – Absolutely necessary for ceilings- trust me!
- Paint stir sticks – If you’re using old paint, put it through a sieve to remove any particles that could clog the sprayer.
- Extension cord
- Rags and a bucket of water - For quick cleanup of mistakes or drips.
How to Prep Your Walls for Spraying
Wall prep is pretty standardized:
- Fill nail holes or dings, then sand smooth.
- Wipe down the walls and corners with a damp rag to remove dust and cobwebs.
- Vacuum thoroughly-especially near baseboards or box trim. The sprayer can kick up dust from anywhere.
- Prime large drywall patches with a brush so they don’t flash through the paint and feather the edges so there aren’t visible lines.
Masking: The Key to a Clean Finish
This is where most of your time will go-but it's worth it. Overspray is real.
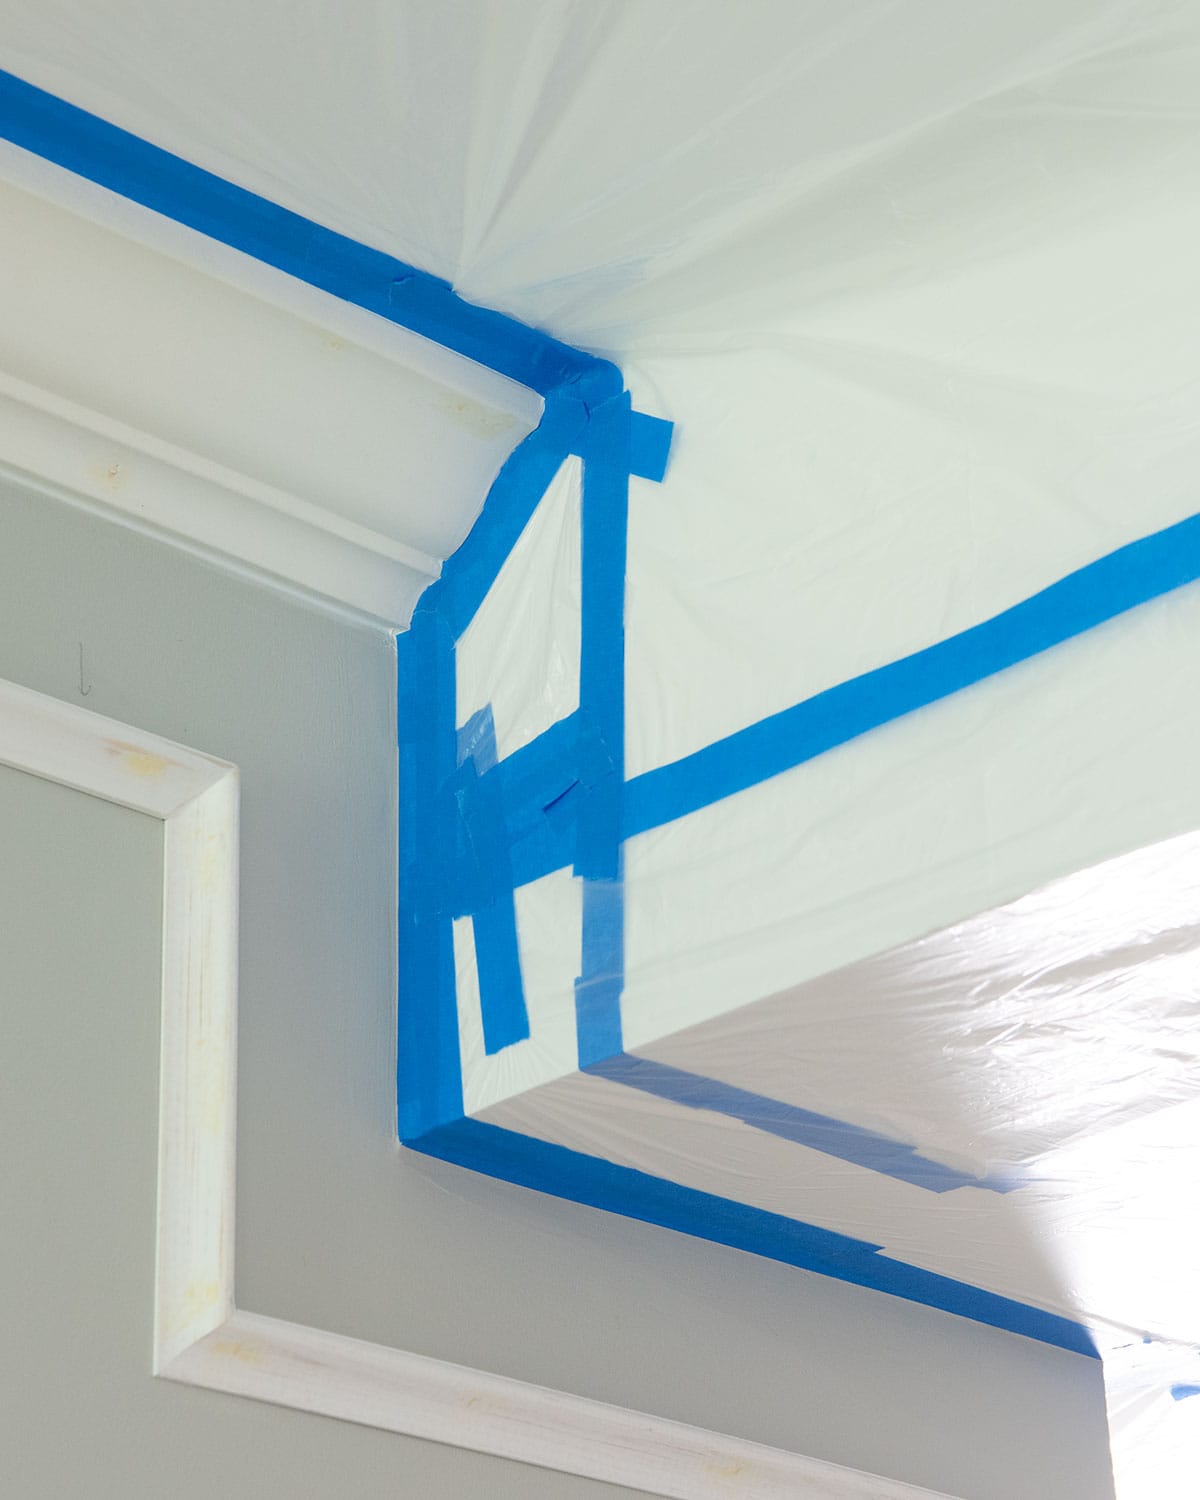
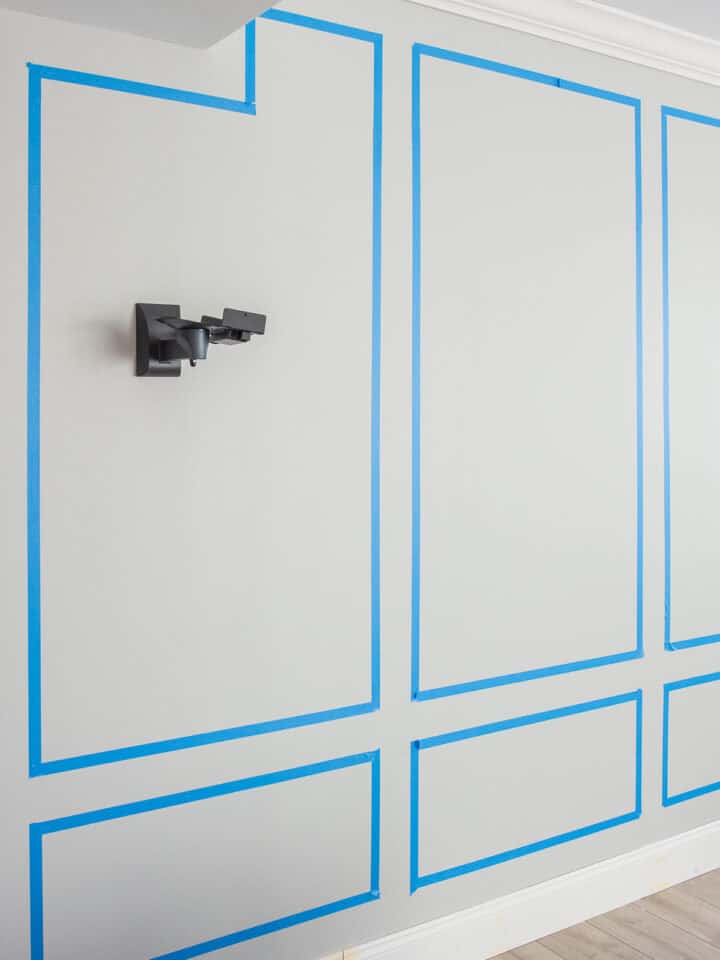
Use a Double Tape Layer for Cleaner Edges
Tape the edges of trim and features as you normally would. When you’re ready to hang plastic or masking film, tape your material to the edge you’ve already made. This gives you more control, especially in corners or other tight spots.
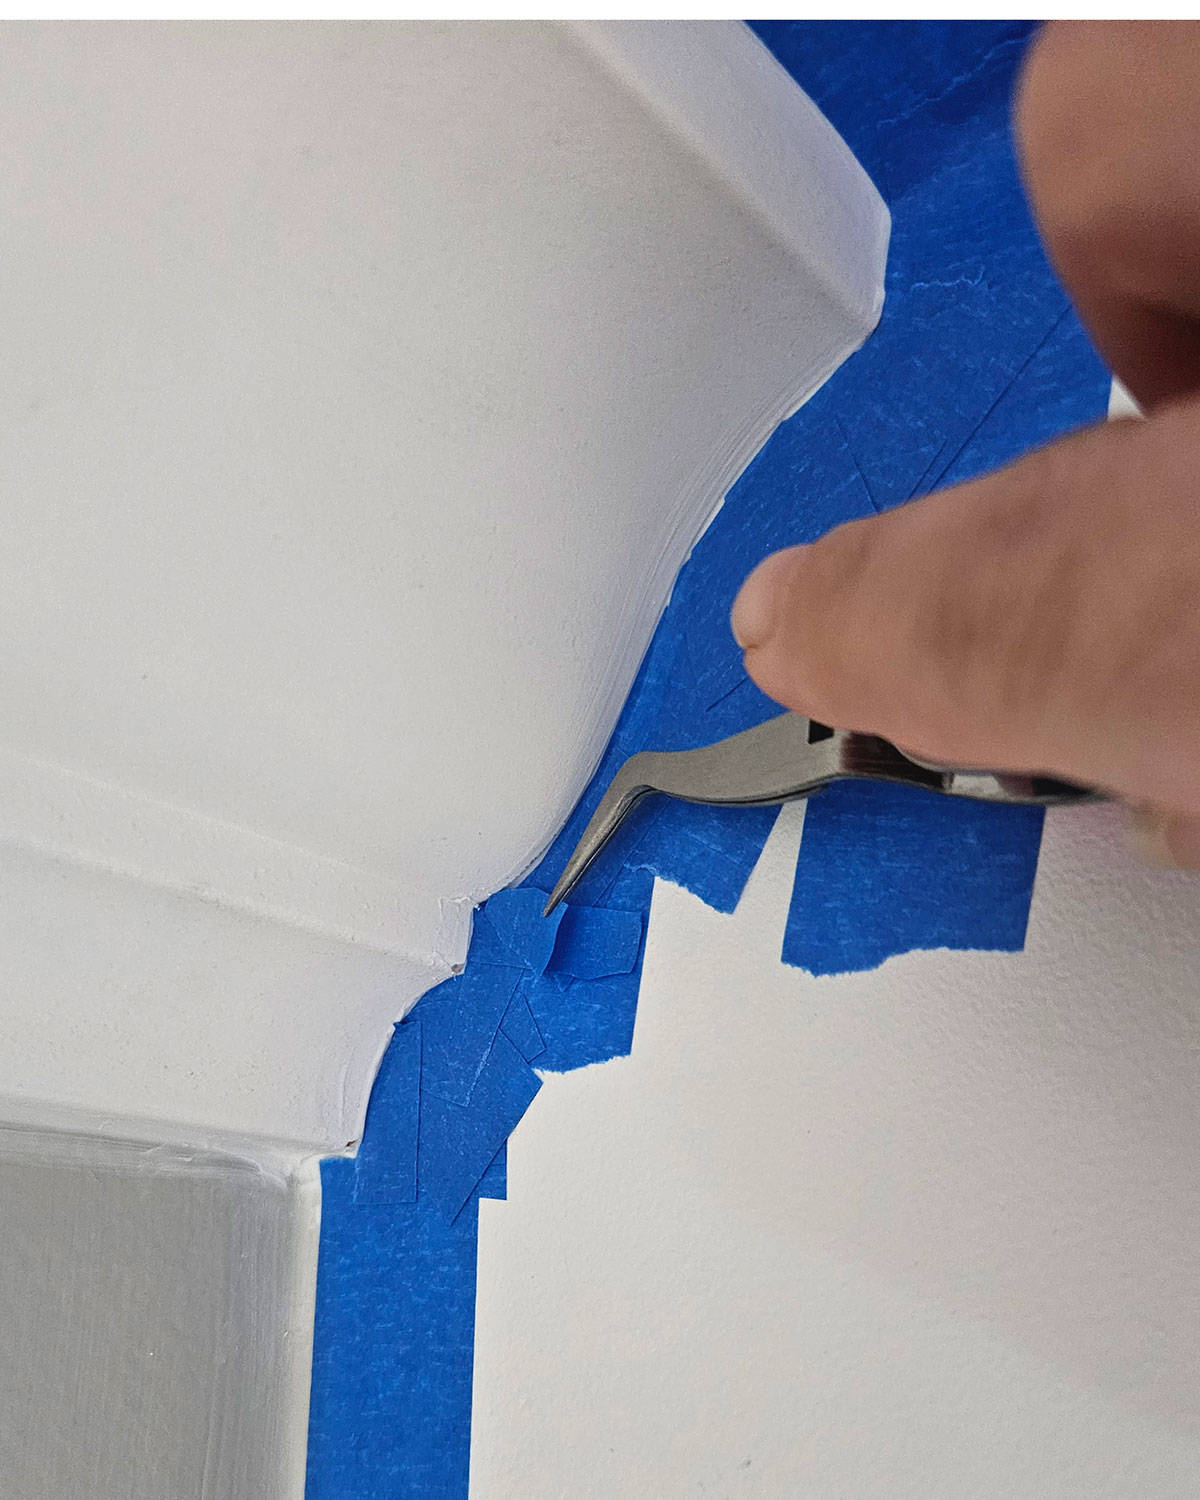
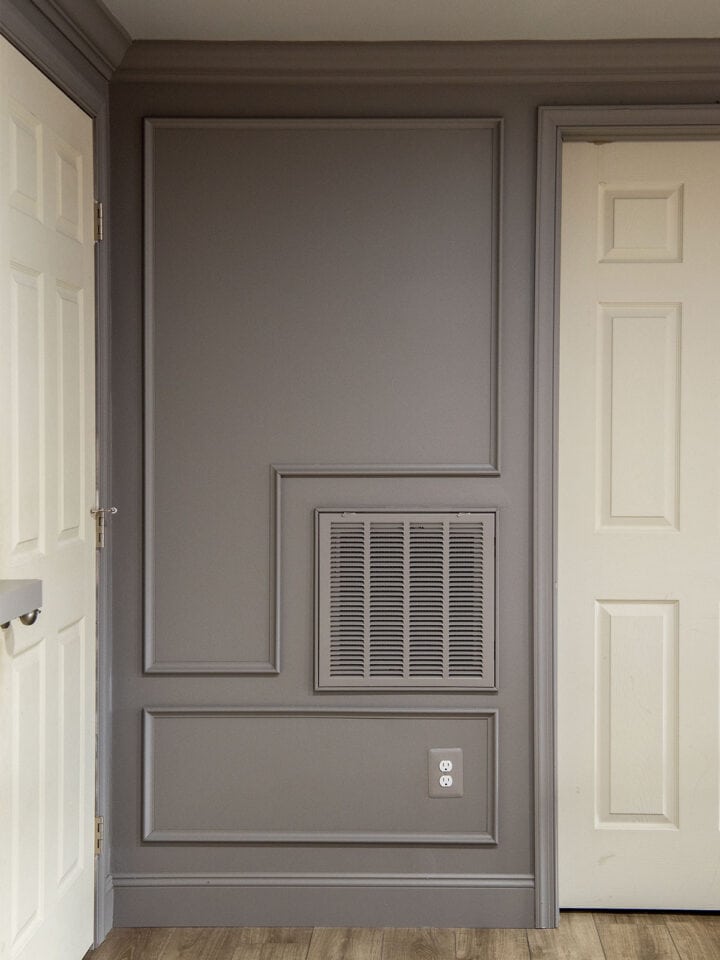
Handling Tricky Areas
Crown molding and cabinetry gave us the most trouble. After laying the first tape line, we cut plastic to fit odd angles and helped it lay flat and wrap around the soffit. A small utility knife works well for shaping around curves or corners.
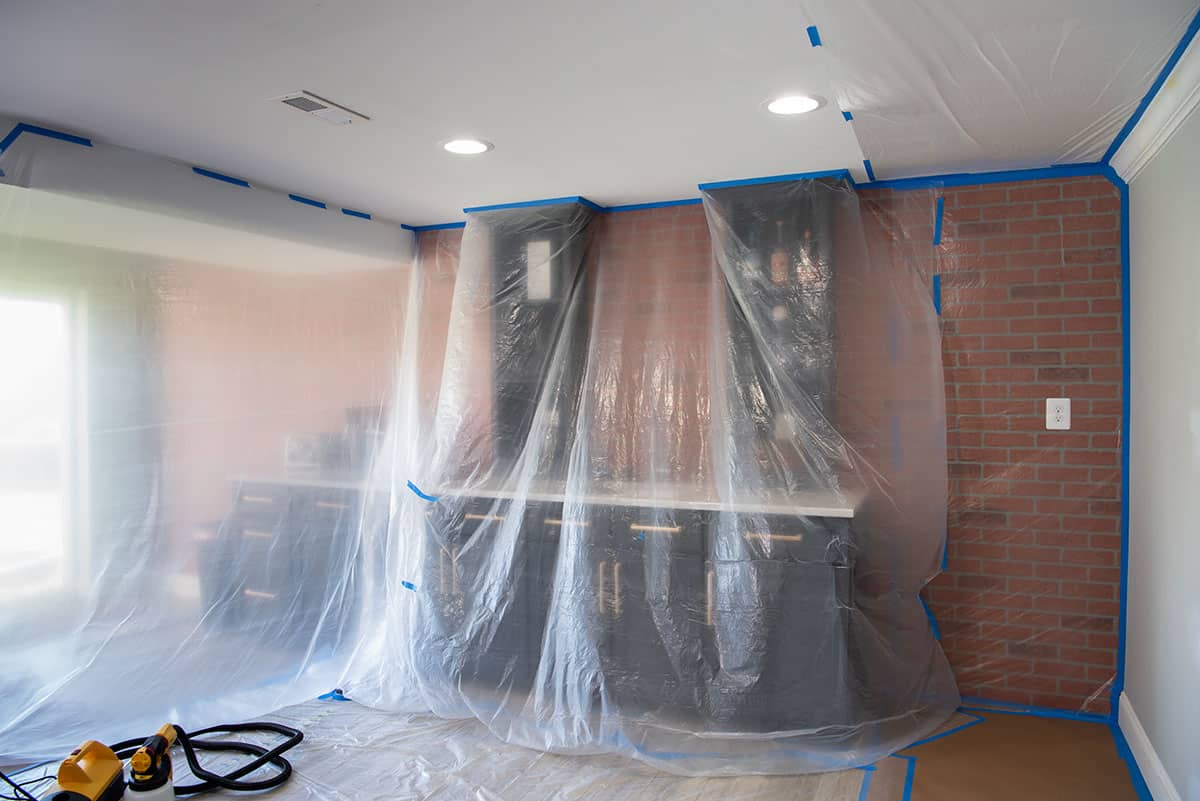
Mask Everything You Don't Want Painted
Spraying covers fast-and far. Anything you leave exposed is fair game, so mask everything you want to protect.

- Doors and trim: Use painter's plastic or masking film to cover the entire door surface. Wrap door handles in bags or plastic wrap secured with tape. Hinges and strike plates need coverage too. If doors open outward from the room, I recommend painting these separately even if everything is the same color.
- Windows: Cover the glass with lightweight plastic and tape along the trim.
- Hardware and outlets: Tape over electrical outlets, light switches, smoke detectors, vents, and ceiling fans. Remove electrical and vent covers if you can.
- Ceilings (if you're not spraying them): Run a clean tape line along the top edge of your wall and mask out at least 2-3 feet. A soft brush can help remove any overspray dust if needed.
- Furniture and Fixtures: Yes, you will need to cover those too.
How to Spray Paint Walls: Step-by-Step
Once everything's masked and ready, the actual spraying goes fast. Here's how to tackle it in a clean, efficient manner.
Step 1: Setting the Sprayer Up
Every paint sprayer is different (I’ve owned 5) so take some time to get to know yours before you start on the walls.
- Follow the manufacturer's instructions to fill your sprayer with paint.
- If you’re getting orange peel, uneven spray or no spray, you can thin the paint according to your paint’s requirements. Some can be thinned with up to 10% water, while others cannot be thinned at all.
- If you’re using paint that’s been sitting around, strain your paint through a mesh sieve or cheesecloth to prevent clogs.
💡Pro tip: Practice your spray pattern on a piece of scrap cardboard or plastic first. You want smooth, even coverage with slightly overlapped strokes. Don’t forget to hit that cardboard with a test spray after each refill and every time you put the sprayer down for a break.
Step 2: Spray the Walls in Sections
- Start from one corner and work across in vertical or horizontal passes-whichever feels most natural for your space. If you have molding to cover, that will determine how you choose sections. The key is to overlap wet paint, not dry, to prevent flashing at the edges.
- Keep the sprayer 12-15 inches away from the wall for airless and 6-10 inches for an HVLP. Move at a steady pace.
- Slightly overlap each pass to avoid streaks.
- Don’t swing your wrist or arc your arms-keep your arm moving parallel to the wall for even coverage.
- Start at the top of the wall and work your way down. This way, any overspray falls onto areas you haven't painted yet, not onto freshly painted surfaces.
- Lighting makes a huge difference when checking your coverage. Spaces may look fine at night, but once the daylight shifts in, it’s not unusual to find a few spots in need of a second pass. If you're spraying in a room with natural light, try to paint when the lighting is at its best-or check it again with a flashlight before calling it done.
What We Would Do Differently
Spraying the walls in this basement was absolutely worth it. It was fast, satisfying, and gave us the smooth, even coverage we wanted-especially with all the box trim and detailed crown molding. Honestly, we'd do it again in a heartbeat.
What we'd change next time:
We originally wrapped each door in one full sheet of plastic and taped it around the back. While it looked tight at first, the plastic puffed out around the doorknobs, and when we started spraying, the air pressure made it slap against the wet paint. I ended up sanding and touching up those spots by hand. Next time, I'd cut around the doorknobs and tape them separately-it's a small tweak, but one that would've saved me time and cleanup.
Read more about our basement before & after journey here:
- What to Know Before Finishing a Basement
- Trending Moody Paint Colors in Real Rooms
- Basement Bathroom Makeover Reveal
- What to Know Before Painting Kitchen Cabinets Black
- Easy Faux Brick Wall Step by Step
FAQs
Most wall prep is the standard for any paint job-fill holes, wipe down walls and corners with a damp rag, and vacuum thoroughly to remove dust. If you've patched with drywall mud, prime those spots with a brush and feather the edges to avoid visible lines.
Spraying too heavy in one go can lead to drips-two lighter coats give the best finish. Try to get the best coverage you can with each coat.
Most interior latex or enamel paints work well in spray guns. If you have something especially thick, you may need to opt for an airless sprayer, which have specialty tips you can buy for multiple viscosities. If you find the paint too thick, you may be able to thin by about 10%. However, check manufacturer’s instructions here. A few paint types like oil and resin based are not easy to thin correctly.
You'll want to mask along the top edge of your walls with painter's tape and attach lightweight plastic or paper to block overspray. Press the tape edges down tightly (a credit card works well) so the paint doesn't bleed through. Also, keep your sprayer angled straight at the wall-avoid tilting upward near the ceiling line.
I would not recommend this for drywall. You’ll most likely be going over semi-dry paint and making things worse. That being said, for things like a fence or vertical railings with stain, I do back roll to keep drips at a minimum and to get full coverage.
Yes, if you prep properly. Sprayers create fine mist and overspray that settle on anything not masked off - even the ceiling. Use plastic sheeting, masking paper, and painter's tape to cover everything you don't want painted-including floors, furniture, trim, and ceiling edges.

Grab our free series "Weekend Home Projects that will Transform Your Life" Sign up below to receive updates including free printables, organization tips, home improvement projects, recipes and more! |
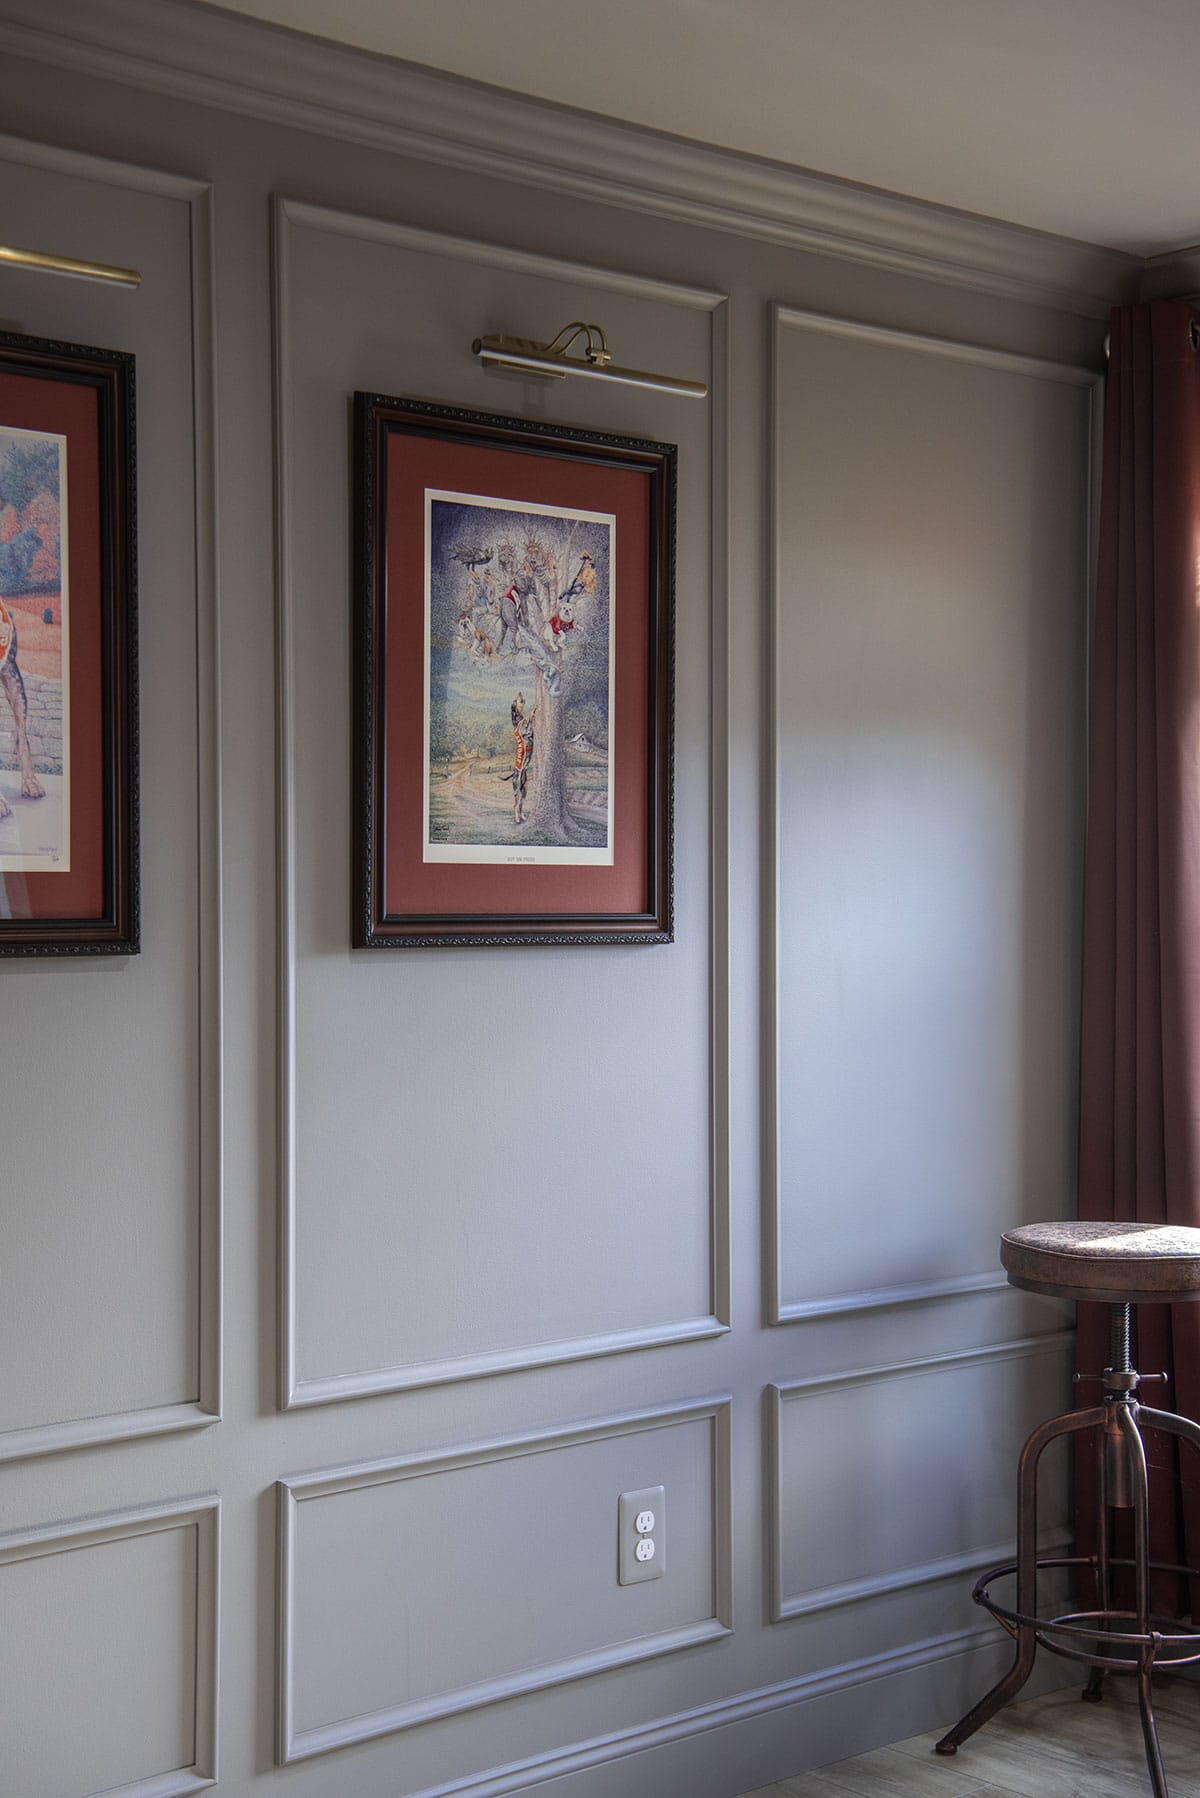
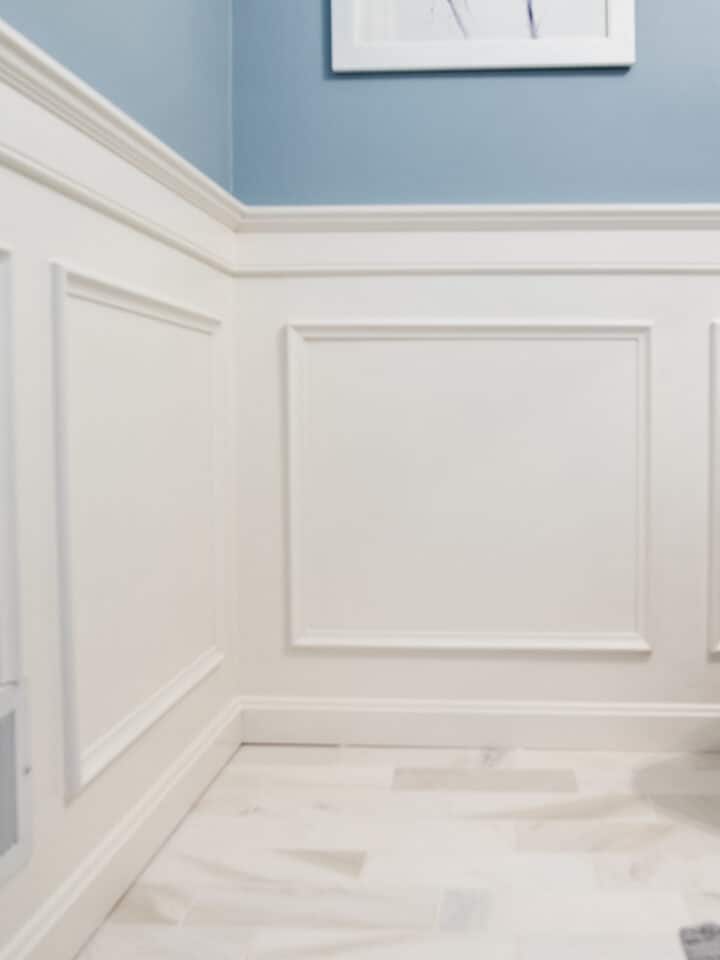
Get Inspired: Walls with Personality
PS I love seeing your creations! Be sure to take a photo and tag #cravingcreative on Instagram! You can also stay in touch with me through following me on Instagram, Pinterest, and subscribing to the newsletter!
Leave a Reply