Transform your space with the timeless charm of diy faux brick wall panels! This beginner DIY project guide offers step-by-step instructions, complete with photos and video demonstration, to help you create a stunning, realistic brick finish.
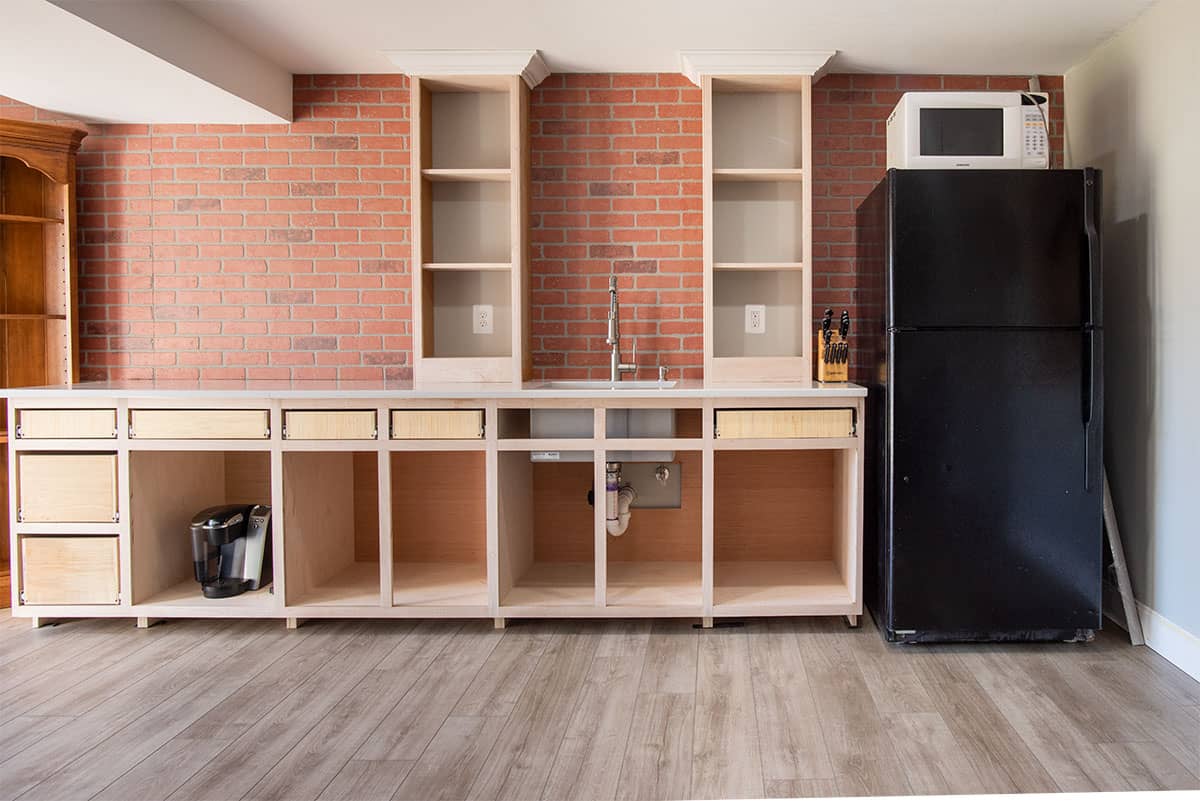
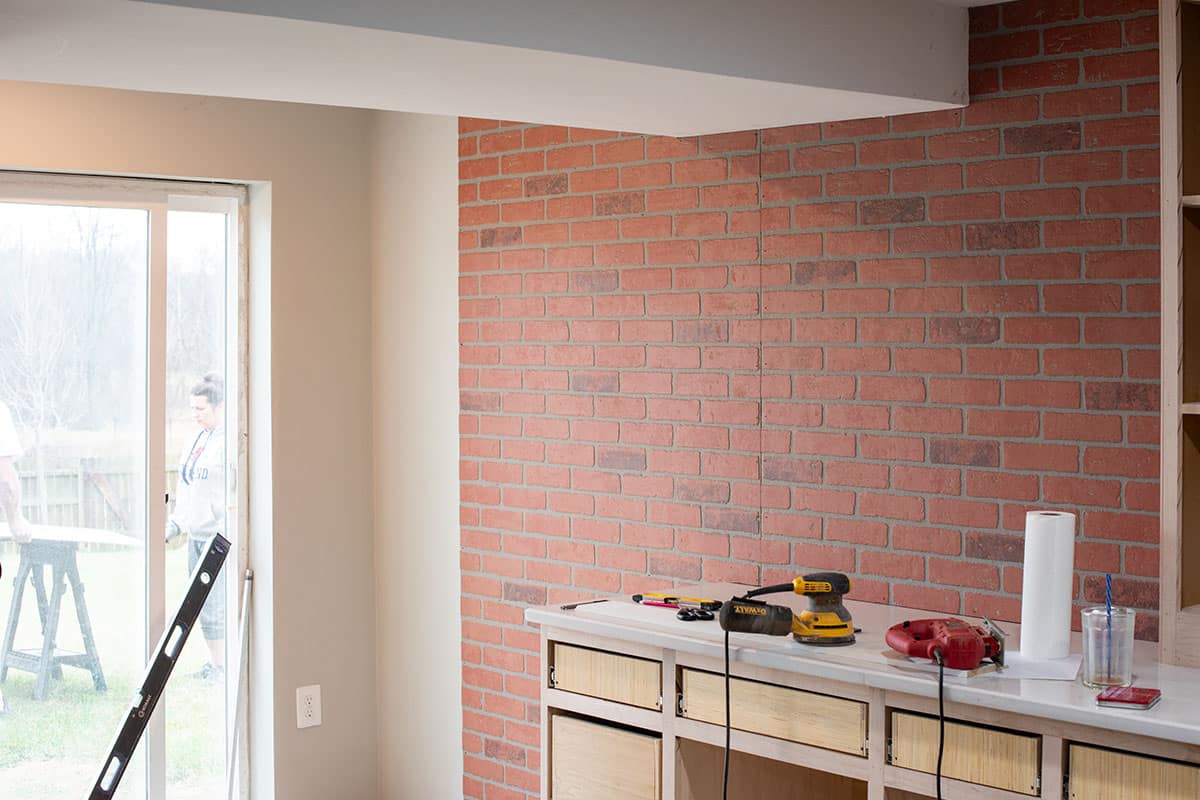
More progress in the basement! Now that we have laid floors over the concrete, built the cabinets, and finished the bathroom, we opted for a wet bar space to go with the ultimate pub vibe. However, it needed some character.
In this tutorial, we’ll show you how we installed a faux brick accent wall to create the perfect blend of industrial charm and pub style in our basement. This diy project is one of our easier ones, and I wasn’t too fussy about it looking 100% authentic, so we used these easy to install brick panels from Home Depot. No need to mess with mortar or grout lines and much easier!
Materials and Tools
While this will depend a bit on the type of faux brick panel you use, most of them are either going to be comprised of pressed concrete board on a wood backing or vinyl.
Tools Needed
- Tape Measure. To measure the wall area and panels.
- Level. To ensure the panels are installed straight.
- Stud Finder (optional). Only if you plan on using nails or screws.
- Jigsaw and Circular Saw with fine tooth blade. For thicker materials like cement, wood, or engineered composites. You may find it difficult to cut around outlets or other obstacles without these.
- Utility Knife. For cutting thin materials or cleaning up corners.
- Caulk gun. For the construction adhesive. Preferably one made to work with thicker materials.
- Pencil or Chalk: For marking measurements and layout on the wall.
- Safety Gear: Safety goggles and a dust mask for protection while cutting panels.
- Nail Gun. (optional) Since the sheets were so large and heavy, we used a brad nailer to secure the edges and create snug seams.
Materials
- Faux Brick Panels. The main material for the project.
- Construction Adhesive. A strong adhesive such as liquid nails to secure the panels to the wall.
- Brad Nailer/brads or Nails. For additional support, especially in areas with studs.
- Caulk. To fill gaps and seams between panels.
- Paint or Mortar (optional) For touch-ups to hide seams or exposed screws. Make sure the paint is very matte in sheen.
How To Install Faux Brick Panels
In terms of home improvement projects, it doesn’t get much easier than this one, but I have lots of tips for getting it perfectly straight and nice looking.
1. Measure the Wall Area
Start by using a tape measure measuring the height and width of the wall where you want to install the faux brick panels. This will help you determine how many panels you need.
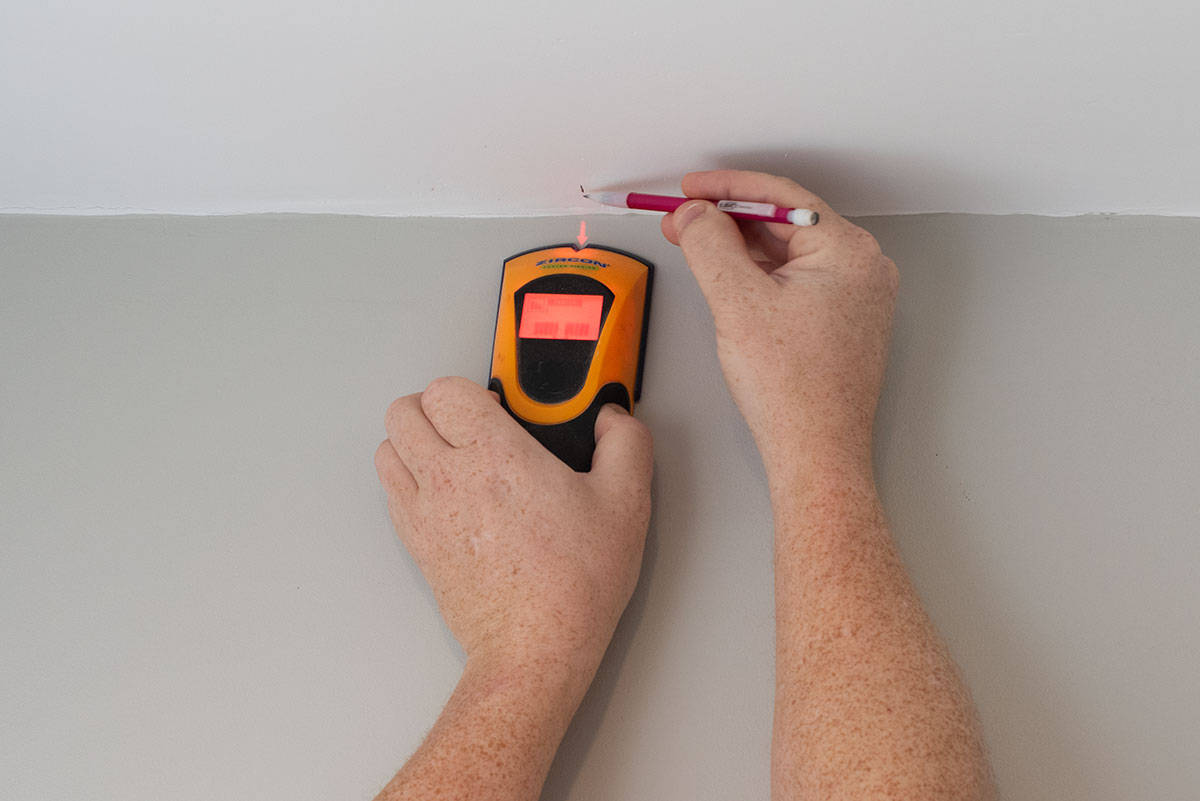
Mark the studs if you intend to use nails. If you will be covering the entire wall, mark the ceiling where the studs are to give yourself reference.
2. Prepare the Wall
Ensure the wall is clean, dry, and free of dust. If necessary, remove any baseboards or molding. Ideally, baseboards or trim should go over the faux panels.
DO MAKE SURE to cut any adjacent baseboard a little shorter to account for the wall coming out a little or take it out and re-install later.
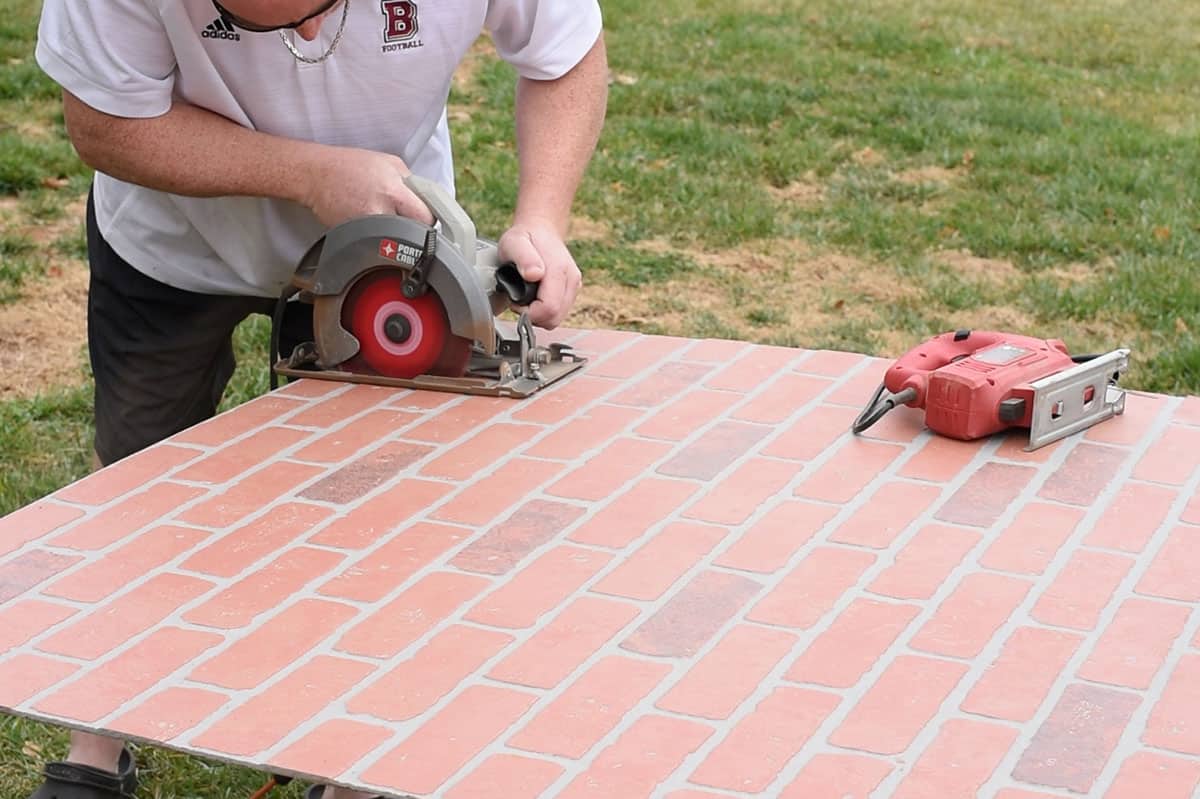
3. Cut the Panels
Use a saw to cut the panels to fit around outlets, switches, or any edges. Ensure you measure twice before cutting to avoid mistakes.
Some people choose to cut off the half-bricks that are on the edges and interlock the panels to create a slightly more natural edge. I feel that this may create bigger gaps. Either way is fine, and I am ok knowing it won’t look “100% real”.
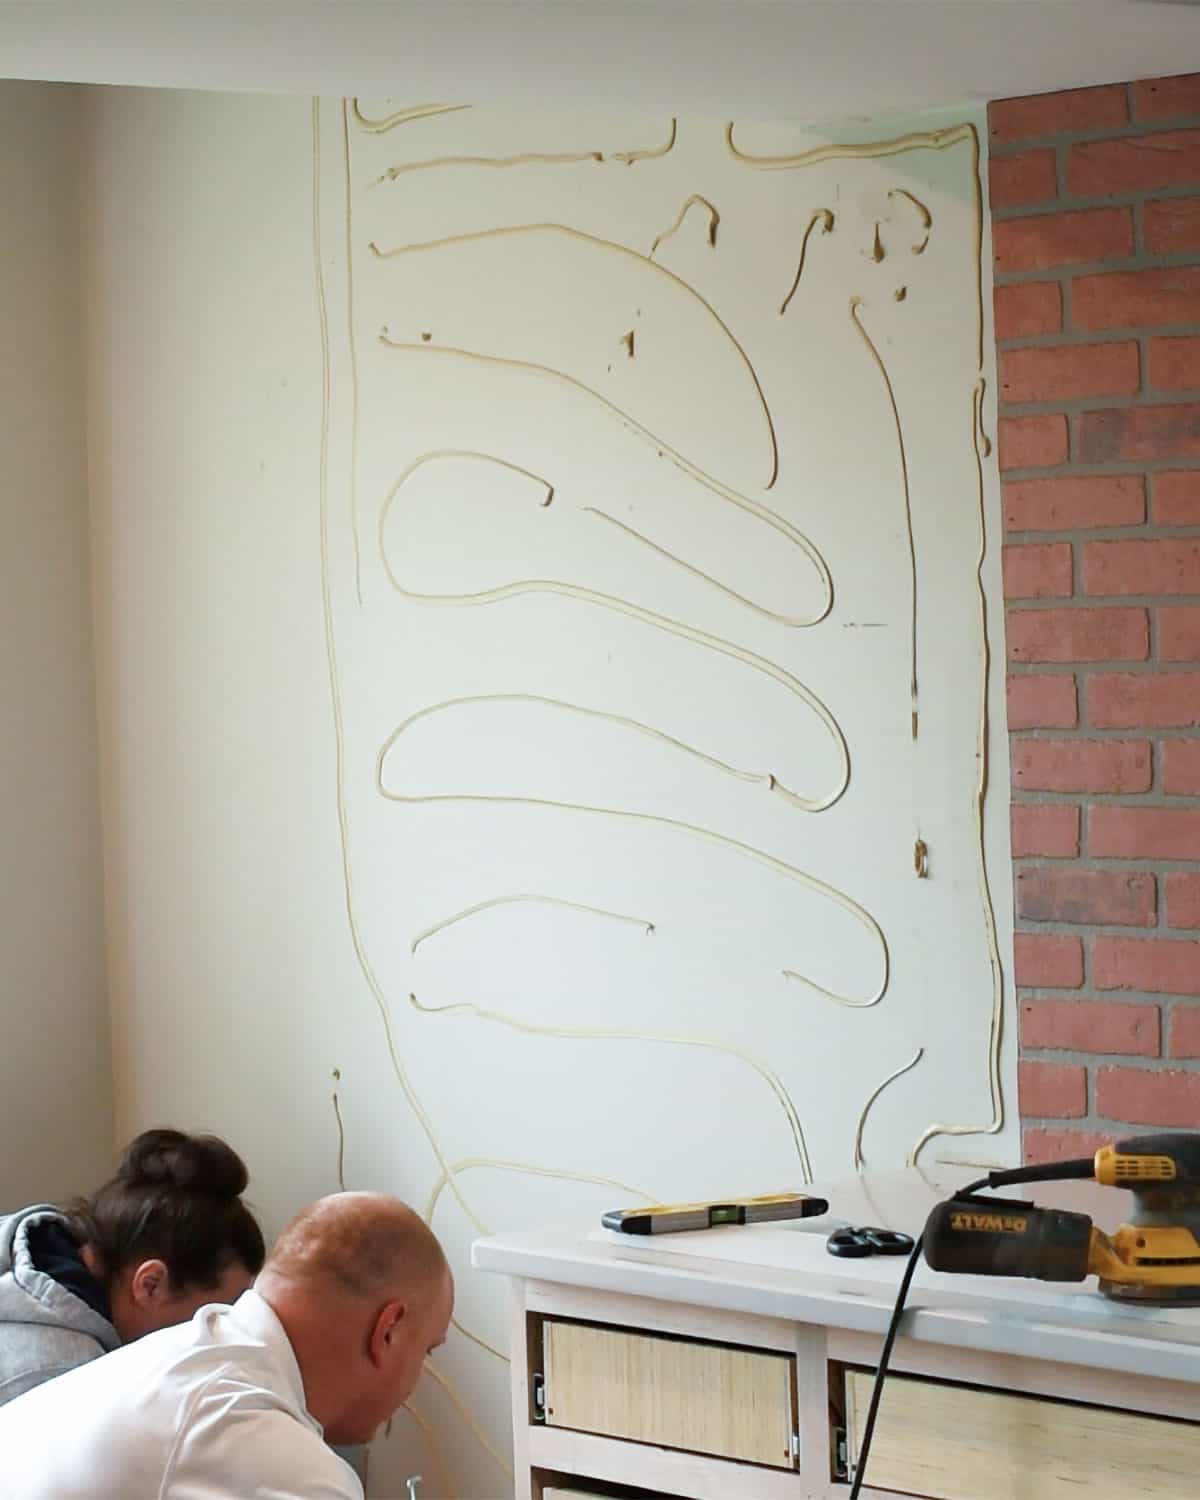
4. Apply Adhesive
Apply a strong construction adhesive to the back of each panel. Spread the adhesive evenly to ensure a firm bond with the wall.
5. Attach the Panels to the Wall
If I have to use more than 1 panel vertically, I like to position the first panel at the ceiling, then press it into place. This way, I don’t scratch the ceiling. Use a level, then press it firmly into place. Continue attaching the panels, staggering them for a natural brick appearance.
Pro Tip: If you have very crooked or dipping ceilings for some reason, it will be probably better to level the concrete board and then patch the ceiling with drywall mud. I have had to do this with tiled walls and other projects.

6. Secure Seams and Edges
The construction adhesive will hold the weight, but it does have to dry. It’s optional with this particular product, but you can be sure that the panel won’t warp and that the edges will stay perfectly aligned if you add some fine finishing nails or brads.
7. Reattach Molding and Baseboards
If you removed any molding or baseboards, reattach them now. This will give the installation a finished look.
Video Demonstration
If you would like to see this install in action, I have a short video of us (my tall husband and my short self, but mostly him).
Finishing Touches
This part is entirely optional and, frankly, not doing it right can make your project look worse rather than better. Caution given.
If you want to fill any gaps, nail holes or seams, use paintable caulk. Make sure to clean up any excess immediately and completely.
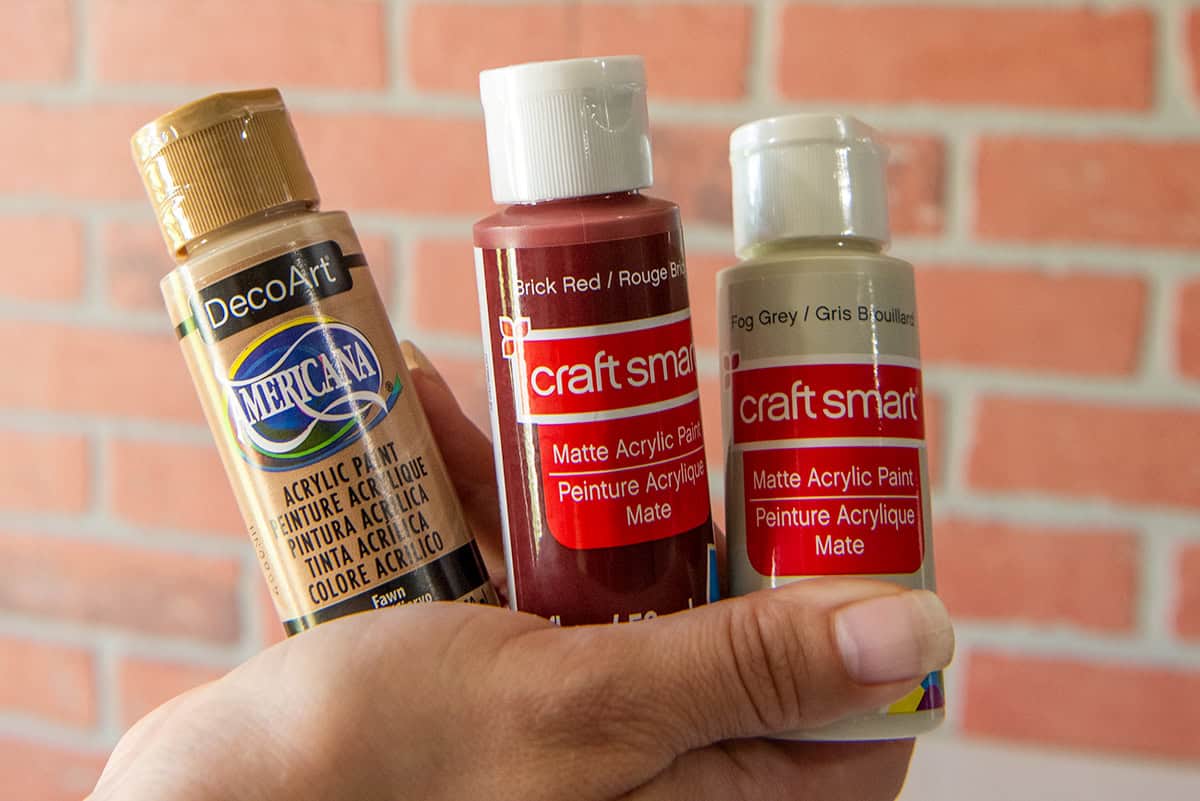
I touched up the color by mixing my own paint colors by mixing MATTE fawn and brick red. The fog grey was mixed with white and black paints to match the cement grout lines. The color combinations were tested on a scrap piece of brick board until the perfect shades were achieved.
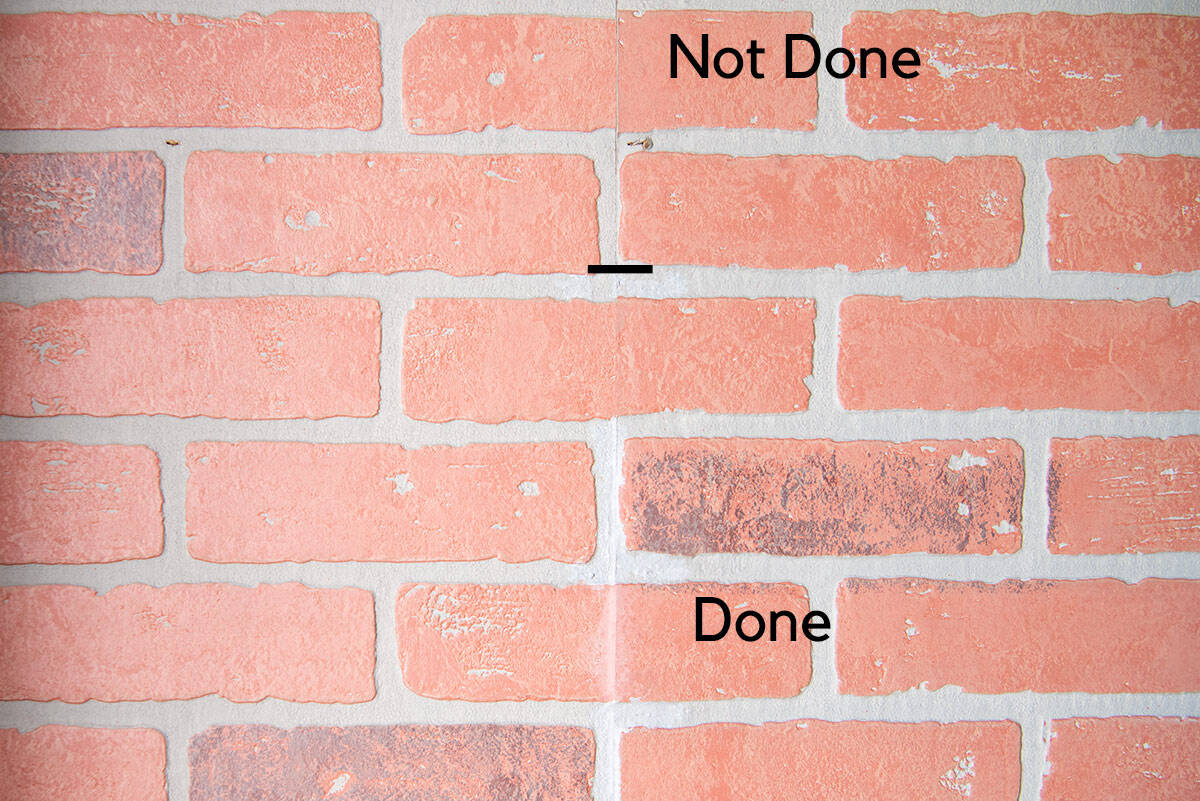
As you can see, it’s not that big of an improvement. First, because we had our seems pretty snug to begin with. Second, the lips of each board sometimes don’t line up in depth, creating a dip. That’s harder to mask when light hits it.
However, covering the brad nail holes was a good improvement. I will continue that.
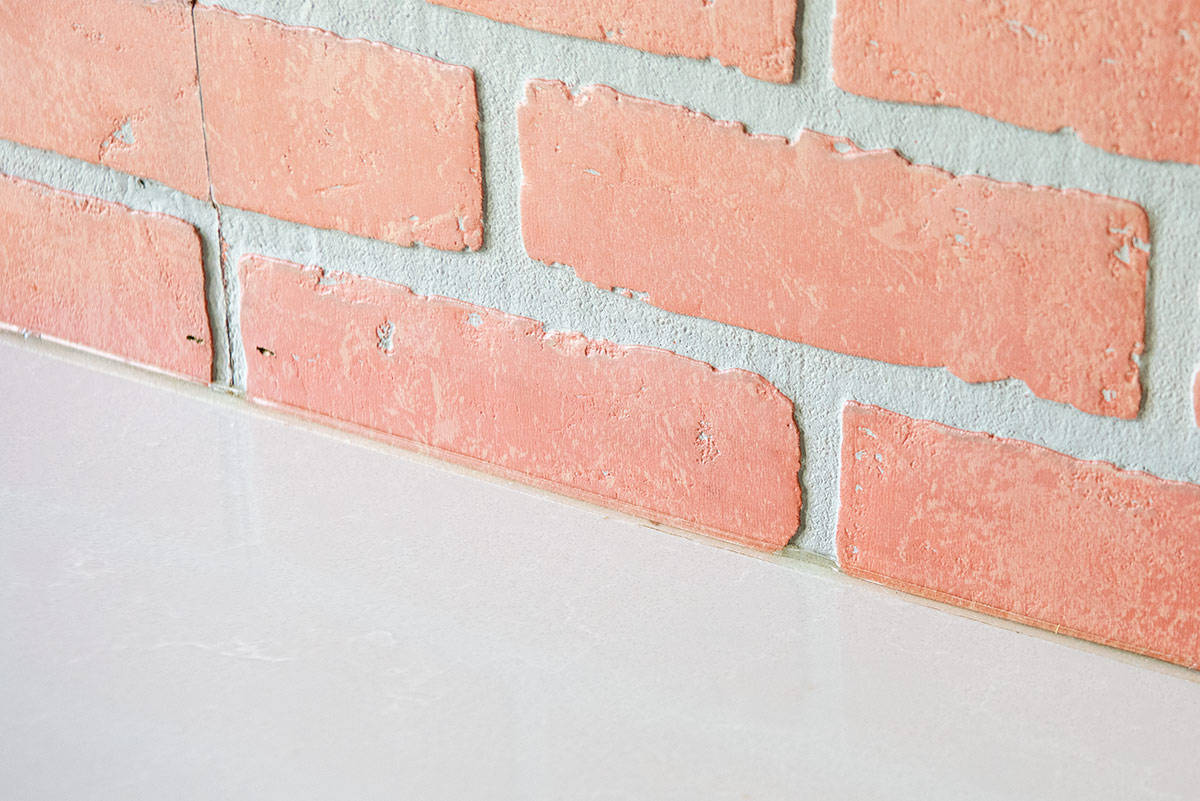
Since this was the backdrop for a wet bar, I used crystal clear silicone caulk where the brick panel meets the countertop. This will help prevent any water spills from getting behind the panels. In truth, it’s been there a year, and the sun hits this area so it appears to have yellowed a bit, but I would still recommend it.
However, I did not caulk the baseboards, around the cabinets, or the wall edges. The crown molding was added after the wall as well.
Painted and Exposed Brick Ideas
Truthfully, we wanted the red brick color in this space as the darkened red and grey color fits perfectly with our plan for a slightly moody pub setting. However, there are lots of ways to alter these panels to your style.
German Schmear. Also known as “German smear” or “mortar wash,” this is a technique where white or light-colored mortar is spackled over brick to create a rustic, old-world European finish. The process is similar to spreading cream cheese on a bagel, partially covering the brick to achieve a spackling textured, weathered look.
Whitewashed Brick. Although similar to lime wash and German schmear, it’s easier, smoother, and lower maintenance than either of those. A thin, watered-down layer of white paint is applied over the brick to create a softened, muted look. This technique allows some of the brick’s natural color and texture to show through, resulting in a light, airy style that brightens a space while preserving the brick’s character.
Exposed Plaster. This technique is where a layer of plaster or joint compound is applied over the brick, then partially removed to reveal the brick beneath, creating a textured, distressed look that adds character and vintage appeal to any space. Its best for charming, yet industrial spaces.
Painted Brick. Pretty much exactly as it appears, where the brick is painted an opaque color of your choosing.
For our project, we put the panels around cabinets that we built ourselves. It looks a tad rough at this point, but major progress none the less!
More DIY Projects You May Enjoy
Tips for Making a Realistic Wall
- When selecting your panels at the store, pay attention to any that are repeating in pattern and how. You won’t want to lay 2 identical patterned panels next to each other exactly the same way.
- Keep gaps as minimal as possible. You can caulk and hand paint any seams if you feel it is necessary.
- Touching up the paint can be difficult if you aren’t comfortable mixing colors to match.
FAQs
There are several types of faux brick walls made from molded cement, concrete board, engineered wood, or even polymers or vinyl. The one we used here is a molded cement and engineered wood 4×8 panel.
Yes! Many places sell individual pieces of brick cladding that are much thinner and lighter weight, creating a facing to put on interior (and sometimes exterior) walls. These are usually laid in a stacked fashion with mortar between them to create a hyper realistic brick wall. However, other types, such as lightweight interlocking panels don’t use mortar.

Grab our free series "Weekend Home Projects that will Transform Your Life" Sign up below to receive updates including free printables, organization tips, home improvement projects, recipes and more! |
More Wall Projects
PS I love seeing your creations! Be sure to take a photo and tag #cravingcreative on Instagram! You can also stay in touch with me through following me on Instagram, Pinterest, and subscribing to the newsletter!
Leave a Reply