Cutting crown molding can be tricky, but getting perfect corners is easier than you think! Whether you’re using mitered cuts for quick installs or coping for seamless, pro-level joints, this step-by-step guide will help you master both techniques-even if you’re a beginner.
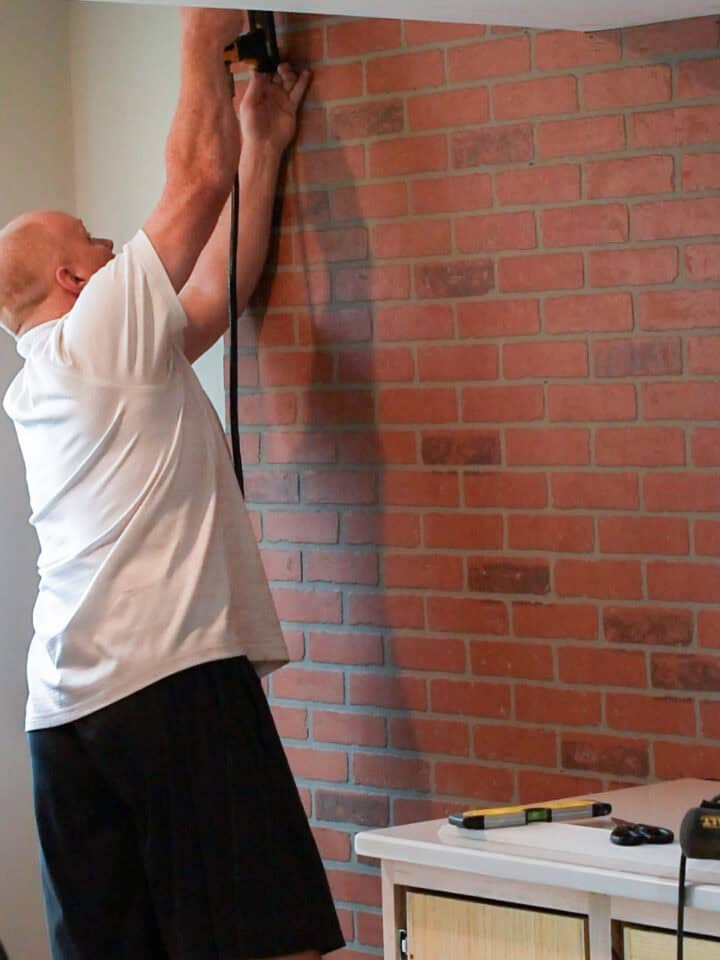
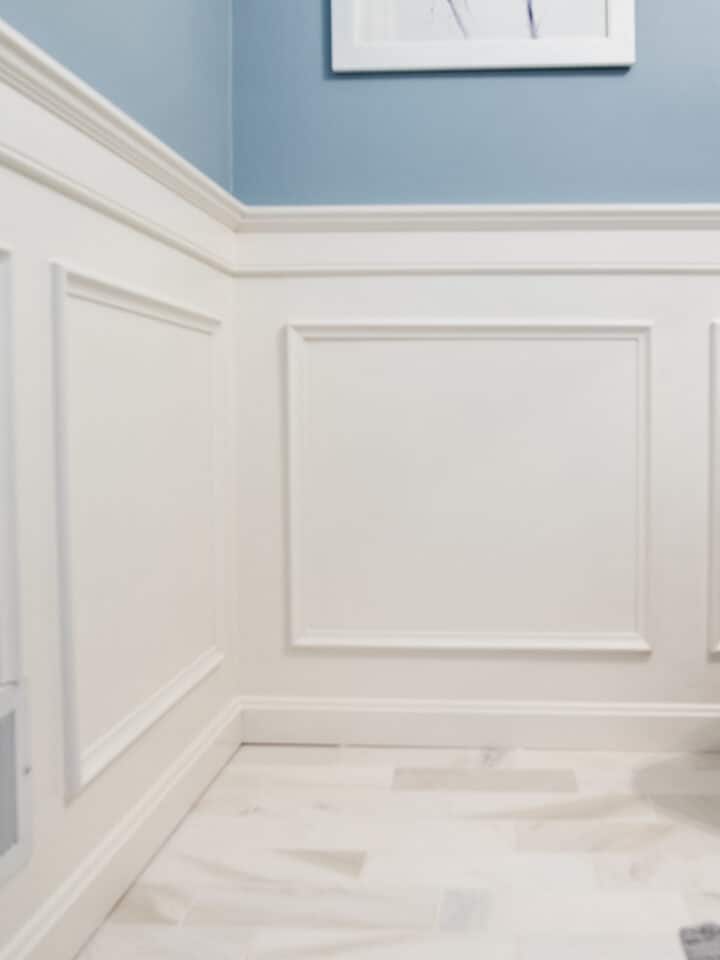
Cutting crown molding can be intimidating, especially when it comes to getting inside corners just right. If you've ever struggled with gaps, mismatched angles, or pieces that just don't fit, you're not alone! We've installed crown molding in multiple projects, including our own painted black cabinets project, the powder room wainscoting installation, and a few family and client homes. We know the key to clean, professional-looking corners is choosing the right cutting method-mitered or coped-and getting the technique down.
Why You will Love this Project
- I wrote this post as my husband I were completing a project. There are plenty of tutorials out there, but many leave out the little details that make a big difference when they are fresh in your mind.
- We walk you through both mitered and coped cuts, breaking it down in a way that's easy to follow, even if this is your first time working with crown molding.
- Plus, we're including a video demonstration to help you visualize each step so you can avoid common mistakes.
By the end, you'll have the confidence to tackle your own project and create tight, seamless corners that look like they were done by a pro.
Tools & Materials Needed
It is assumed that you will be installing the crown molding, so here are the tools you will need for cutting and installing.
- Brad or Pin Nailer (preferred but you can use finish nails for smaller projects)
- We are using 18g 2" brad nails (At least thick enough to go through your molding, drywall and into stud)
- Tape Measure
- Woodworking File or Dremel with sanding drum
- 80-120 grit Sandpaper
- Stud Finder
- Compound Miter saw
- Coping Saw (only for coped cuts)
- Angle finder tool (We use a digital tool like this from Harbor Freight and a multiangle tool to show you how)
- Materials: Crown molding of choice, scrap wood for practice cuts
I highly recommend doing this with a partner. Who is better at telling you that you’re doing something wrong than your spouse? That’s how we operate, anyhow. 😆
Understanding Crown Molding Angles
For a job like this, a few glossary terms are important.
- Spring Angle – The tilt of the crown molding as it sits against the wall and ceiling. For our method, it is not important to know your spring angle. However, it is important to hold the crown molding on the saw at the same angle consistently across all joints.
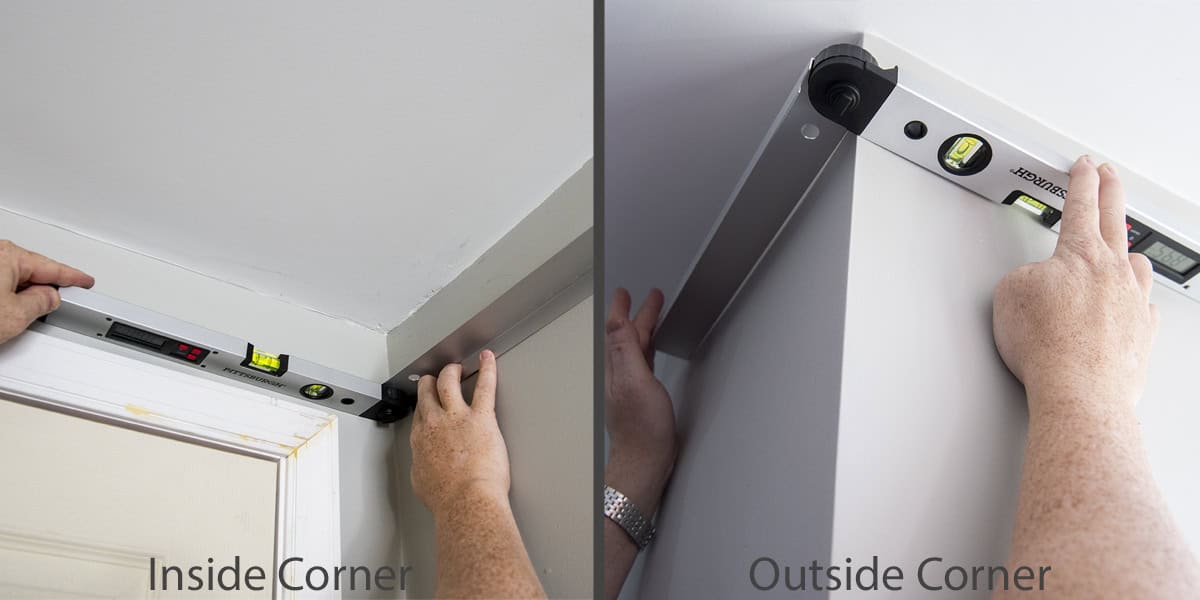
- Inside corner – Where walls meet inward.
- Outside corner – Where walls meet outward, like a bump-out or protrusion.

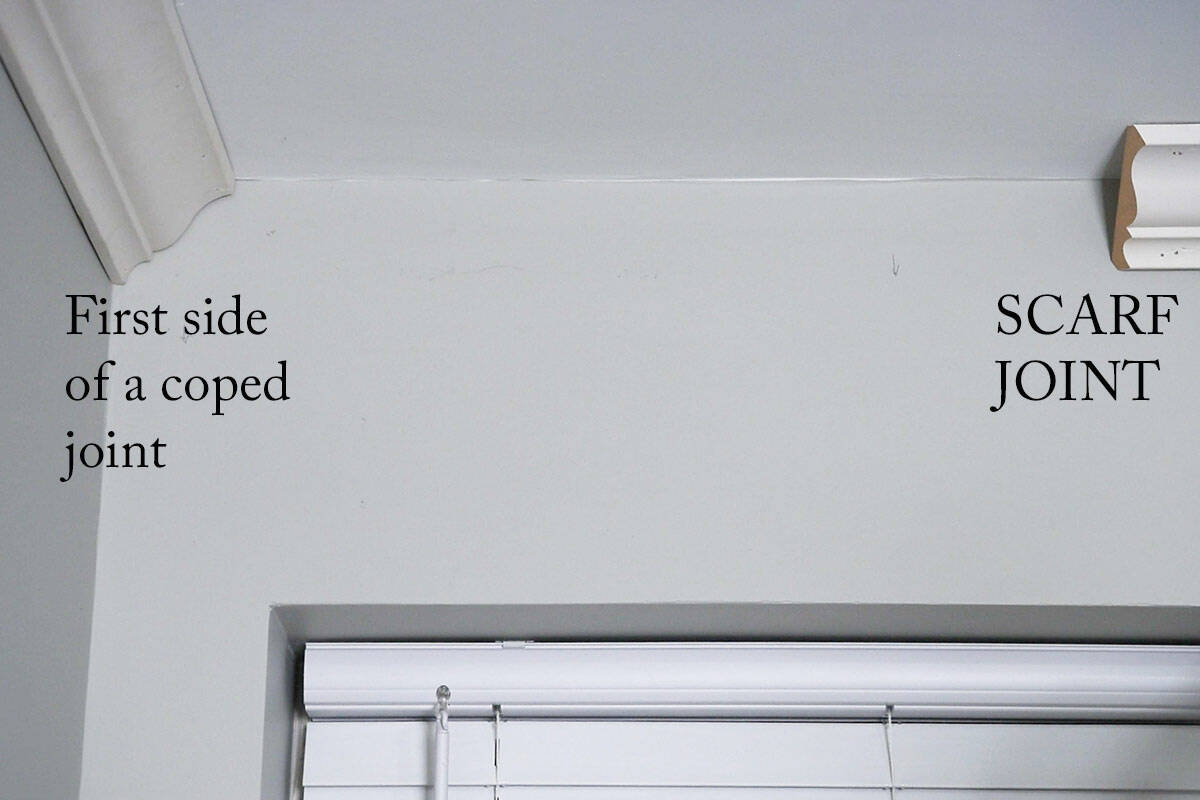
- Scarf joint – A type of splice used to join two pieces of trim end-to-end along a long wall. Instead of butting the ends together in a straight cut, a scarf joint angles the cut so the pieces overlap, creating a stronger and less visible seam.
- Table – The flat area of the table saw that the board being cut sits on.
- Fence – The vertical support at the back of the saw table that helps keep the workpiece stable and aligned during cuts.
Pro Tip: Walls are almost never 100% true and square. Even if the walls were put in perfectly, mudding and other joint coverage is going to make angles change. It’s always best to measure your angles and not assume.
Coped vs Miter Cuts
While you will always use mitered cuts on outside corners, you have two main options to decide on for inside corners: mitered joints or coped joints. Each method has its own advantages and drawbacks:
Mitered Corners
A mitered joint is created by cutting two pieces of molding at complementary angles (usually 45°) so they meet at a seamless corner.
✅ Advantages:
- More straightforward – This relies on mirrored cuts so there are less steps overall to get a clean corner.
- Works on odd angles – For angles not close to 90, mitering is easier in my opinion. I have a doorway in my craft office with 135° angles for example.
- Clean look - When walls and corners are square, a mitered joint fits together smoothly.
❌ Drawbacks:
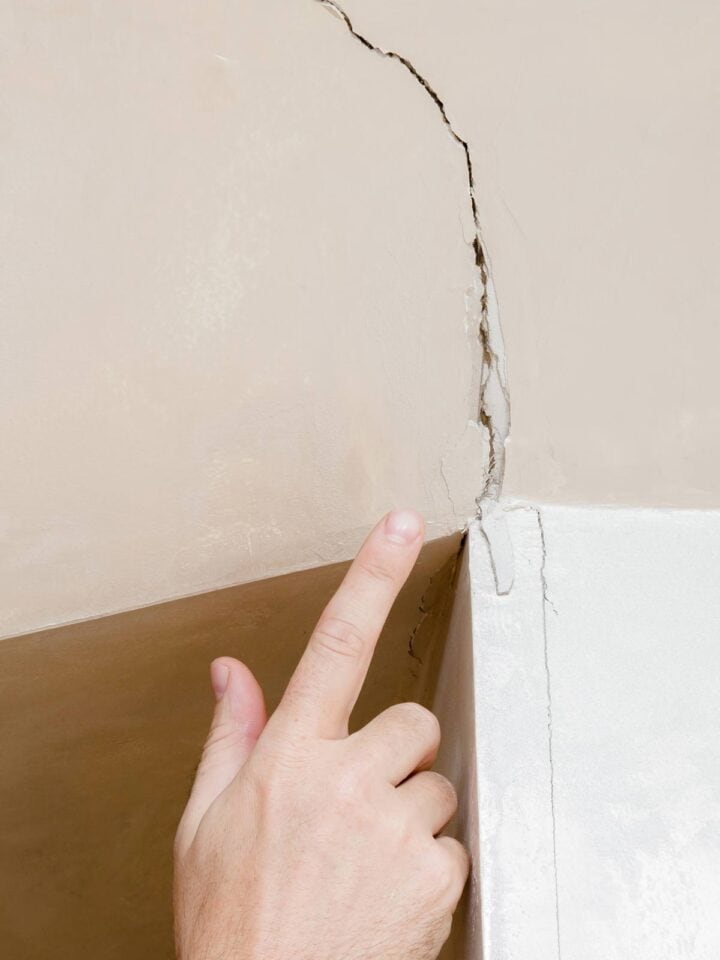
- Gaps - If the wall or ceiling isn't perfectly square, a slight variation can create visible gaps, but I have tips for how to avoid this below.
- More Prone to Separation - Over time, wood expansion and contraction can cause the joint to open up and you will see that separation more than with a coped joint.
- More difficult to find the correct angles – For mitered corners, it’s best to install both sides of the corner at the same time, which means you have to calculate the corner angle perfectly.
Coped Corners
A coped joint is made by cutting one piece of molding straight and the other with a back-cut to fit perfectly against it, following the molding's profile.
✅ Advantages:
- Tighter Fit on Uneven Walls - Since one piece overlaps the other, it accommodates slight variations.
- Stronger & Longer-Lasting - Less likely to show gaps over time due to wood movement.
❌ Drawbacks:
- More Time-Consuming - Requires a miter cut, hand-sawing, and fine-tuning with a file or sandpaper.
- Higher Skill Level Needed - Cutting along the molding's profile takes practice.
- Specialty Tool – There isn’t a lot of need for a coping saw other than trimming inside wall corners.
Which Method Should You Use?
- Use mitered joints on inside corners if you are more comfortable with a compound miter saw and won’t get confused by changing orientations. Always use miter cuts when working on outside corners.
- Use coped joints if you want a longer-lasting, gap-free fit and you are physically strong enough to use a hand saw with precision.
- Use scarf joints to join two boards together to continue down a long wall.
How to Set Up Your Miter Saw for Miter Cuts
You will need a compound miter saw with a fence for this method. Putting tape on the saw table will ensure you are cutting the board always at the same height and angle.
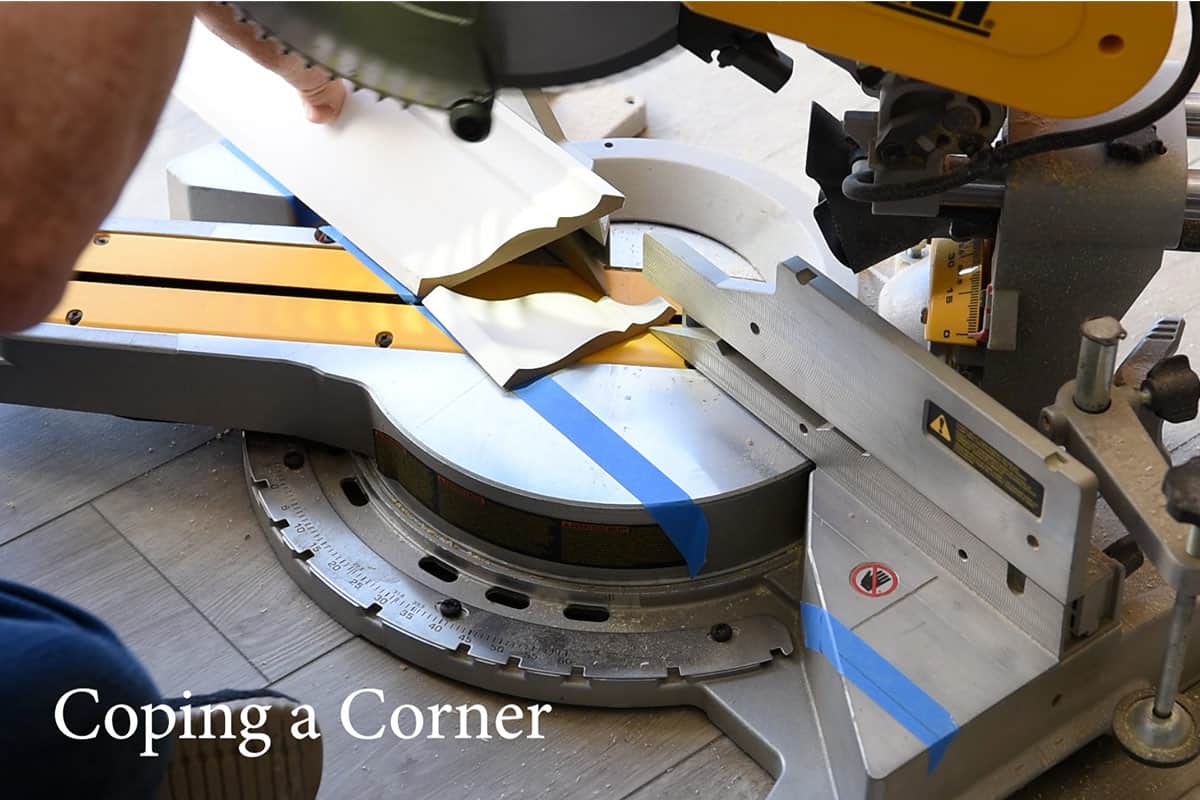
- The board should always be seated or aligned on the table saw with the most decorative part UP (see image below). This is actually upside down from how it will be on the ceiling. That’s ok. Crown molding has little flat sides on the back to help it fit properly in the corners of the ceiling to wall. Seat the crown molding board so that these flat edges don’t wobble and are flush to the saw fence/tabletop.
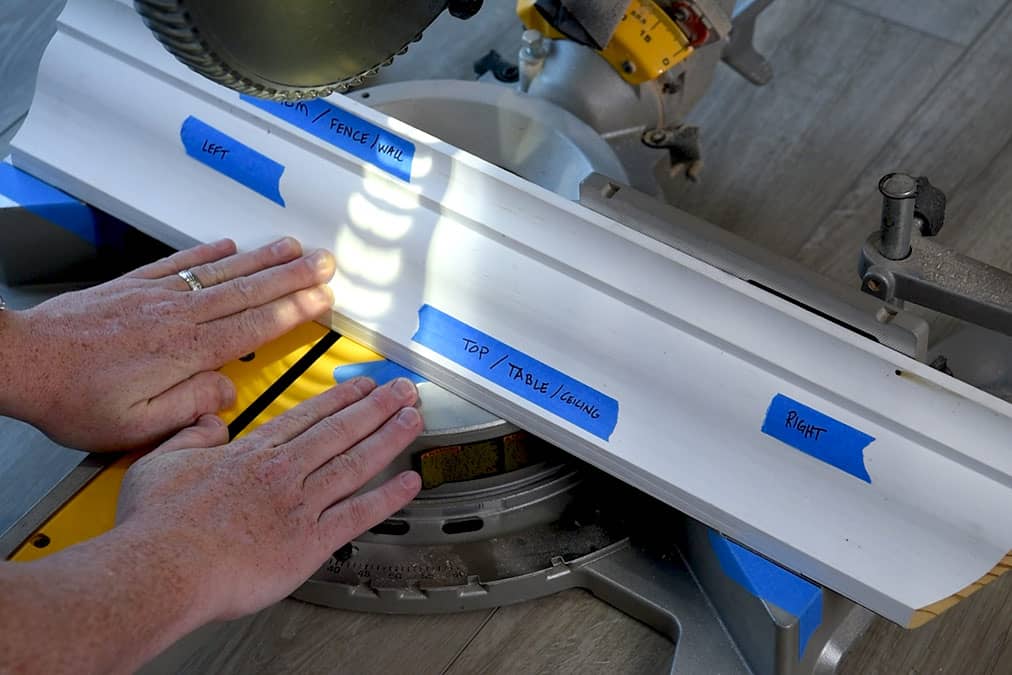
- Identify about where the board lays on the table-top. Apply painter’s tape to the tabletop of the table saw where the board will lay on top of the tape.
- After seating, secure the board and trace a line on the tape at the edge of the moulding. This gives you a proper edge to line up all boards. I like tape because it's removeable and it gives a little grip and stability to holding the boards in place. Double check distance from fence with a ruler or tape measure to make sure it is smooth and accurate.
- After marking the outsides, turn the saw 45 degrees to tape and mark the center. Repeat for -45 degrees. The center guides are useful for shorter boards or endpieces. Keep in mind that these center guides won't be perfect for angles other than 45, but it's still a good guide.
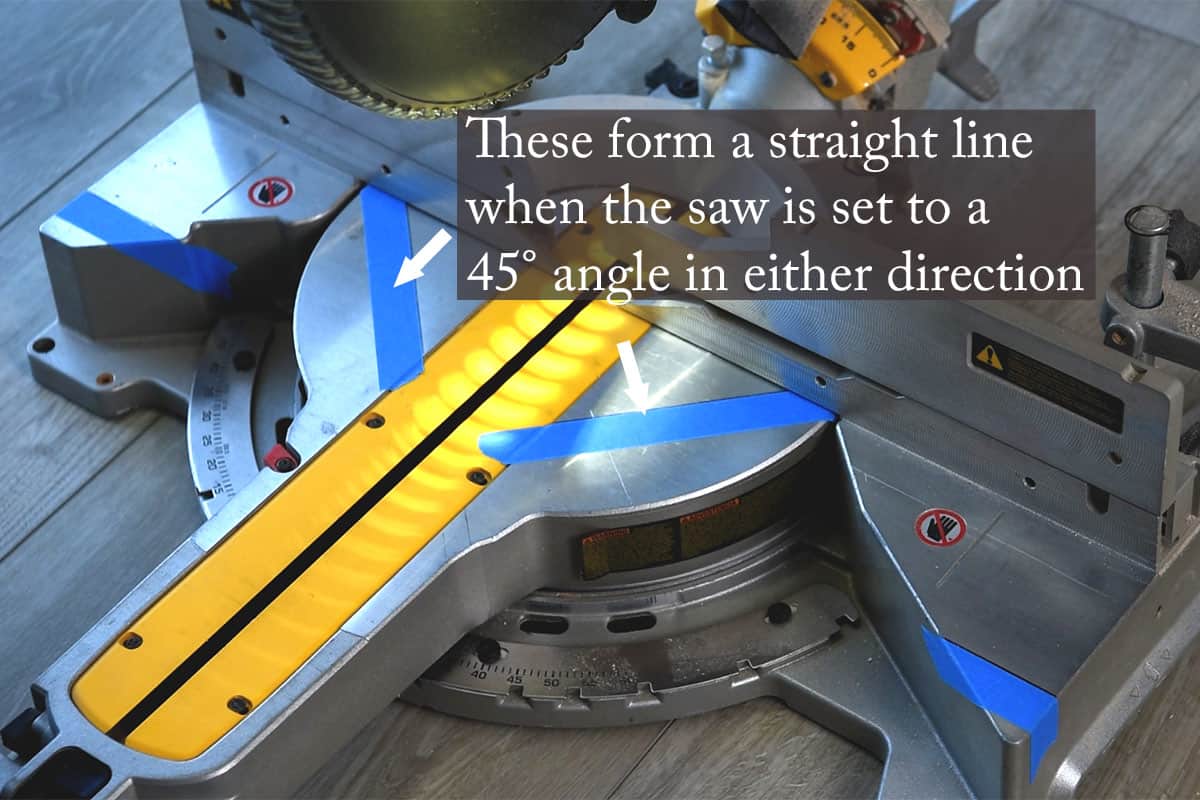
These tape marks make it much easier to have the exact same alignment for every cut, which is important.
How To Find Corner Angles
You don’t need to measure corner for coping because you will be following the profile of the crown molding and shaping it by hand. However, for miter cuts, there are a few different ways to calculate the angle.
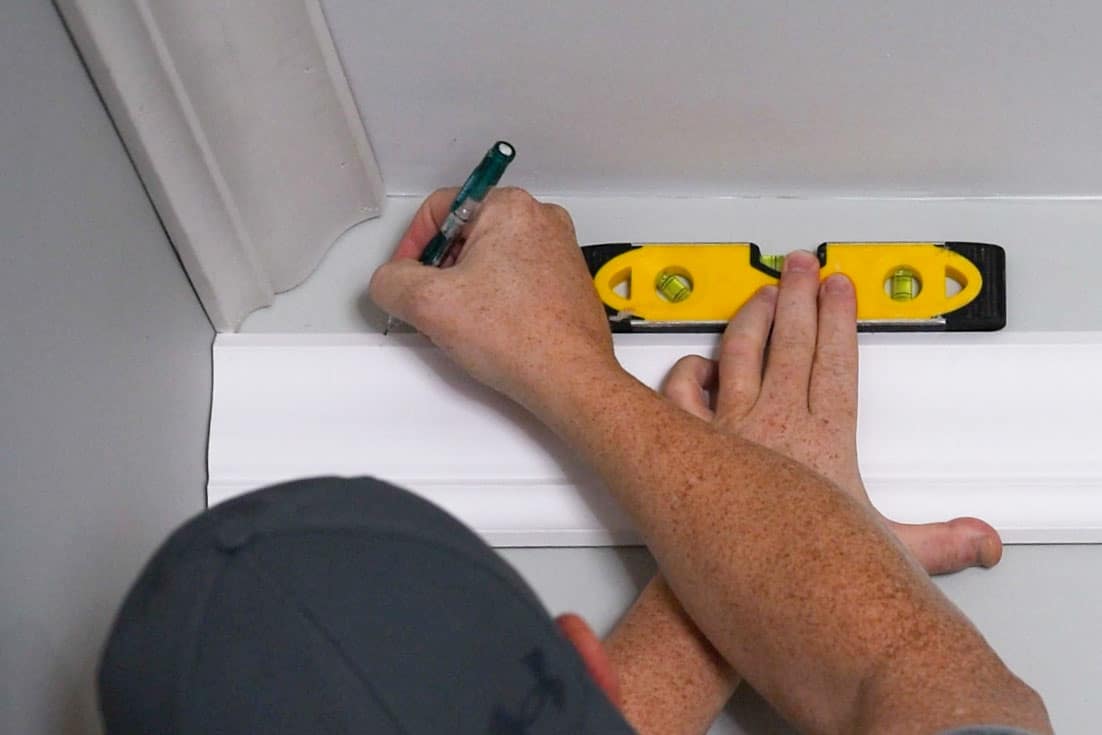
- Use a digital corner gauge. Hold up the digital angle finder at about where the bottom of the crown molding will attach and read the angle. Pay attention to any gaps which may make you want to alter the readout angle slightly.
- You can use a template tool and your compound miter saw. Put something like this multi-angle tool up snuggly in the corner to get the correct angle. Then, line the protractor up on the table saw, adjusting the angle of the saw until it is flush with the blade crevice. Read the angle.
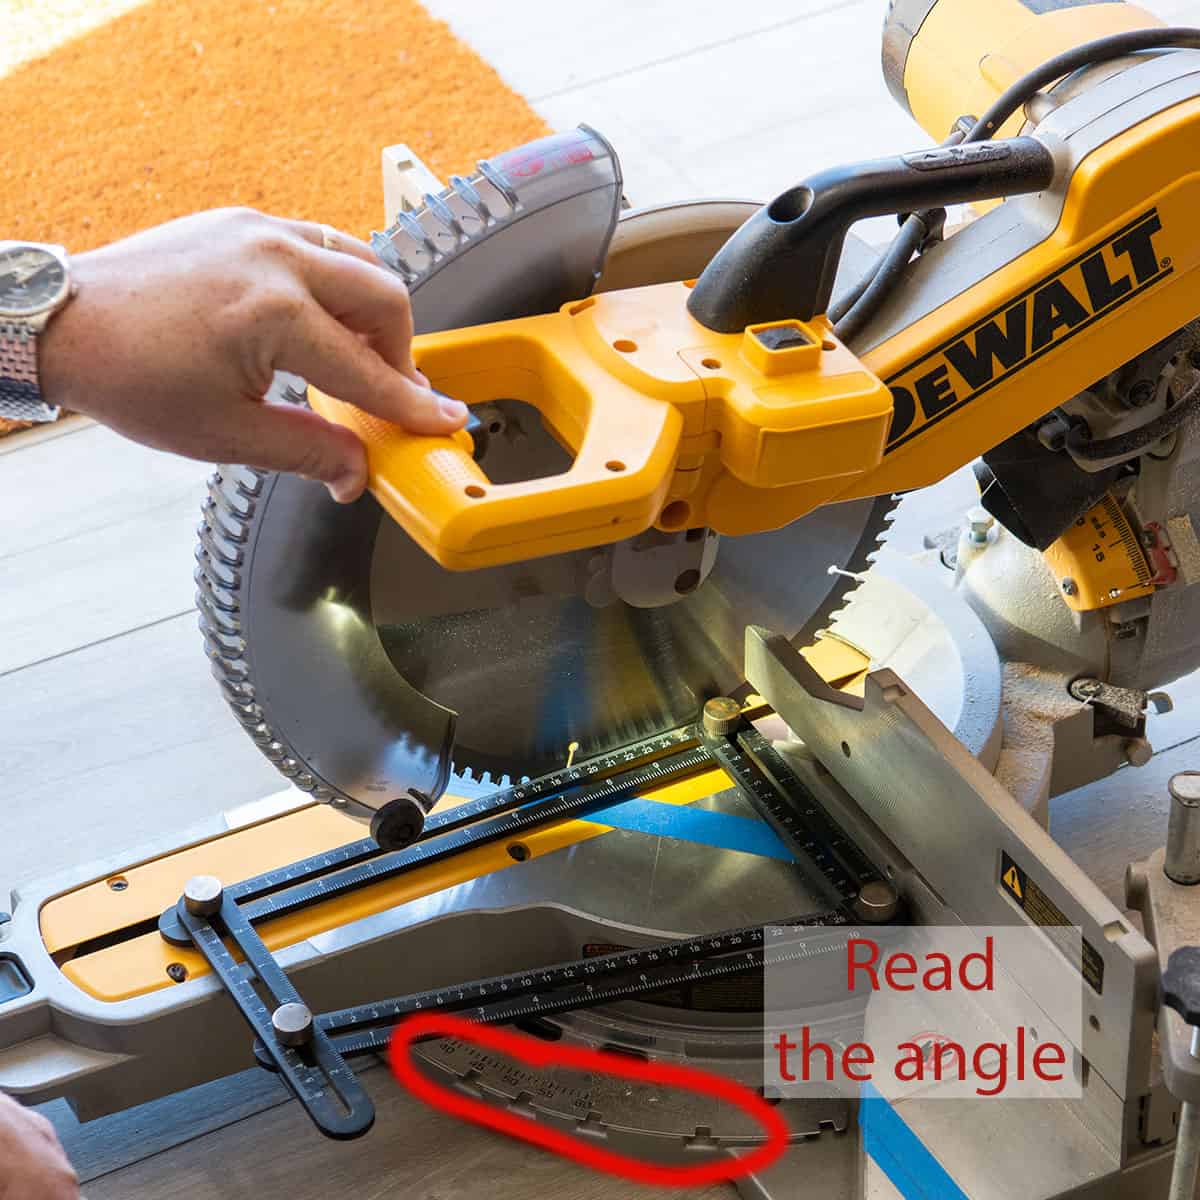
Your saw model may have a slightly different area to read this angle.
Whichever method you choose, remember that miter cuts are half of your total corner angle, so always divide by 2. You will be turning the saw for cutting each side.
Method 1: Mitered Cuts (Inside or Outside Corner)
In practice, there isn’t much difference between cutting an inside corner or an outside corner. Clearly labeling your pieces will be your best tool for ensuring the correct cut direction.
- Hold up your board to the wall corner in which it will be placed. Mark the board with the general angle direction you will be cutting (make sure the board is right side up) and which side of the corner it is (left/right). Repeat with the other side of the corner.
Remember! Boards are always cut upside down! It’s easier to remember that the more decorative side always goes against the fence. Use your tape guides, scribed angle direction, and angle measurements as guides. Having a partner to double check is a good idea.
- Divide your full angle measurement in half and cut the first board at that angle, in the direction of the line you drew.
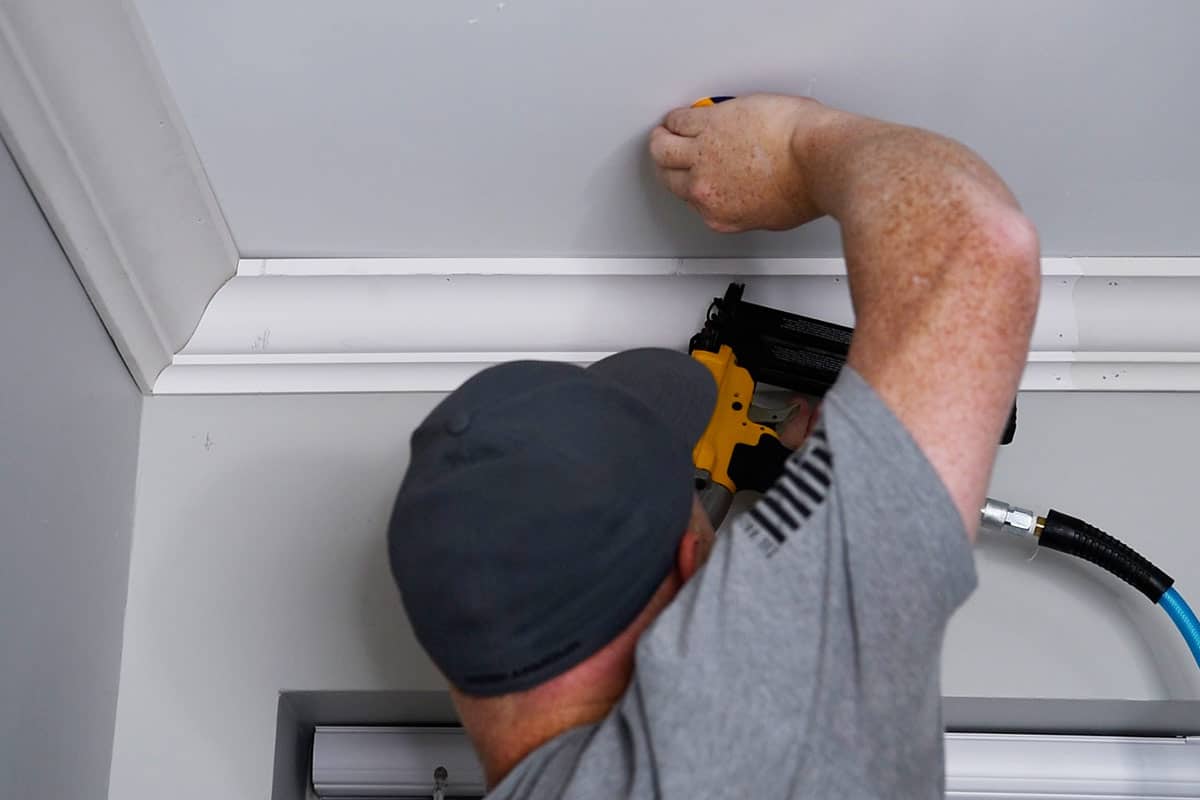
- Install the first board by nailing into place, securing it to studs and ceiling joists where possible. However, don’t nail right at the corner end so you can adjust for your second piece.
- Mark and cut your second piece, making sure that the cut angle is adjusted and the board is cut upside down against the fence.
- Dry fit the boards into the corner and then measure for any necessary scarf joints or the next corner joint. Don’t attach if you have another cut to make.
- Fit the piece tightly into the corner and put a top and bottom nail in the corner, to keep the corner snug.
Method 2: Coping (Inside Corner Only)
Step 1: Measure and Cut one side of the corner straight.
If you intend on doing coped inside cuts, one wall can be cut end to end as a straight board. Install at the desired spring angle (usually 45 degrees), and secure into studs where possible with a brad nailer or nails.
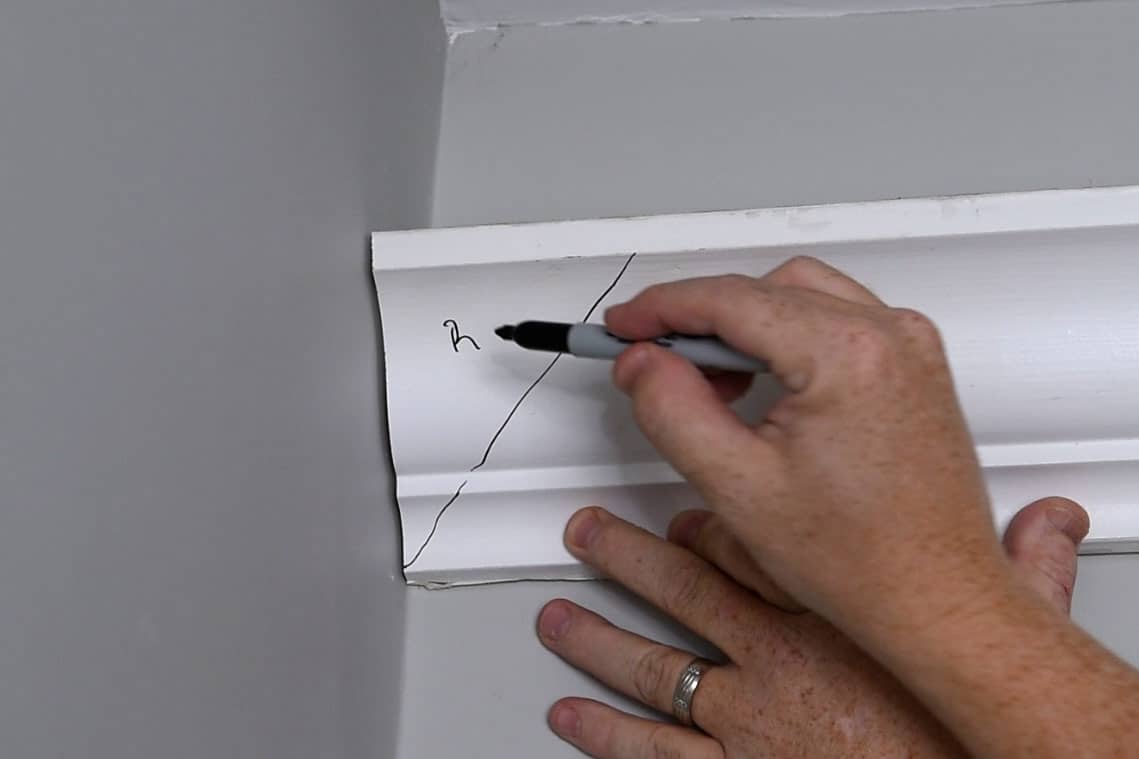
Step 2: Mark the Angle
Coping is a little different from mitering. After you have installed one side of the corner, mark a line just below where the top of the crown molding touches the ceiling. This will give you your measurement and cut angle.
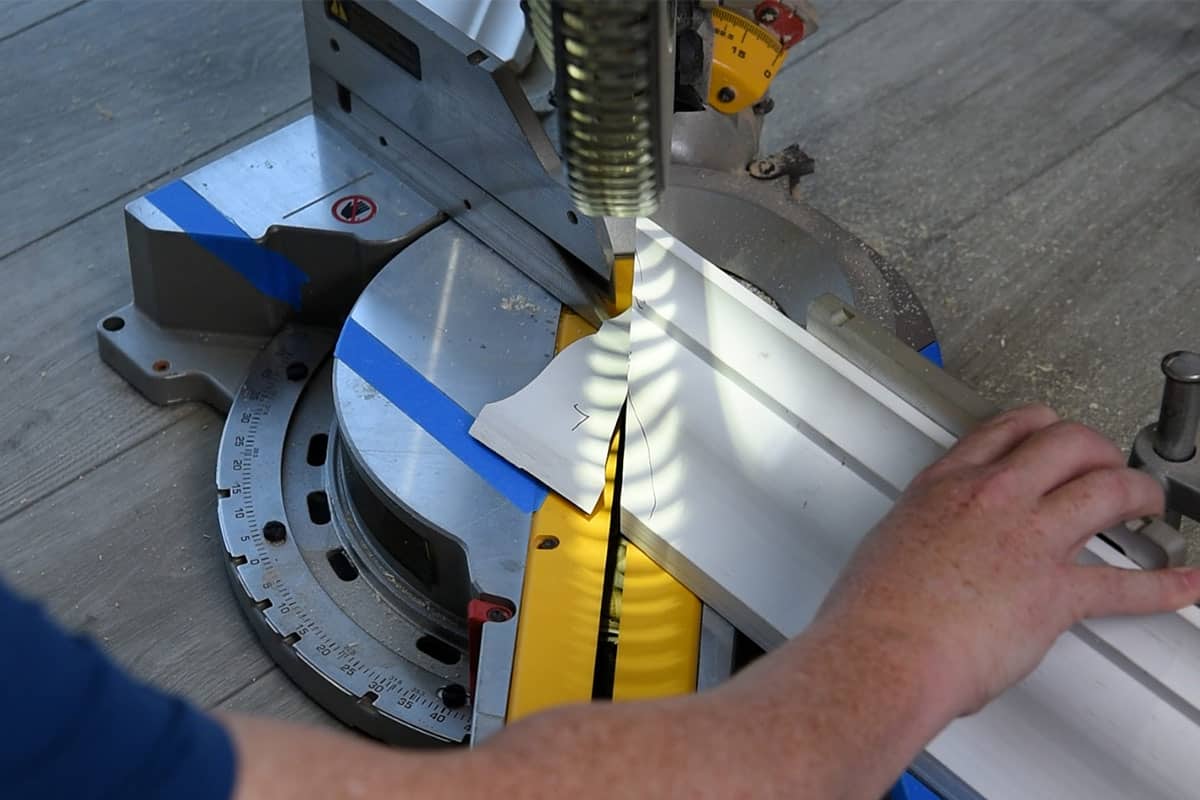
Step 3: Cut your Miter Angle on the Second Piece
Using your saw, seat the piece upside-down just like you would with the miter corner cuts (up on the fence and adjusted to the table marks). Cut in the direction of the angle you marked, from the edge to the marking you made in step 2.
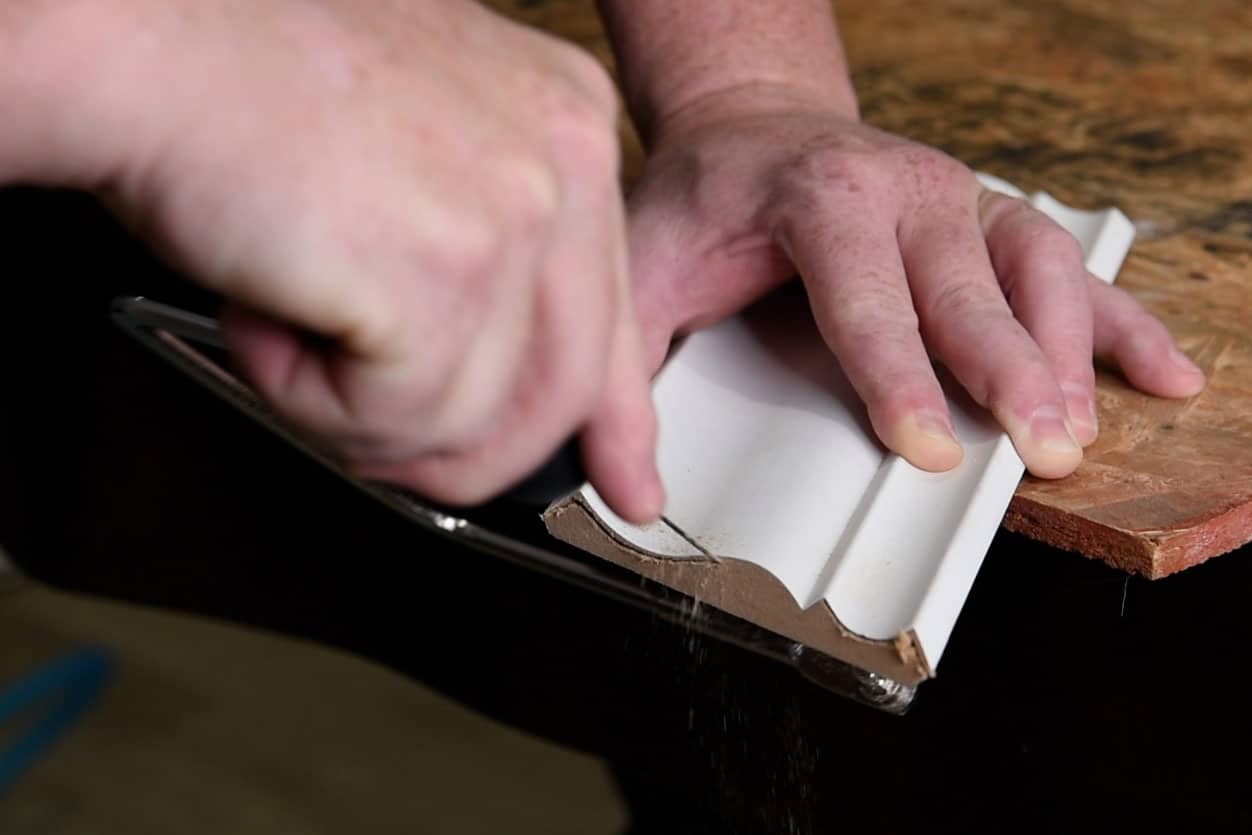
Step 4: Use a Coping Saw to Remove the Back Edge
Hold the coping saw at an angle (photographed below) so the back of the molding is removed, leaving just the front edge for a tight fit. Follow the profile carefully.
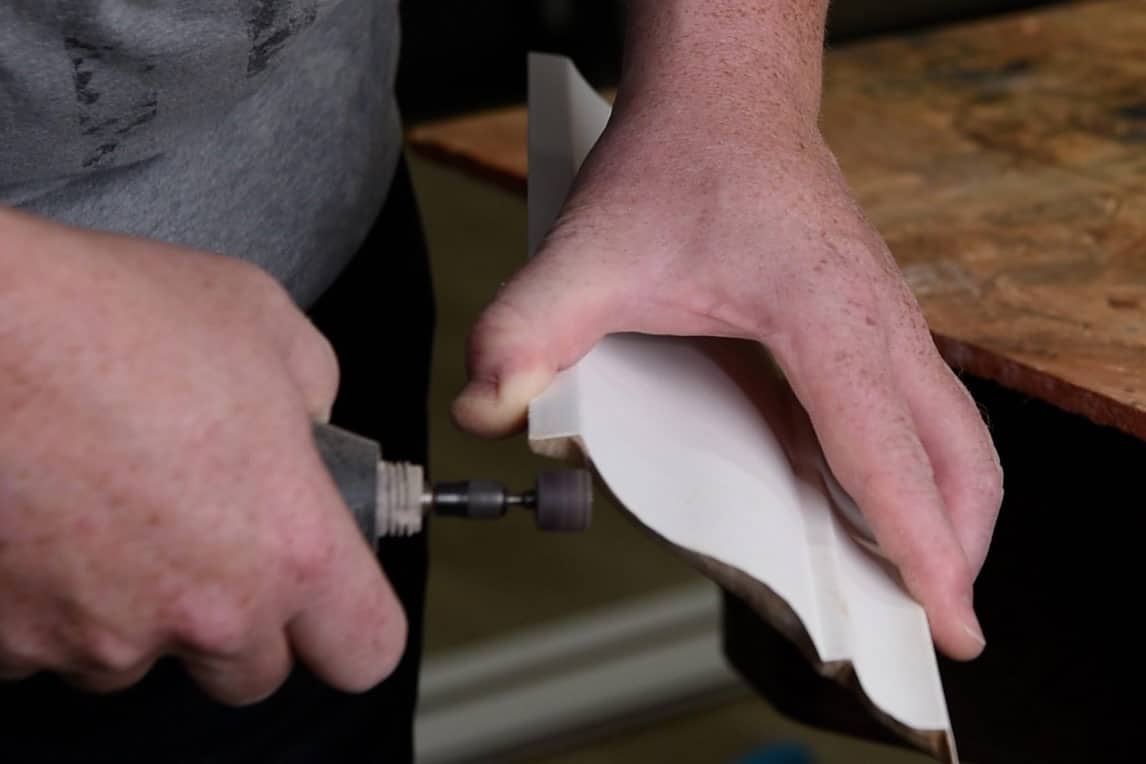
Step 5: Fine Tune with a File, Dremel or Sandpaper
Test fit the piece, then smooth out rough edges or high spots with a Dremel, woodworking file, or sandpaper for a perfect seam. It doesn’t really matter what the back looks like because no one will see that. We used a Dremel with sanding drum for quick work:
Step 6: Install the coped board
Measure for any necessary scarf joints or the next corner joint. Don’t attach if you have another cut to make.
Once you are satisfied, push the coped piece into the corner, overlapping the first board. Nail into place, securing it to studs and ceiling joists where possible. Also, put a top and bottom nail in the corner, to keep the corner snug.
Video Demonstration
If you would like to see all these types of cuts made step by step. My husband and I made a video of the entire process below!
Troubleshooting & Pro Tips
- Practice on Scrap Pieces. If you are unsure of something, test a scrap piece and dry fit until it works well.
- Your walls are not straight. If you want good cuts, never assume angles. Mudding often will create gaps and slopes. How you finesse your cuts determines the final professional look. Have patience.
- Always label your pieces. I guarantee that you will hold a board up perfectly and then walk over to the saw and get completely confused. Not labeling is not a shortcut.
Final Thoughts & Next Steps
The cutting is the hardest part, so I didn’t want to overwhelm anyone. In a few weeks’ time, I will have a full guide to crown molding installation, packed with tips on securing pieces, dealing with tricky corners, and achieving a flawless finish. I didn't want to make this post too long, so stay tuned for that!
Got questions? Run into trouble? Drop them in the comments-I'd love to help! And if you have any of your own tricks, feel free to share. Happy DIYing!

Grab our free series "Weekend Home Projects that will Transform Your Life" Sign up below to receive updates including free printables, organization tips, home improvement projects, recipes and more! |
More Home Improvement Projects
PS I love seeing your creations! Be sure to take a photo and tag #cravingcreative on Instagram! You can also stay in touch with me through following me on Instagram, Pinterest, and subscribing to the newsletter!
Leave a Reply