Learn the tips and tricks to painting outdoor furniture that will last! This inexpensive yet professional-looking makeover project updates a patio or yard space with ease in a day.
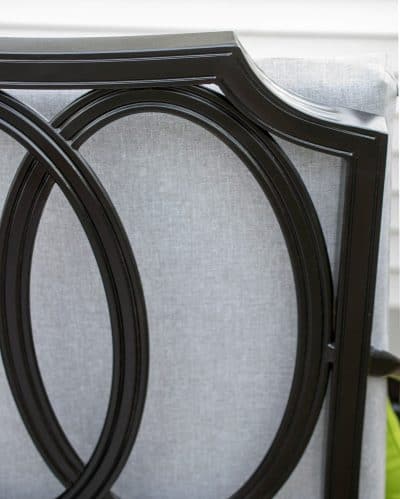
Update: It been 4 years since I painted this furniture set that we use quite often. Despite being exposed to full sun and all the elements, the only wear that’s evident is on the armrests. While I have many, many other furniture makeovers, this was great for a project that cost less than $200!
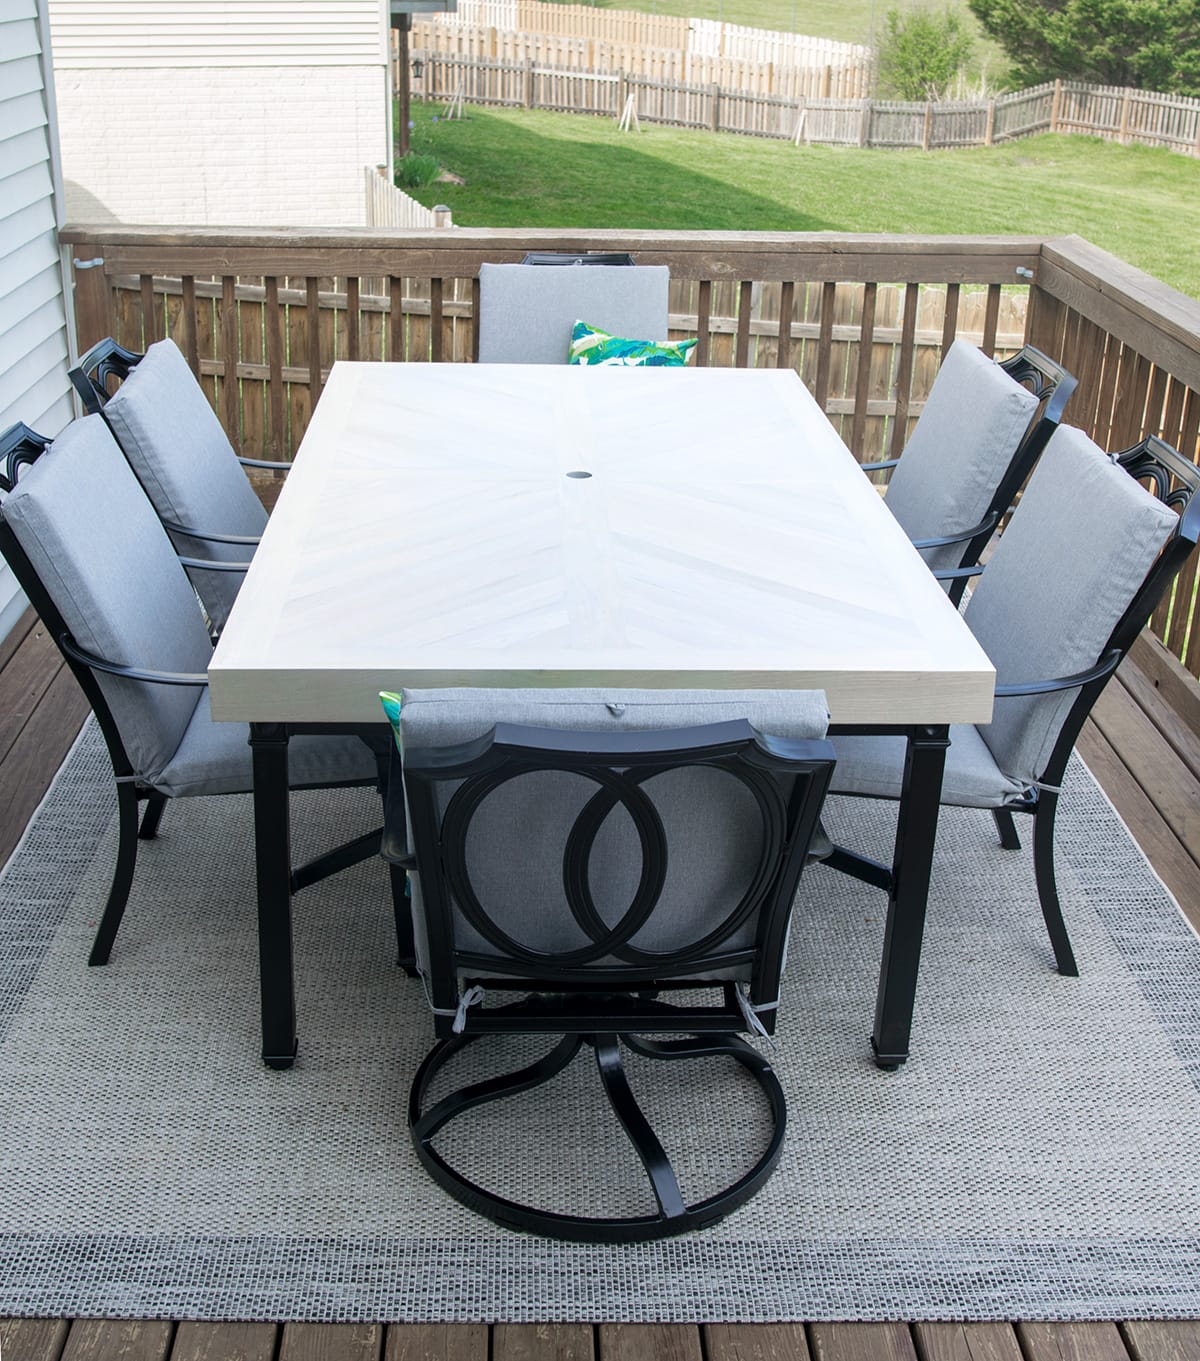
One of the most effective ways to update a deck or patio is to refresh the outdoor furniture. Spend a weekend sprucing up your patio set for use all season long.
One simple project can lead to a few more though. Is your outdoor space ready for a total refresh? Check out these tutorials to learn how to stain an old deck, hang outdoor lights, and perk up your front porch. Just in time for beautiful weather!
Our Project
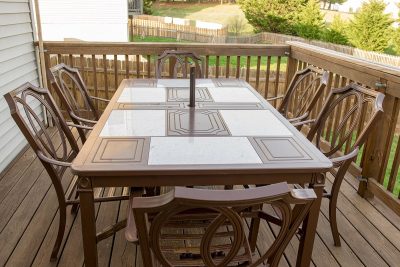
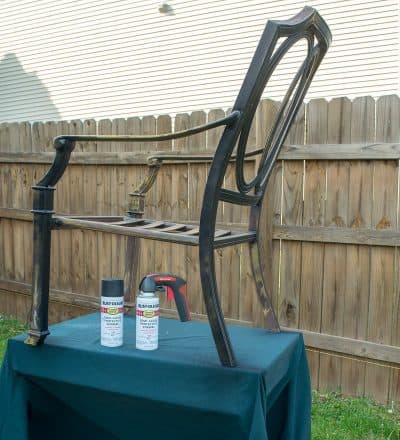
A few months ago, I purchased this set at the Habitat ReStore for a steal at $65.
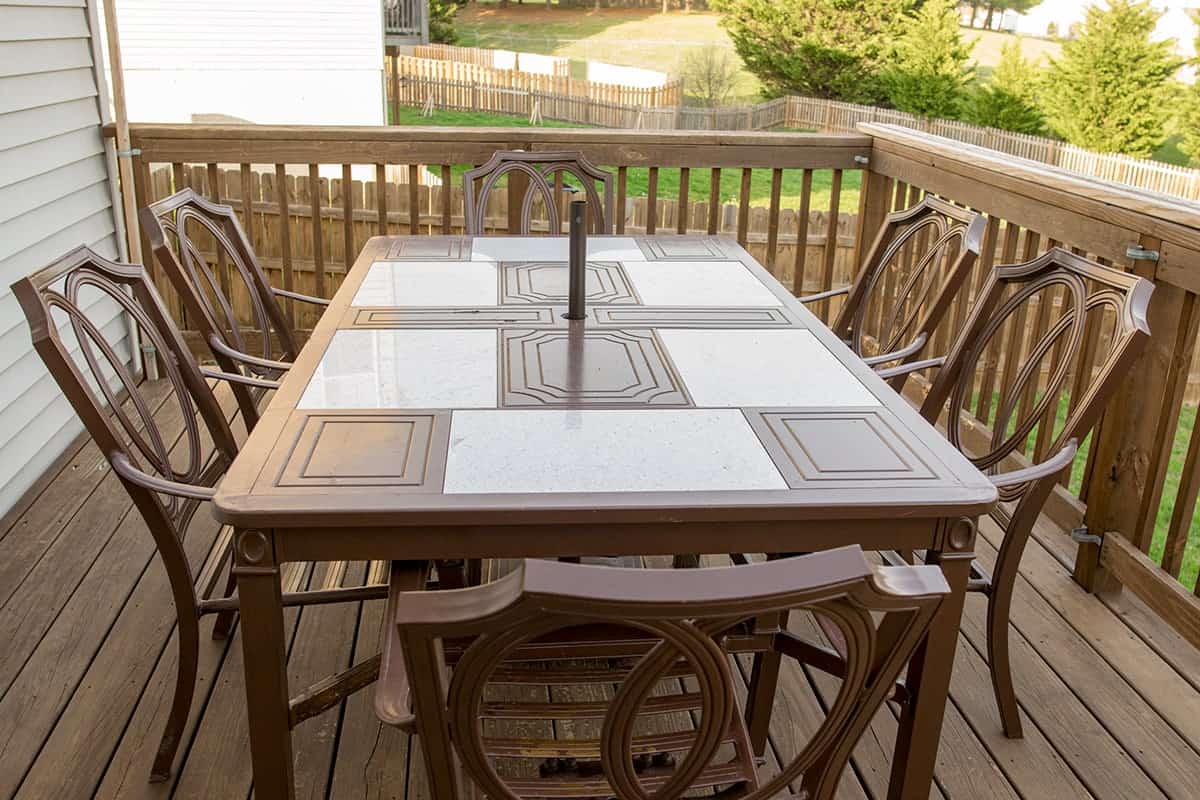
It’s hard to tell in this photo, but the paint is actually chipped and flaking. This set was begging for a modern makeover, so who can say no to using it for this step by step?!
We are using spray paint for this project, but you can use a brush and all of the information for prepping and priming is still good.
Best Primers for Metal Furniture
Using the right product for your situation is essential. I recommend a few different primers, depending on the condition of the piece. Rustoleum is my brand of choice for this project because I’ve had consistent success with many of their products.
Note that many of these primers come in several colors.
- For heavily rusted surfaces – Rusty Metal Primer Spray
- For lightly rusted surfaces or previously painted surfaces – Clean Metal Primer (also available in quart size to use with a brush)
- For bare metal – Clean Metal Primer
- Galvanized Steel or Tricky surfaces – Universal Bonding Primer (also available in quart size for painting with a brush)
- For rusty surfaces that can’t be sanded – Rust Reformer. (I haven’t actually used this one without sanding, however it gets rave reviews. Personally, I’d be too nervous not to sand.)
- For surfaces exposed to high heat or in full sun – High Heat Primer Spray. I’ve used it for a grill we repainted, for example.
If none of these situations apply, you may not need to use a full primer. Often, if the existing paint is in good condition, I’ll only prime the areas that need a touch-up.
Best Spray Paints for Outdoor Furniture
First, I should state that primer is actually more important than the paint itself. While we want paint to be durable and bond to the primer, primer is what makes your project last.
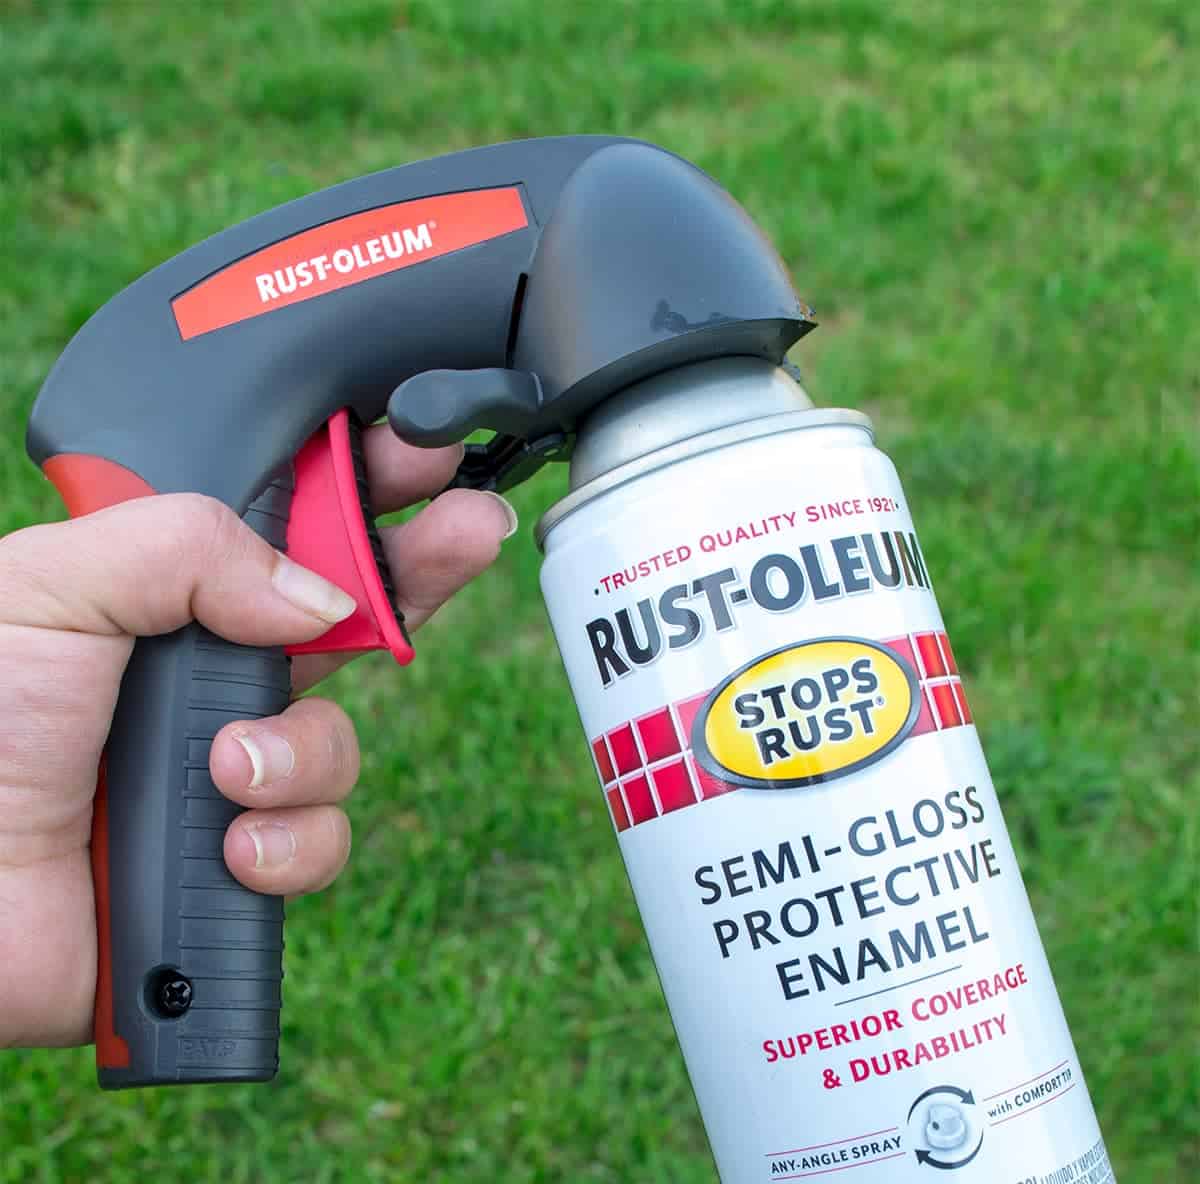
Best Spray Paint for Metal Furniture. Rustoleum Protective Enamel or Rust-oleum Universal (I like their metallic sheens).
Best Spray Paint for Plastic Outdoor Furniture. I like both Krylon Fusion and Rust-oleum 2X.
Spray Paint for Wicker Furniture. Wicker and wood furniture tend to be a bit more difficult since it is hard to get into crevices. For that I generally like Rust-oleum 2X because of the coverage.
*Pro Tip! For paint, it takes about 1 can per chair for full coverage.
My Best Tips for Success
- There is no need to prime areas that still have their base coat intact, but any areas of bare metal will need to be primed.
- I highly recommend these Rust-Oleum Comfort Grips. I love them because my hands aren’t sore after painting large projects and they help keep the spray paint application more even.
- For priming and painting, use light coats to avoid drips and sweep past the edges.
- Don’t worry about getting full coverage in one coat, which might lead to drips.
- Do let dry according to directions between coats.
- Spray paint in multiple angles to fully cover the piece (even the bottom).
- Wait at least 48 hours before putting any cushions or decorations on.
- Don’t spray paint in full sun or on a day that is windy or high pollen.
How to Prep for Painting
There are printable instructions and a supply list at the bottom of this post, but I use this area for quick tips because prepping is the most important part of a good paint job. If you don’t start out with a good, clean surface, the paint may chip off later.
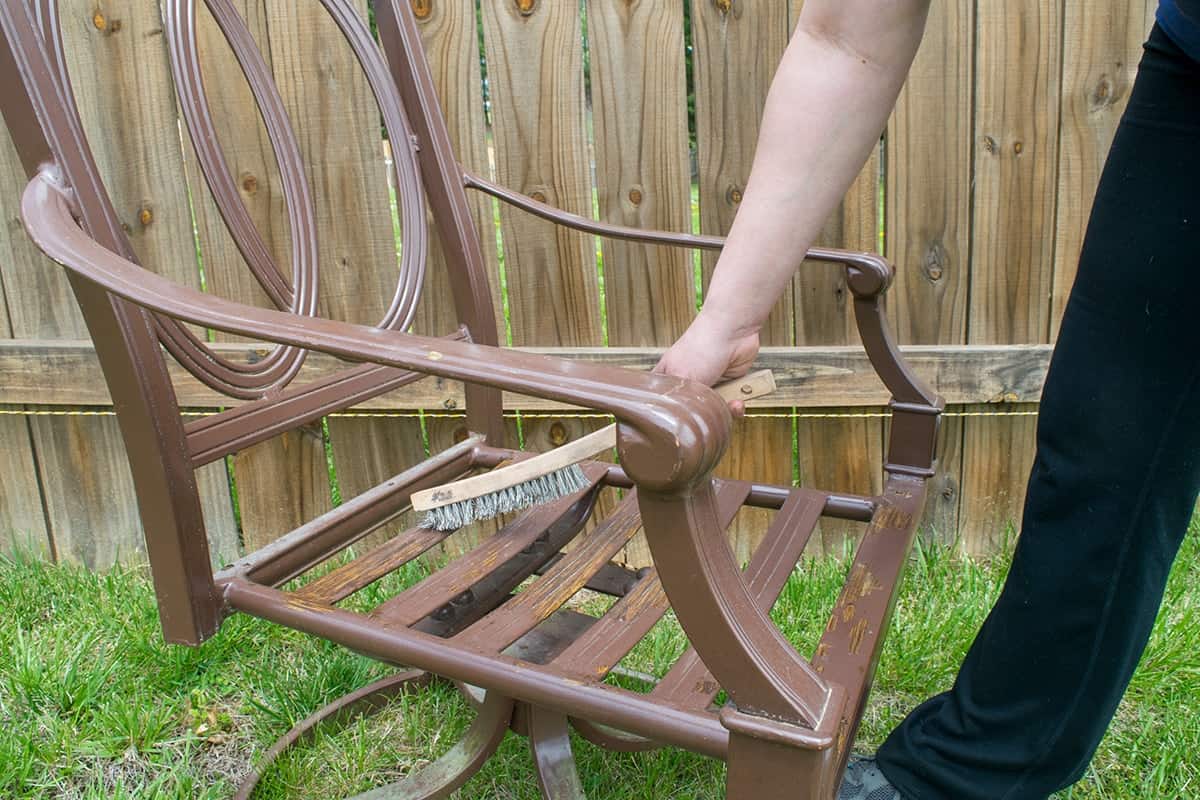
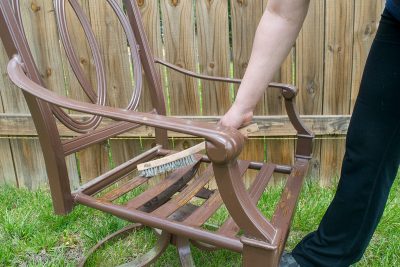
Step 1 – Wire Brush Metal Furniture. I recommend starting with a wire brush to knock off any rust build-up or chipping paint.
The idea here is to scrape off any areas that are rusty or flaking. I recommend a wire brush before sanding because sandpaper doesn’t get in crevices well.
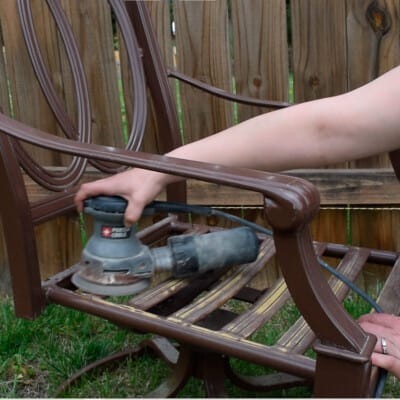
Step 2 – Sand. After wire brushing, lightly sand any glossy old paint with 220-grit sandpaper on a palm sander or 120-grit sanding blocks.
I really like the flexible sanding blocks for this type of project because it’s easier to get in the corners and crevices. You only need to rough up the glossy topcoat.
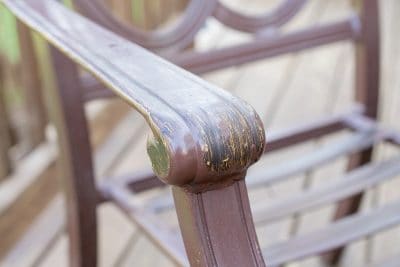
Sanding Tip: There is no reason to sand to bare metal or leave swirl marks. Sanding also helps smooth out any areas where the paint has chipped.
Step 3 – Clean. Lastly, to prepare the outdoor piece, you will want to give it a good cleaning with mild soap (car soap is good) to remove any grease, dirt, or debris. Thoroughly dry the piece, particularly if you have rust problems already.
Step 4 – Setup for painting outdoor furniture. Generally speaking, you will want to elevate the chairs or furniture so you can get around the bottom and undersides.
If you have a table, that’s great, or you can use bricks, cement stones or 4×4 pieces of wood. Lay a drop cloth over it and you are ready to paint!

More Outdoor Projects You May Like
Frequently Asked Questions
I like products specifically for outdoor furniture that provide durability like Rust-Oleum Semi-Gloss Protective Enamel.
Primer is only required in areas where bare or compromised metal is exposed. Previously painted metal furniture does not require primer if the paint is in good condition and well-bonded.
Use a wire brush to knock off most of the rust. You can also use a rust stripper like this to make the job easier. Sand with 120-grit sandpaper after using either method. Prime with appropriate rust-preventative spray paint or clear coating.
Never spray paint indoors. Follow the directions on your product, but also allow the painted metal furniture to cure for at least 48 before adding cushions or normal usage.
You’ll need to work in a well-ventilated area, wear protective equipment, and keep in mind general painting precautions.
You can, but they might not all perform the same way. I dive into details above on which paints to use for certain types of materials.
I didn’t but you definitely can! Try to choose a paint that offers everything in one.

Grab our free series "Weekend Home Projects that will Transform Your Life" Sign up below to receive updates including free printables, organization tips, home improvement projects, recipes and more! |
More Outdoor Makeover Projects

PS I love seeing your creations! Be sure to take a photo and tag #cravingcreative on Instagram! You can also stay in touch with me through following me on Instagram, Pinterest, and subscribing to the newsletter!

How To Paint Outdoor Furniture
Tools
- Paint Brush
- Blocks to elevate items for painting
Supplies
- Soap for cleaning metal
- Lint free cleaning rags
- Sand paper 220 grit
- Sanding Blocks 120 grit
- 1 can per chair Spray Primer See Notes for which product is right for you
- 1 can per chair Protective Enamel Spray Paint
- 1 Drop Cloth
Instructions
Prep the Furniture
- Evaluate the piece. Is there any grime or grease that needs cleaned? Is the old paint in good condition? Is there rust to be repaired?

- Knock off rust build-up and chipping paint with a wire brush. You can also use a rust stripper if heavy rust is present.
- Sand glossy paint or coating. You do NOT need to remove every bit of previous finish if it is in good condition. Use an orbital sander with 220 grit and sanding sponges for crevices. Vacuum and wipe all dust off.

- Clean using dish soap or a mild degreaser for getting any grime and dirt off. Dry off immediately with a towel and then allow the metal furniture to completely dry. Don't skip this step as any dust or grime will not allow the paint to bond properly.
Prime metal furniture.
- Generally speaking, you will want to elevate the chairs or furniture so you can get around the bottom and undersides. You can use a table, bricks, cement stones or 4×4 pieces of wood. Drop cloths help to keep overspray a minimum. Only areas of bare metal need to be primed.

Painting Outdoor Furniture.
- Don't spray paint in full mid-day sun and preferably on a day that isn't windy. Even on calm days, spray paint can drift several feet. A spray shelter is also great for keeping overspray and dust lower.

- Paint with at least 2-3 coats. For priming and painting, use light coats to avoid drips. Don't worry about full coverage in one coat, but read the manufacturer's directions for time between coats.


Notes
- I highly recommend these Rust-Oleum Comfort Grips. I love them because my hands aren’t sore after painting large projects and they help keep the spray paint application more even.
- For priming and painting, use light coats to avoid drips.
- Move evenly in one direction PAST the edges – don’t stop in the middle.
- Don’t worry about getting full coverage in one coat, because that might lead to drips.
- Do let dry according to directions between coats.
- Spray the paint in multiple angles to fully cover the piece (even the bottom).
- Wait at least 48 hours before placing any cushions or decorations on surfaces.
- I like to paint and check on it as the light changes. You may notice spots you missed as the sunlight changes over the course of the day.
- For heavily rusted surfaces – Rusty Metal Primer Spray
- For lightly rusted surfaces or previously painted surfaces – Clean Metal Primer (also comes in quart size can you can use with a brush)
- For bare metal – Clean Metal Primer
- Galvanized Steel or Tricky surfaces – Universal Bonding Primer (also comes in quart size for painting with a brush)
- For rusty surfaces that can’t be sanded – Rust Reformer. I haven’t actually used this one without sanding, however it gets rave reviews. Personally, I would be too nervous not to sand.)
- For surfaces exposed to high heat or in full sun – High Heat Primer Spray. I’ve used it for a grill we repainted, for example.
Laura Schaffer says
Oh my gosh! I have this exact same patio set and have been wanting to paint it. This is great thanks! I am having the hardest time finding replacement cushions for these chairs. Where did you find yours?
Rachel says
I actually got mine at Target! I had to order them online since it was difficult to get 6 in one color from a store.
Col says
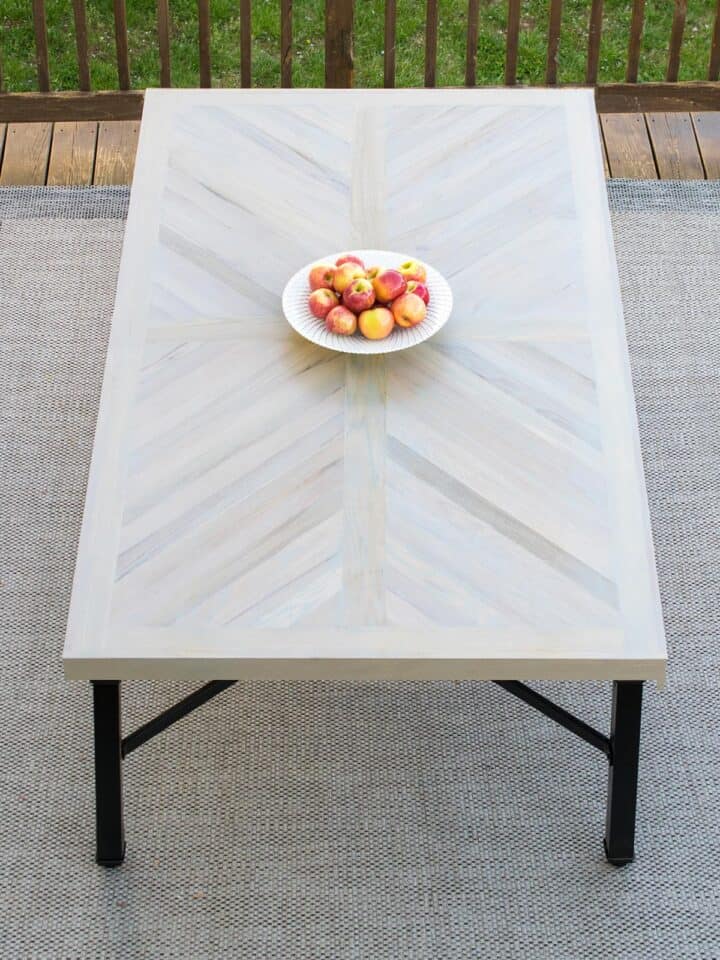
Hi how did you paint the table top with that effect and what color. Thanks so much
Rachel says
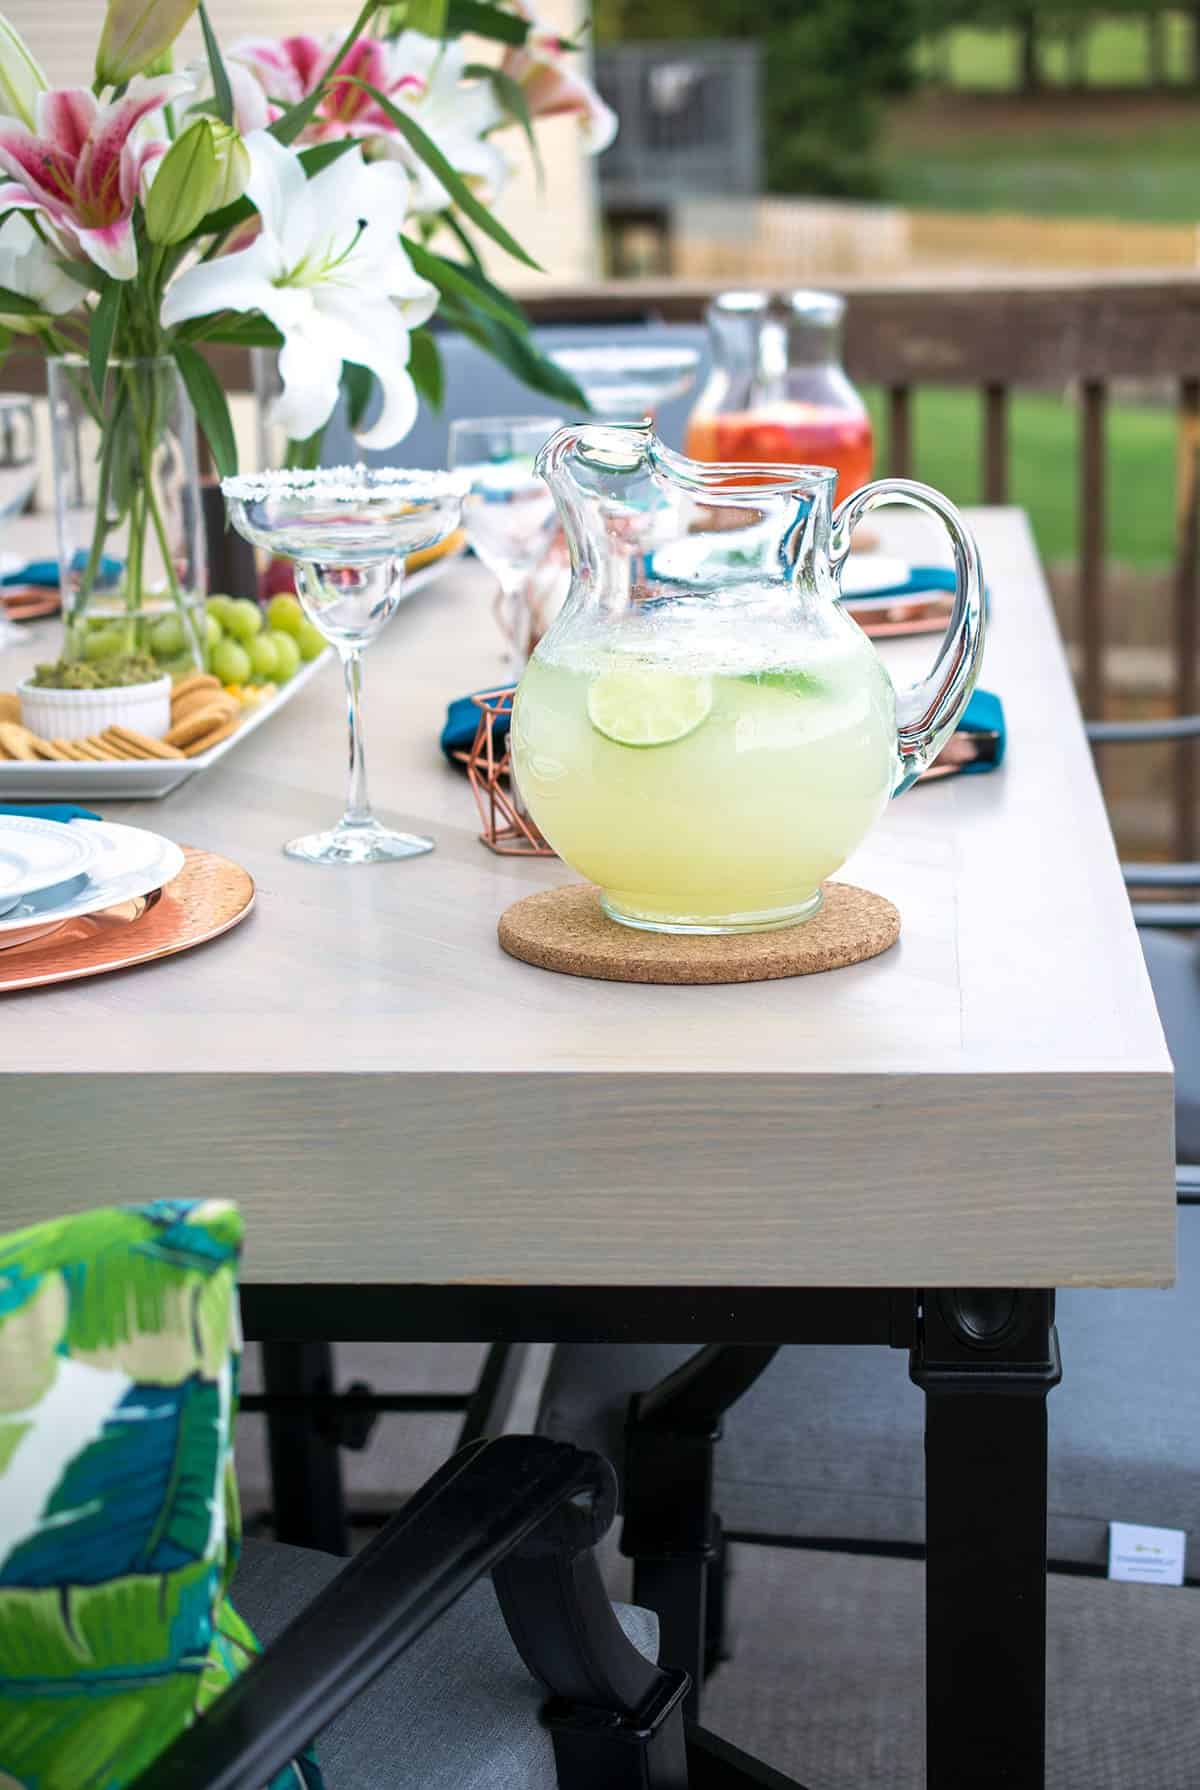
More information on the tabletop itself can be found here: Building an Outdoor Dining Table
Ani says
I have a faux stone outdoor tabletop that is cast cement that is weather worn. Wanted to repaint with something that will recreate the faux stone look. Suggestions?
Rachel says
Oh boy, that is a tough one! I am not quite sure of the color of the stone or how varied it is, but Id say the technique is probably the most important part. I can’t say that I have done it myself, but I would probably use a few different but similar colors in an outdoor concrete/stucco paint. Then sort of sponge them on and blend them to create the textured surface that stone has rather than just painting it all in one color. I am sure there are some good tutorials about painting faux stones. Another idea that you could look into is one of those countertop kits that you can paint counter tops with. I don’t know if one of those might match the stone you have. I hope that helps and good luck with your project!
MARLA says
We have a marble top table that has been sun damaged.
Do you recommend the same process for it? And what about it looking dull later? Should there be a clear top
Cost of some kind?
Thanks for the help.
Rachel says
Hi! Are you wanting to paint the marble directly? Most marble, like carerra, tends to be a very porous surface, so over time the polished layer on the top may have worn off. Professional re-polishing may be needed to get it to look like it did when you bought it. This depends on how worn and rough the surface is now. You could try an etching polish remover for countertops if the surface isn’t too damaged. As for painting the marble itself, I cannot say that I have done this specifically, but the stone itself would already be etched so you don’t need to prep it further. I would probably paint it with a high binding paint of some sort, either a high binding primer such as Kilz max or maybe a paint meant for smooth shiny surfaces like plastic. If your not wanting to paint the marble specifically, just the frame, then yes the same process would be used. Hope that helps and let me know if you have any other questions.
Elisia says
How many cans of spray paint did you end up using?
Rachel says
I used about 7 cans for all 6 chairs and the table.
Jasmine Paulos says
Wonderful article to read if you want to make your furniture look as new.This article will be a guide. Thanks so sharing such amazing article .I would love to try on my furniture.