Our no-fail method for how to paint a dresser! With this step-by-step, inexpensive, yet professional-looking DIY project, your painted furniture will look great for years to come.
I didn’t plan to follow painting a bathroom vanity with another furniture makeover, but last week's makeover received an extremely warm reception. We’re waiting on new tile floors, so I figured it was a sign to take a break from the bathroom remodel.
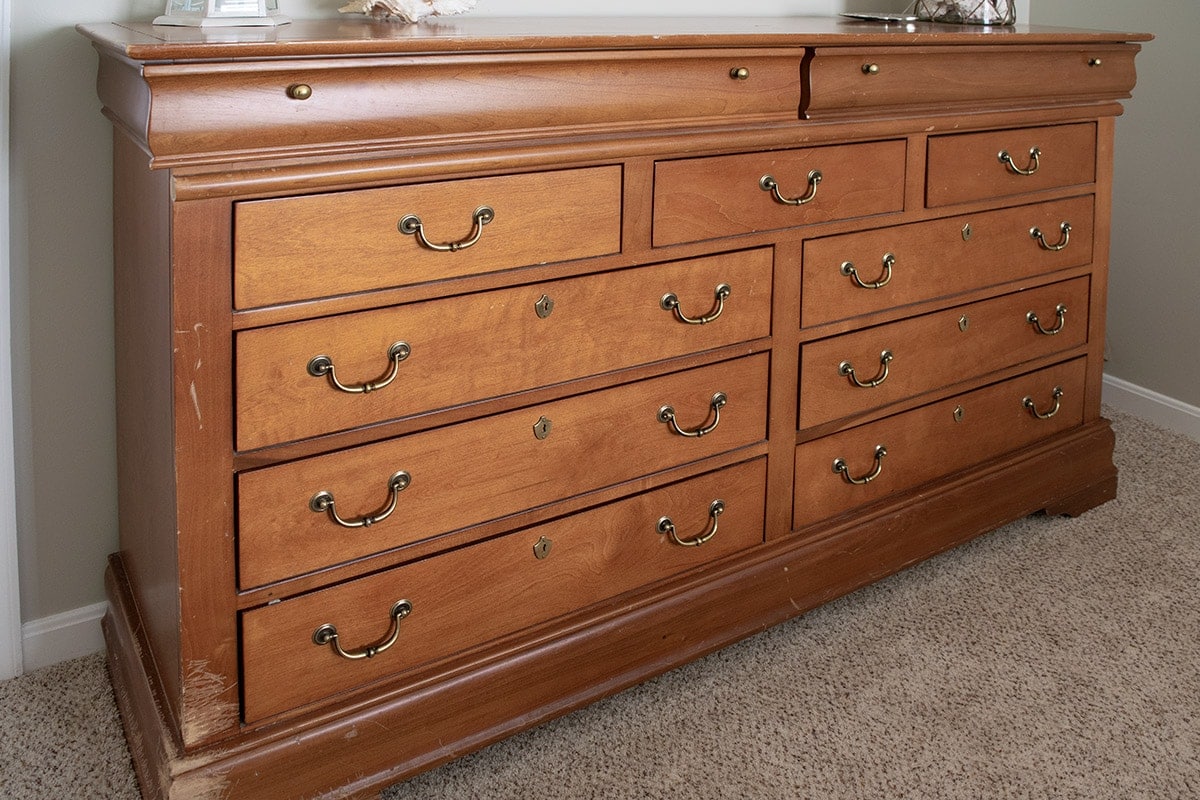
If you are new here, I’ve completed dozens of furniture remodels and painting projects over the years, including the free dresser above that was leftover from an estate sale. I’ve navigated the pitfalls, honed my skills, and found the products that make it easy to achieve consistent results that last. My son tests our furniture to the max, so durability is a high priority for me. This no-fail method works for almost any furniture piece!
Recommended Tools and Supplies
For best results, opt for specialized furniture paint and avoid using latex paint or leftover wall paint to paint furniture. I’ve dedicated an entire post detailing the best furniture paint for further insight.
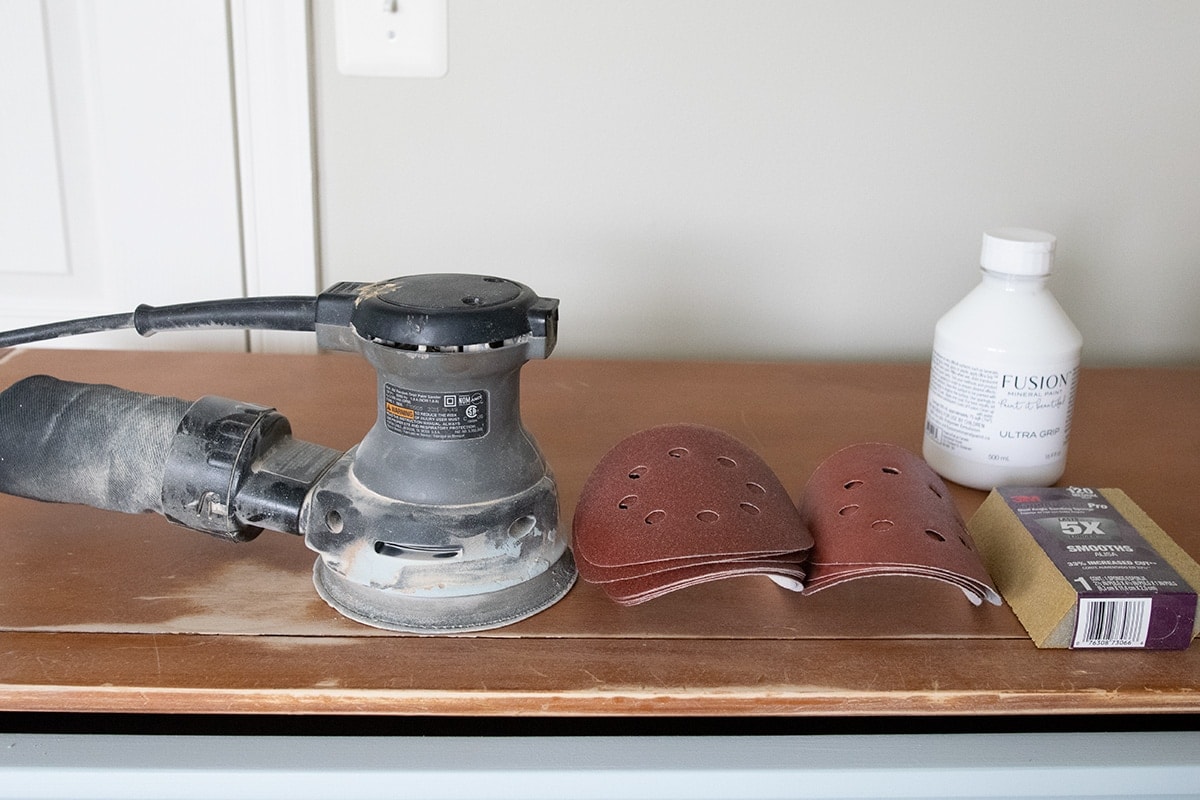
These are the supplies I used for this particular dresser:
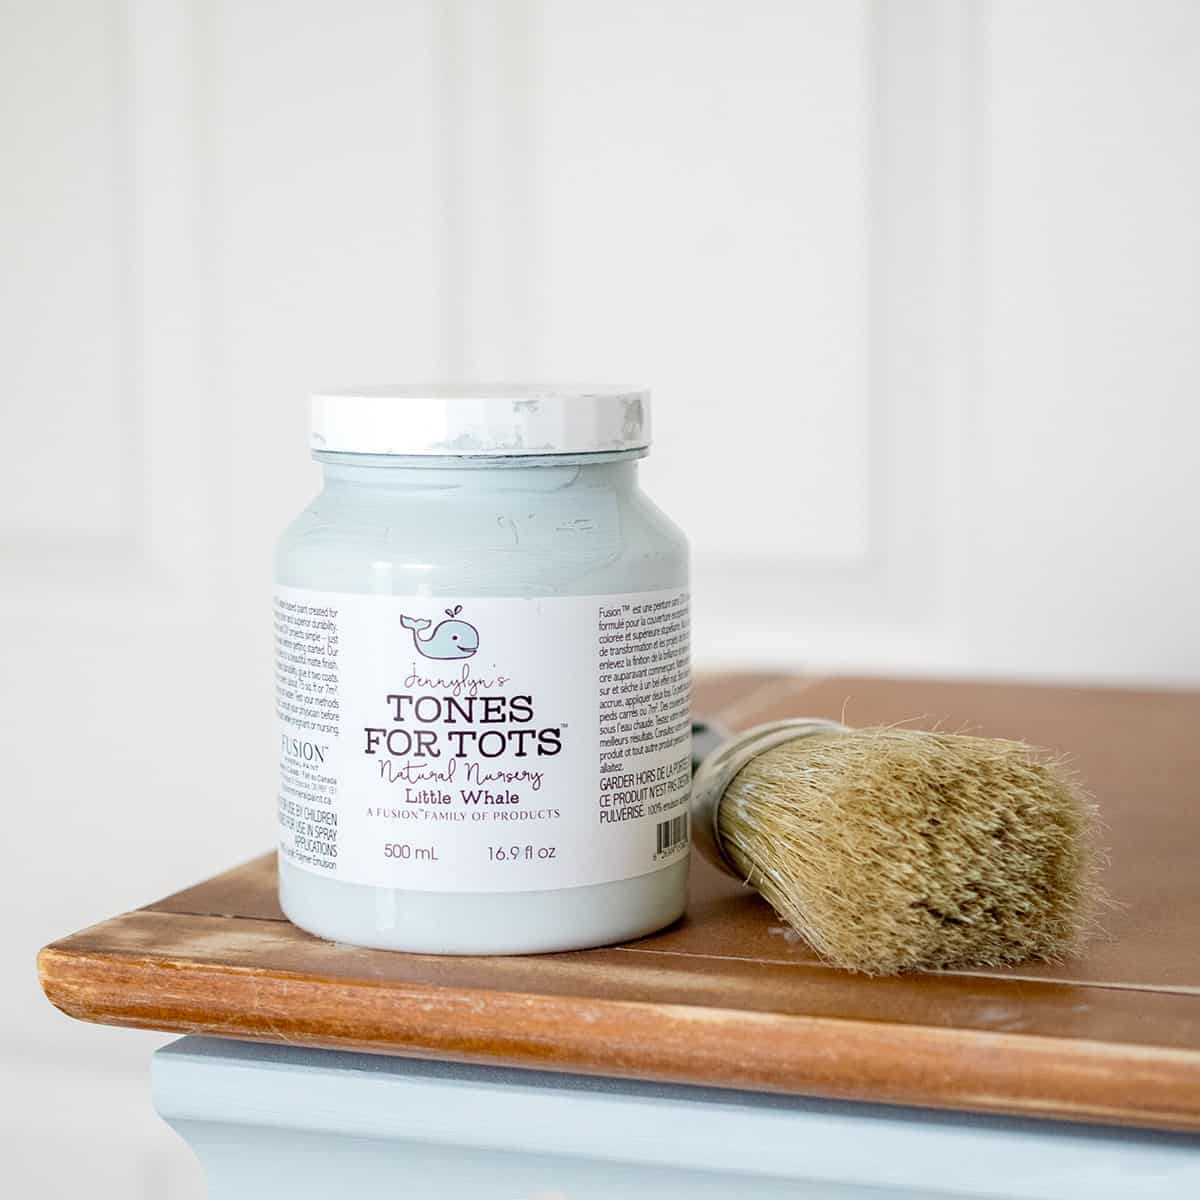
- Fusion Mineral Paint in Little Whale
- Fusion Mineral Ultra Grip (it worked well, but it doesn’t cover stains. I also like Kilz Adhesion and INSL-X Stix Bonding Primer (available at Ace Hardware and Benjamin Moore Stores).
- Stain blocking Primer
- Mouse or Palm Sander with 120 or 220 grit sandpaper and Sanding block
- Fusion Mineral Natural Paint brush or Fine Paintbrushes
- Clean, dry lint-free rags
- TSP or Degreaser
- Wood Filler (Only for imperfections or filling old hardware)
- Lint-free Microfiber rollers
- Paint trays
How To Paint Furniture Step-by-Step
Step 1: Evaluate and Clean
Remove any hardware present. If you’re changing the hardware out to a different size, fill any holes. Use this step to fill any deep scratches or gouges. You’ll smooth them out in Step 3.
I start each project with a list of key questions:
What’s the furniture piece made of?
Inspect your project thoroughly. It’s rare to find solid wood furniture nowadays. It’s key to know how to work with wood composite types, so you don’t compromise the structure.
Are there stains or knots in the wood?
Much like melanin to the skin, all-natural wood contains tannins. However, some species of wood like knotty pine have darkened areas that are concentrated with these tannins. The ONLY effective way to cover these is to use a shellac-based sealer with at least two coats. I have had the experience of trying other things and then months later the tannin spots becoming visible through bleeding.
How to Clean furniture for painting?
While a lot of blogs recommend Tri-Sodium Phosphate, you can use any cleaner that won’t leave a film. It’s also banned in some states but there are alternative cleaners on the market.
Stains are important to note ahead of time because some things will bleed through paint or prevent proper bonding.
- Grime – A degreasing cleaner like Krud Kutter or Simple Green effectively gets any grime and dirt off.
- Gooey stuff/adhesive - I like Goo Gone for gooey messes, but make sure to clean off with a degreaser or Trisodium Phosphate afterwards to remove any residue.
- Grease stains - clean with a good degreaser like Simple Green to break up what you can.
- Permanent Marker/food coloring/other - Rubbing Alcohol may remove sharpie. Ive had luck with magic erasers and a paste of baking soda for other colorants. Prime at least two coats over these areas.
- Deteriorated varnish – If the old varnish is gummy, I recommend scraping it off with a paint scraper and striping the remaining varnish.
Step 2: Sand or Etch
There are two ways of prepping furniture or cabinets for painting: sanding and etching. I’ve tried etching deglosser, but I have had it react with varnishes in ways it should not. Sanding with a palm sander or a mouse sander (we use a multi-tool for inner corners) makes this step pretty quick though.
My general rule of thumb- sand enough to take the gloss off, not to necessarily get every trace of color off. Sanding gives the best bond, so I sand high traffic surfaces such as tabletops, dresser tops, and around doorknobs. Vacuum and wipe off all dust off with a damp cloth before priming.
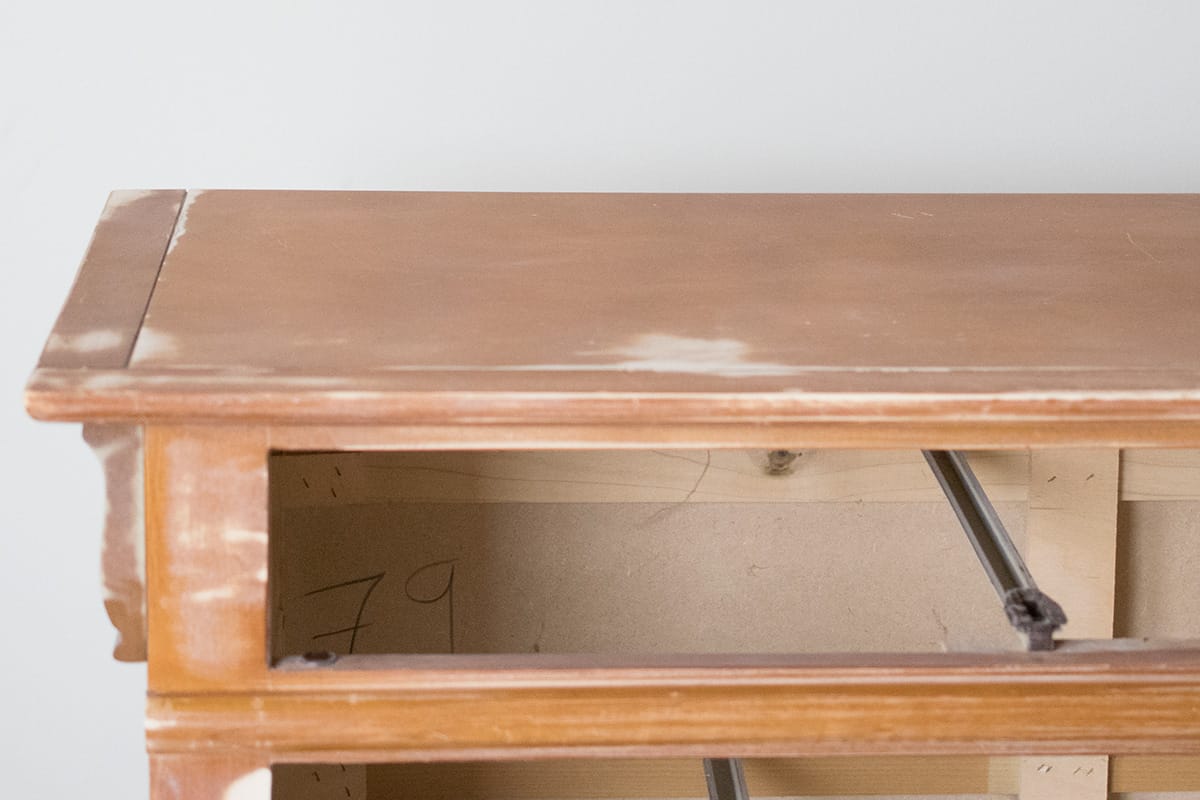
This photo above is a good illustration of what really needs to be sanded. The original stain is still noticeable, but the surface is smooth, and imperfections have been removed. Sand and with 120-grit sandpaper on an orbital sander. If I’m hand sanding, I use 80-120.
There’s a no-sand method that I’ve also achieved success with using products that help paint bond to surfaces that can’t be sanded. My favorites are Kilz Adhesion and INSL-X Stix Bonding Primer (available at Ace Hardware and Benjamin Moore Stores).
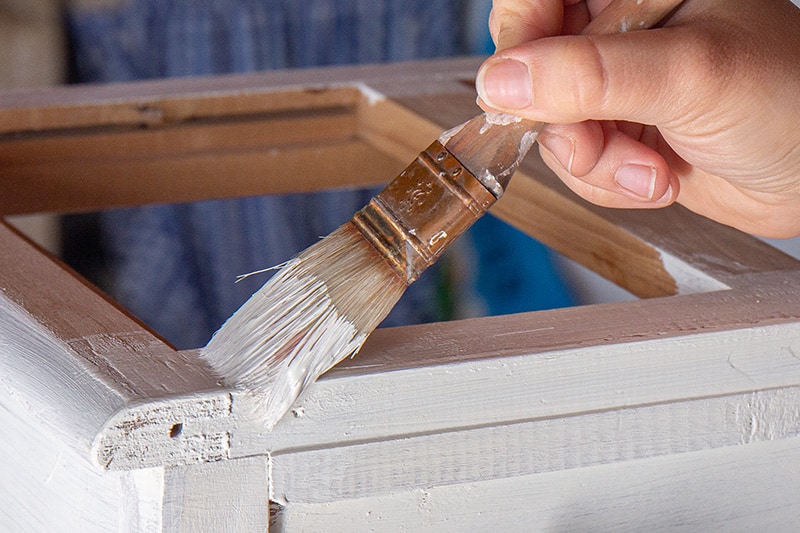
Step 3: To Prime or not to Prime?
I would skip priming if:
- You use a no-primer needed paint. Paint lines/brands that I have used and don’t require priming include Fusion Mineral, Benjamin Moore Advance, Sherwin Williams Emerald Line (not a fan!), and many chalk paints.
- Unfinished or raw wood will always require a primer.
- There is NO risk of stains, oils, or grease coming through the paint (use a stain-blocking primer if there is).
- You aren't painting bright white (I like to use a stain-blocking primer for white).
My no-fail primer is this one from Kilz (not the original). Wait for the primer to completely dry, usually 24-48 hours, before painting.
Step 4: Paint
Typically, two coats are all you need. You don’t need to sand between coats unless the surface is not smooth to your liking. You can paint with a sprayer or brush/roller combination.
Check out my guide on painting without brush strokes if you are new to painting furniture.
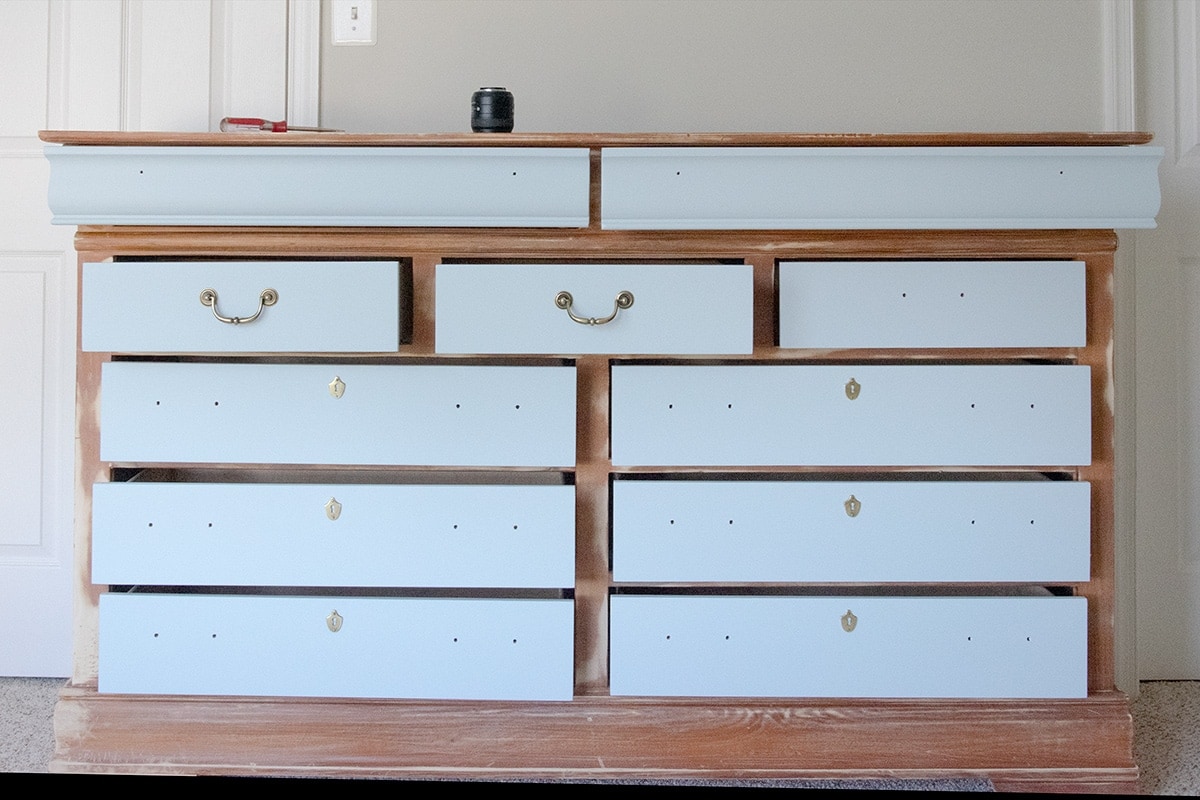
For this dresser remodel, I painted the drawers while on the dresser. It made painting all of the edges much easier and created space for the drawer fronts to dry fully without disturbance. I removed them later to paint the frame.
Step 5: Final Coat
Two coats are generally enough for painting. The first is all about getting the paint covered well, the second is about getting an even finish. I don’t sand between coats, except before the final coat or if I am going for an ultra-glossy, smooth paint job.
Optional Step: Topcoat
A topcoat isn’t required with most of the paint brands that I use, but I recommend it for high traffic pieces, and especially for kid’s furniture. If you choose to add a protective topcoat, read my recommendations on choosing the best topcoats for furniture in this post to help guide your decision.
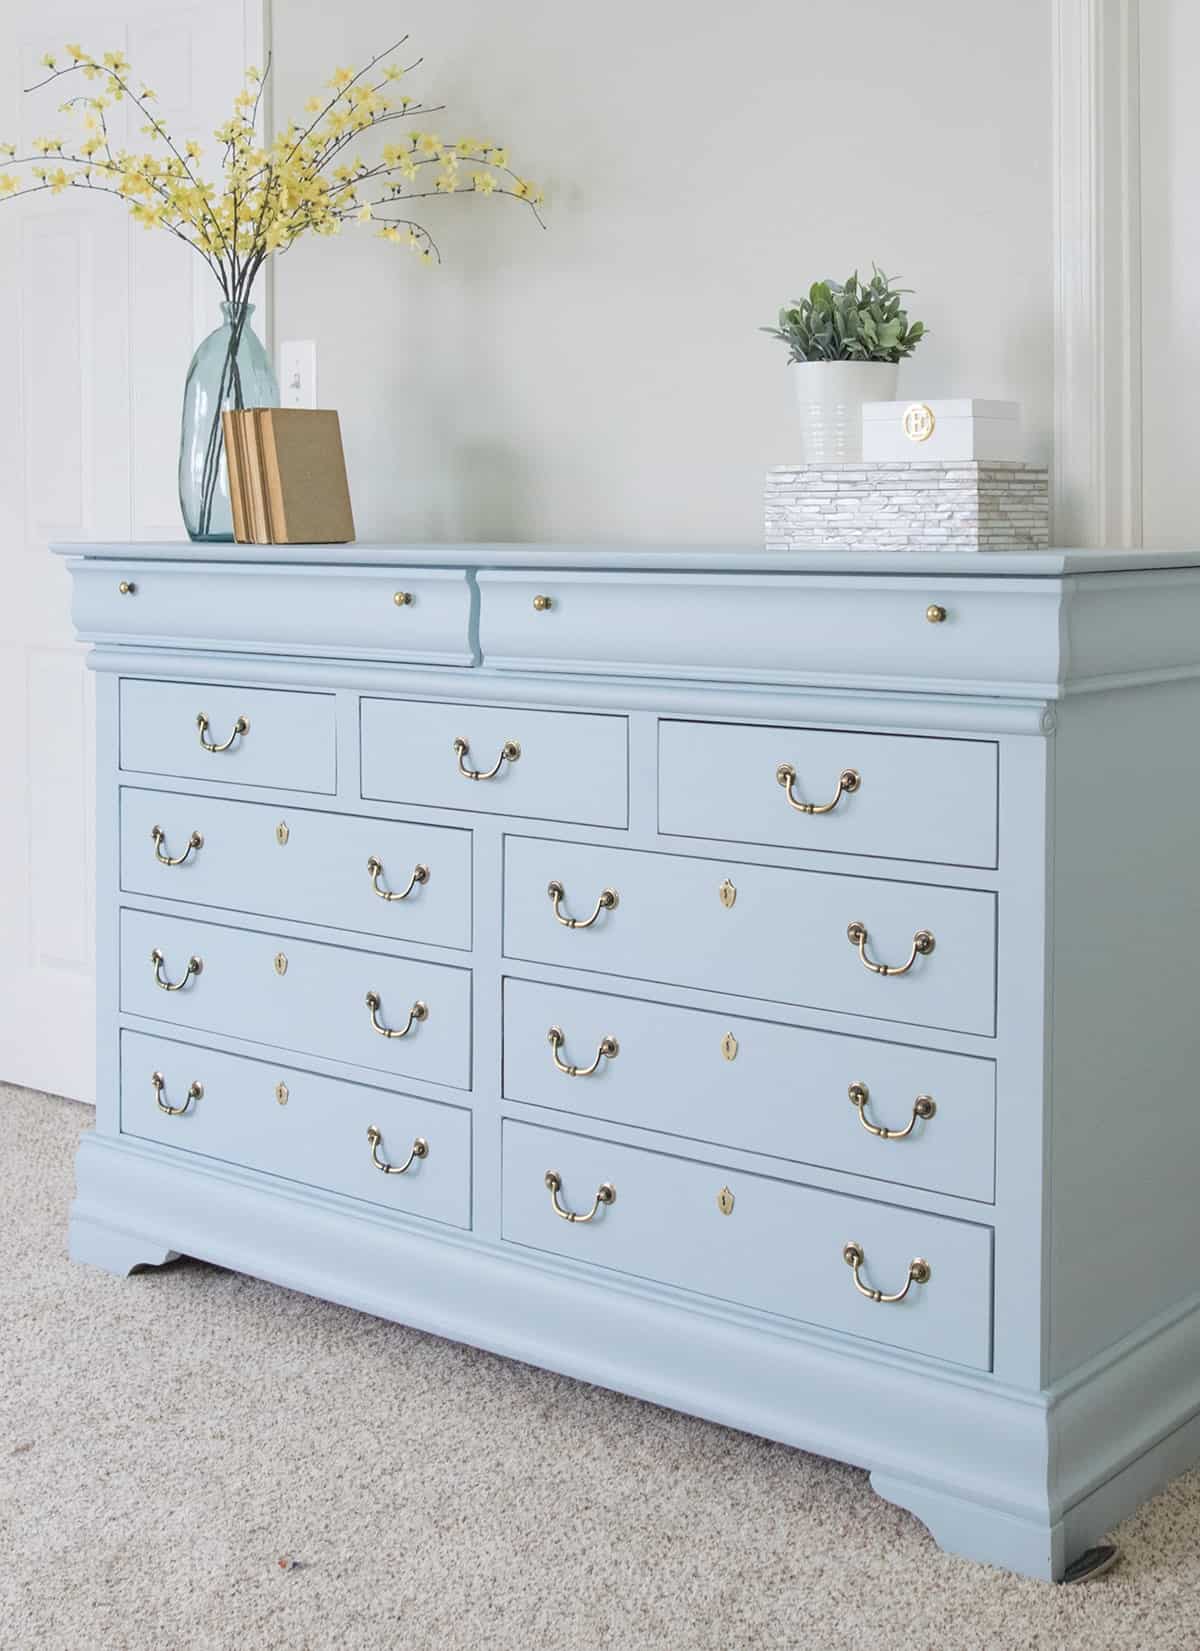
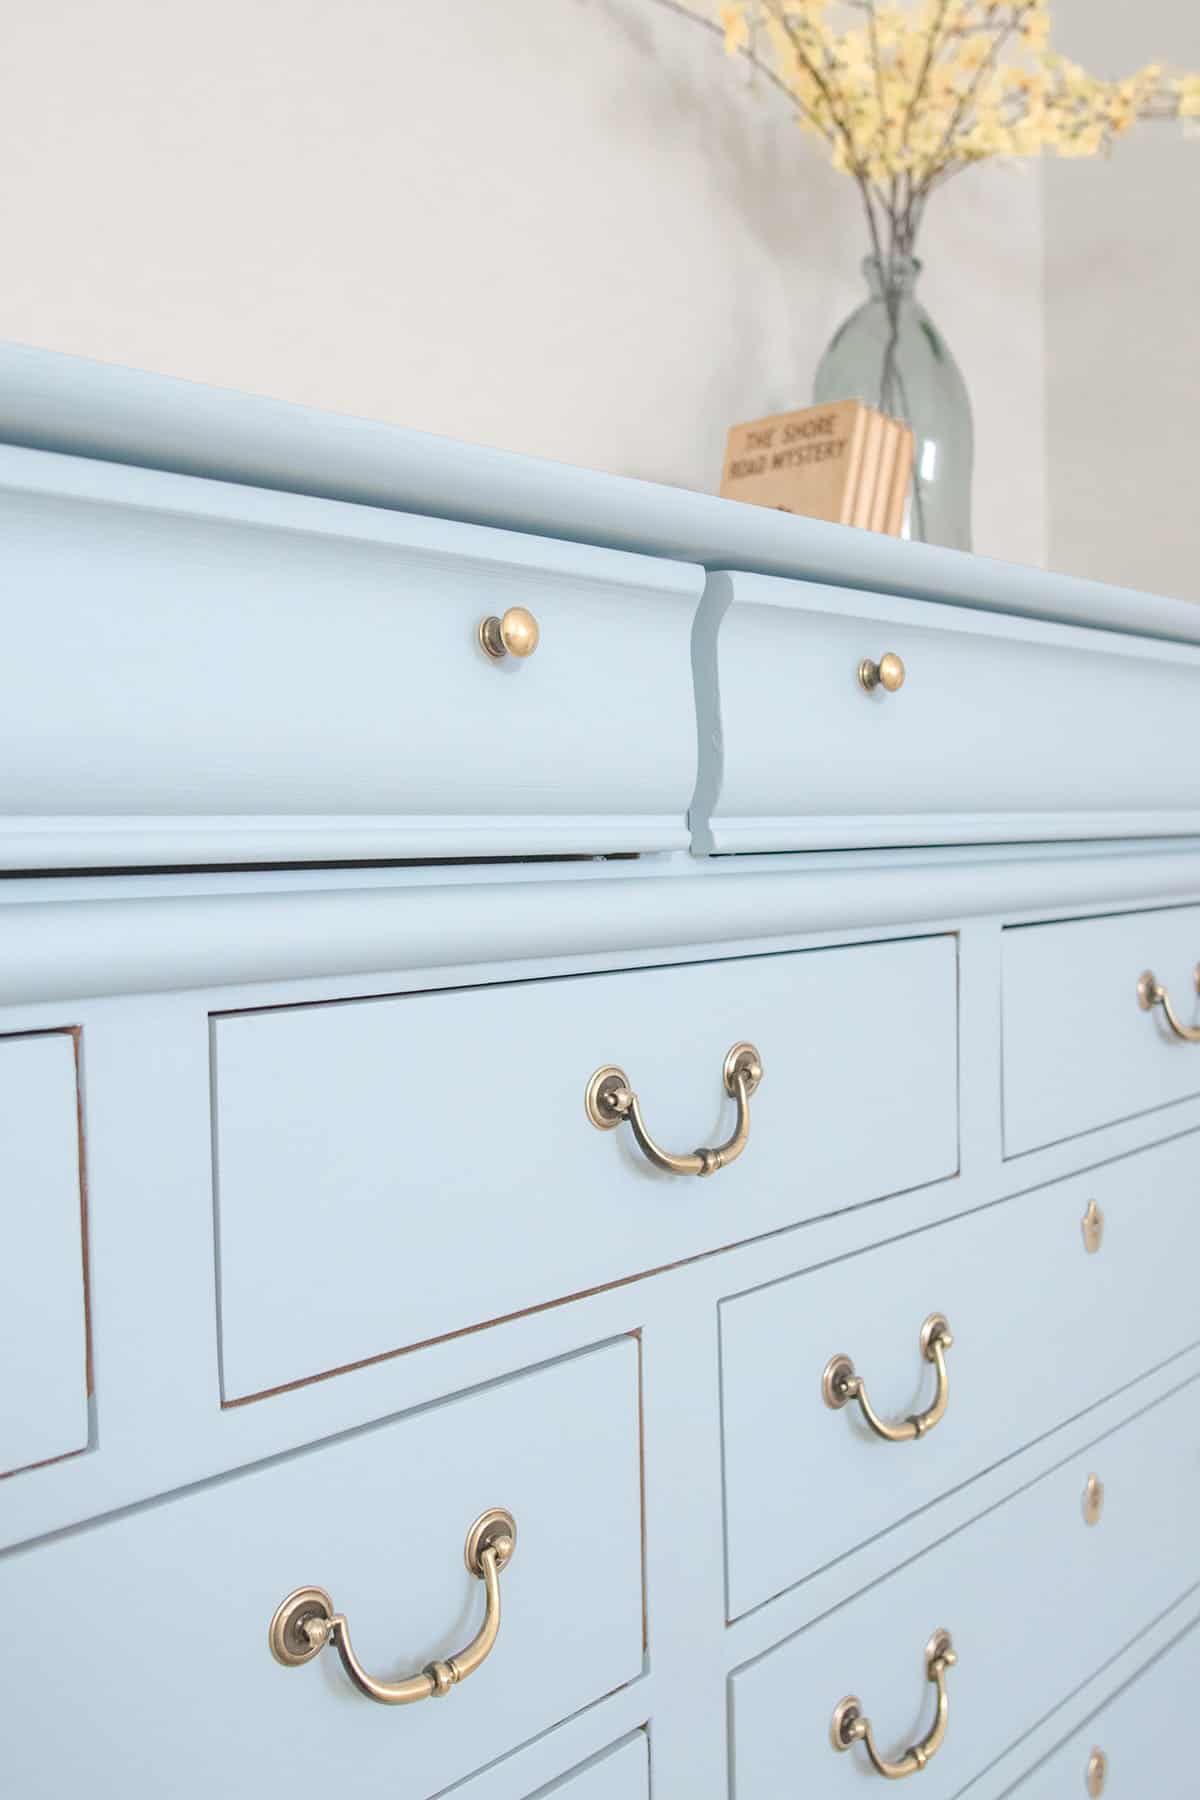
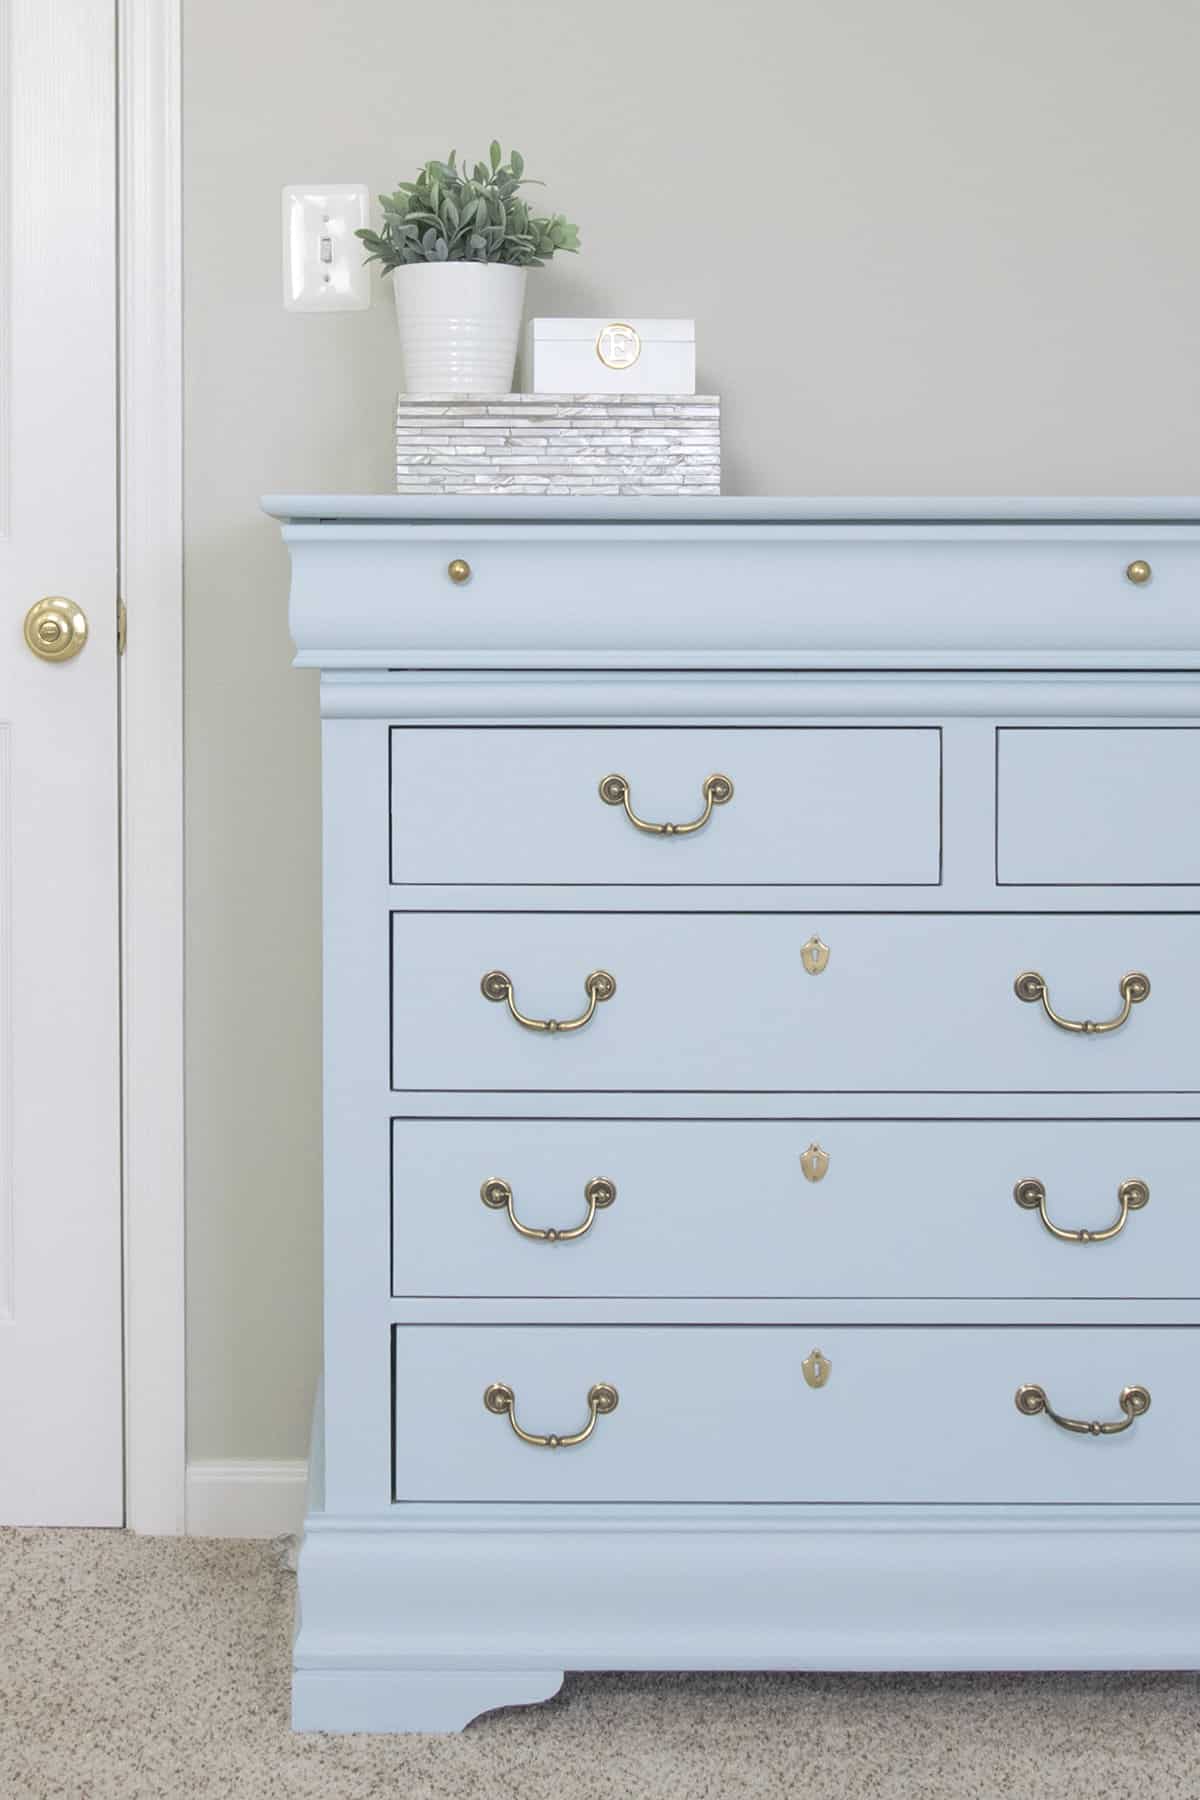
Here she is, our beautiful new addition! There’s a velvet-like texture here that the photos don’t do justice to. I’m delighted to show guests to their room with the addition of this lovely storage piece.
Quick Pro Tips for Painting Furniture
- Get the right tools. A few extra dollars will often save you a lot of frustration.
- Brush and Roll Technique: Brush details or corners first, then roll larger areas before the paint dries to blend edges seamlessly.
- Tape Edges. Use painter’s tape for anything you don’t want painted or to have nice lines, like insides of cabinets or countertops.
- Use a lint free microfiber roller across all flat or large surfaces for the smoothest finish. Some paints have better leveling properties than others.
- Apply Thin Coats: Multiple thin coats of paint provide durable and even finish.
- Sand Imperfections rather than trying to fix. If a paint has started setting, you will just make it worse. It’s easier to sand after drying or to wipe the entire surface off and start over (like orange peel on a door panel).
- Allow Adequate Dry Time. Allow each coat to dry completely before applying the next to avoid peeling or bubbling.
- Consider a Topcoat: For added durability, especially on high-use pieces like dressers
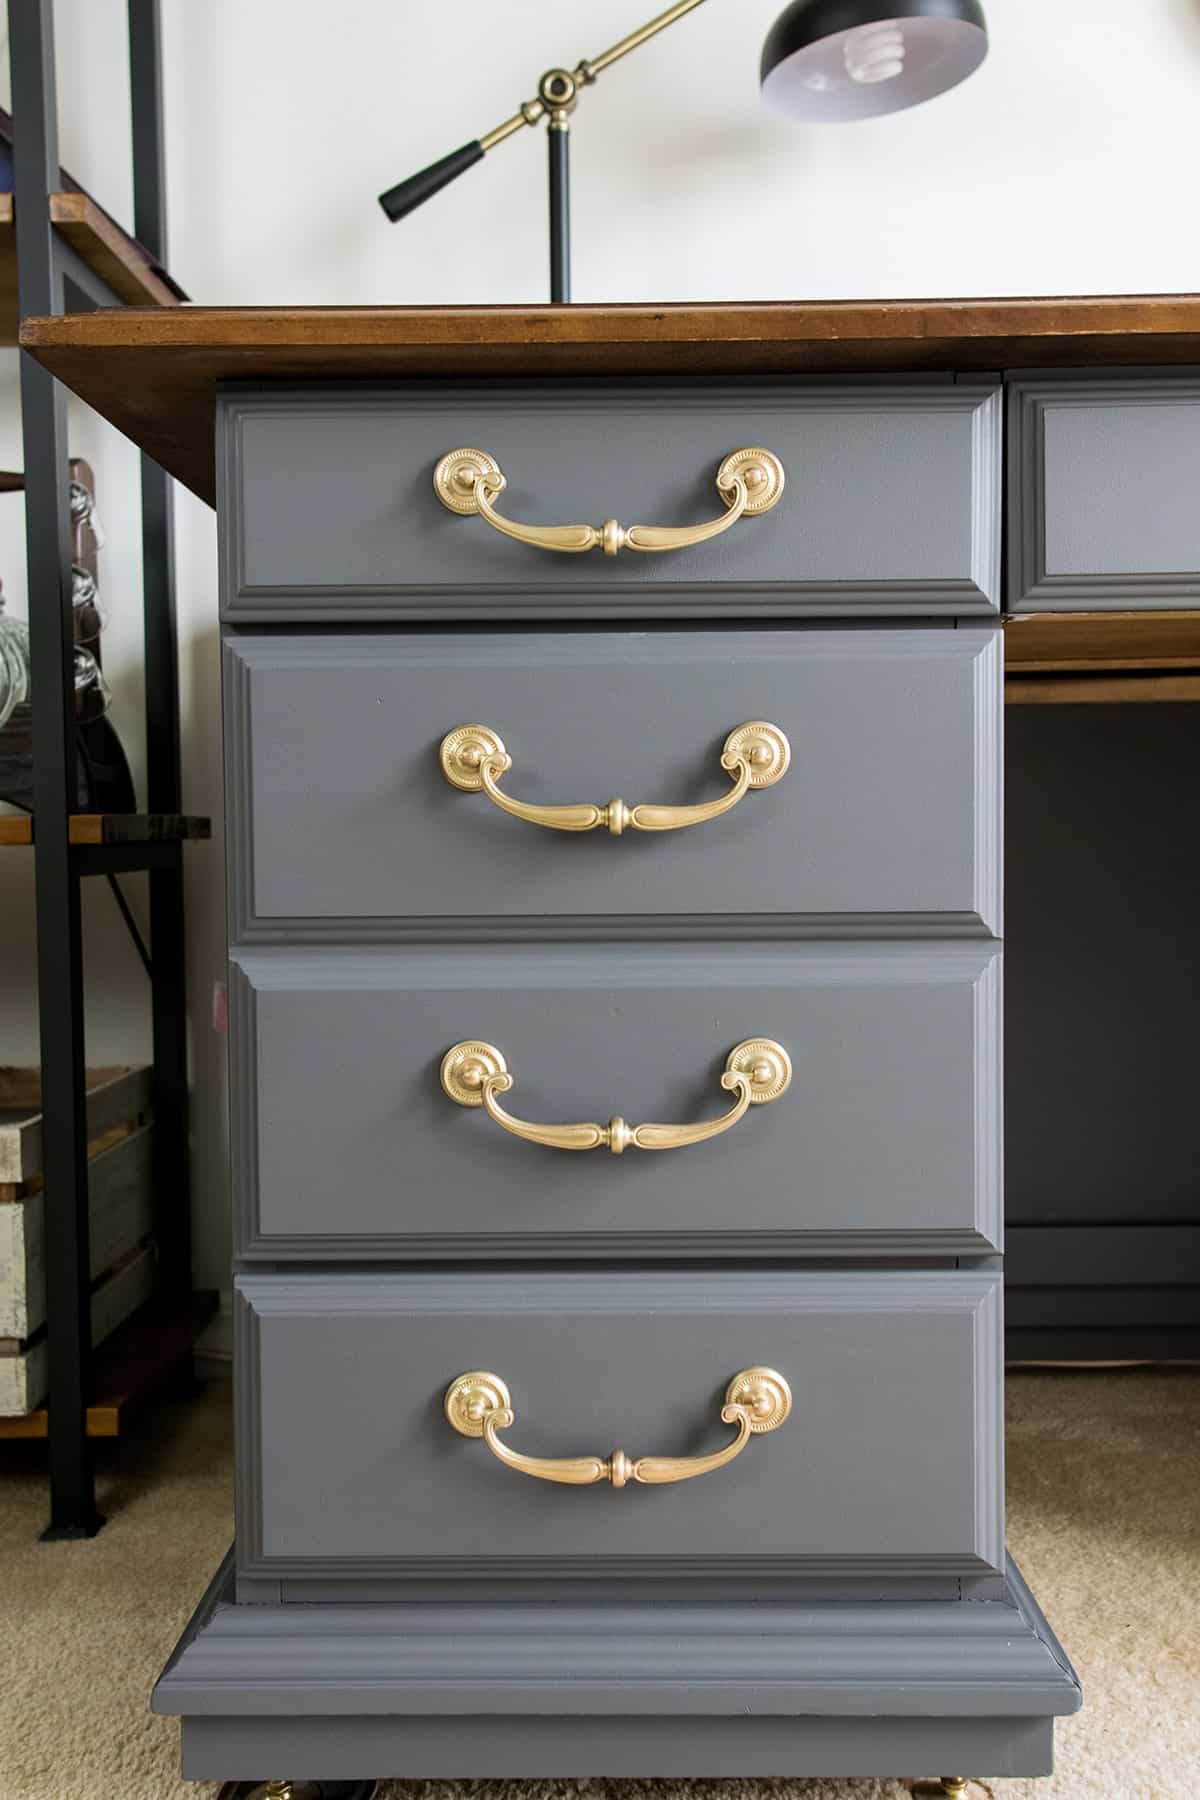
Wanna See More of Our Painted Furniture Projects?
- DIY Media Cabinet from a Dresser
- Midnight Blue Painted Vanity
- 25 Colorful Painted Furniture Ideas
- Beer Safe Fridge Makeover
- 10-Foot Entertainment Center Transformation
Frequently Asked Questions
Never use wall paint on a dresser. Use a cabinet or paint made specifically for furniture. A satin or semi-gloss has the most durable finish. Recommended paint lines/brands that don’t require priming include Fusion Mineral, Benjamin Moore Advance, Sherwin Williams Emerald Line (whoa expensive!), General Finishes, and many chalk paints.
Yes, but it’s a good idea to lightly sand the dresser with medium grit sandpaper first to ensure the paint adheres well and provides a smooth finish.
You don’t always have to prime before painting furniture; skip priming if you use a no-primer-needed paint, there’s no risk of stains or grease coming through, or if you’re not painting bright white.
With the paints I use, a topcoat is not required, but still recommended for high traffic pieces, and especially kid’s furniture. If you do choose to add a protective topcoat, I have some recommendations on choosing the best top coats for furniture in this post to help make a decision. Just make sure that it is water based.
If you want the smoothest coat with no brush strokes, a paint sprayer gives the best finish. If you prefer a hand painted or distressed style, specialty brushes for painting furniture leave a velvety finish. Flat surfaces are easiest to paint with a lint-free microfiber roller for smooth surfaces.

Grab our free series "Weekend Home Projects that will Transform Your Life" Sign up below to receive updates including free printables, organization tips, home improvement projects, recipes and more! |
More Makeover Ideas

PS I love seeing your creations! Be sure to take a photo and tag #cravingcreative on Instagram! You can also stay in touch with me through following me on Instagram, Pinterest, and subscribing to the newsletter!
Jasmine says
Is a quart of paint enough for a dresser this size?
Rachel says
Yeah, it should be more than enough even with two coats.
Caroline says
Beautiful!! I’m looking for a similar blue for my dresser. Do you recall the name?
Rachel says
This particular dresser is painted in Fusion Mineral “Little Whale”.