Give builder grade cabinets a DIY makeover by installing crown molding. Add instant sophistication and architectural detail. Easy how-to tutorial and handy tips included for any DIY enthusiast.
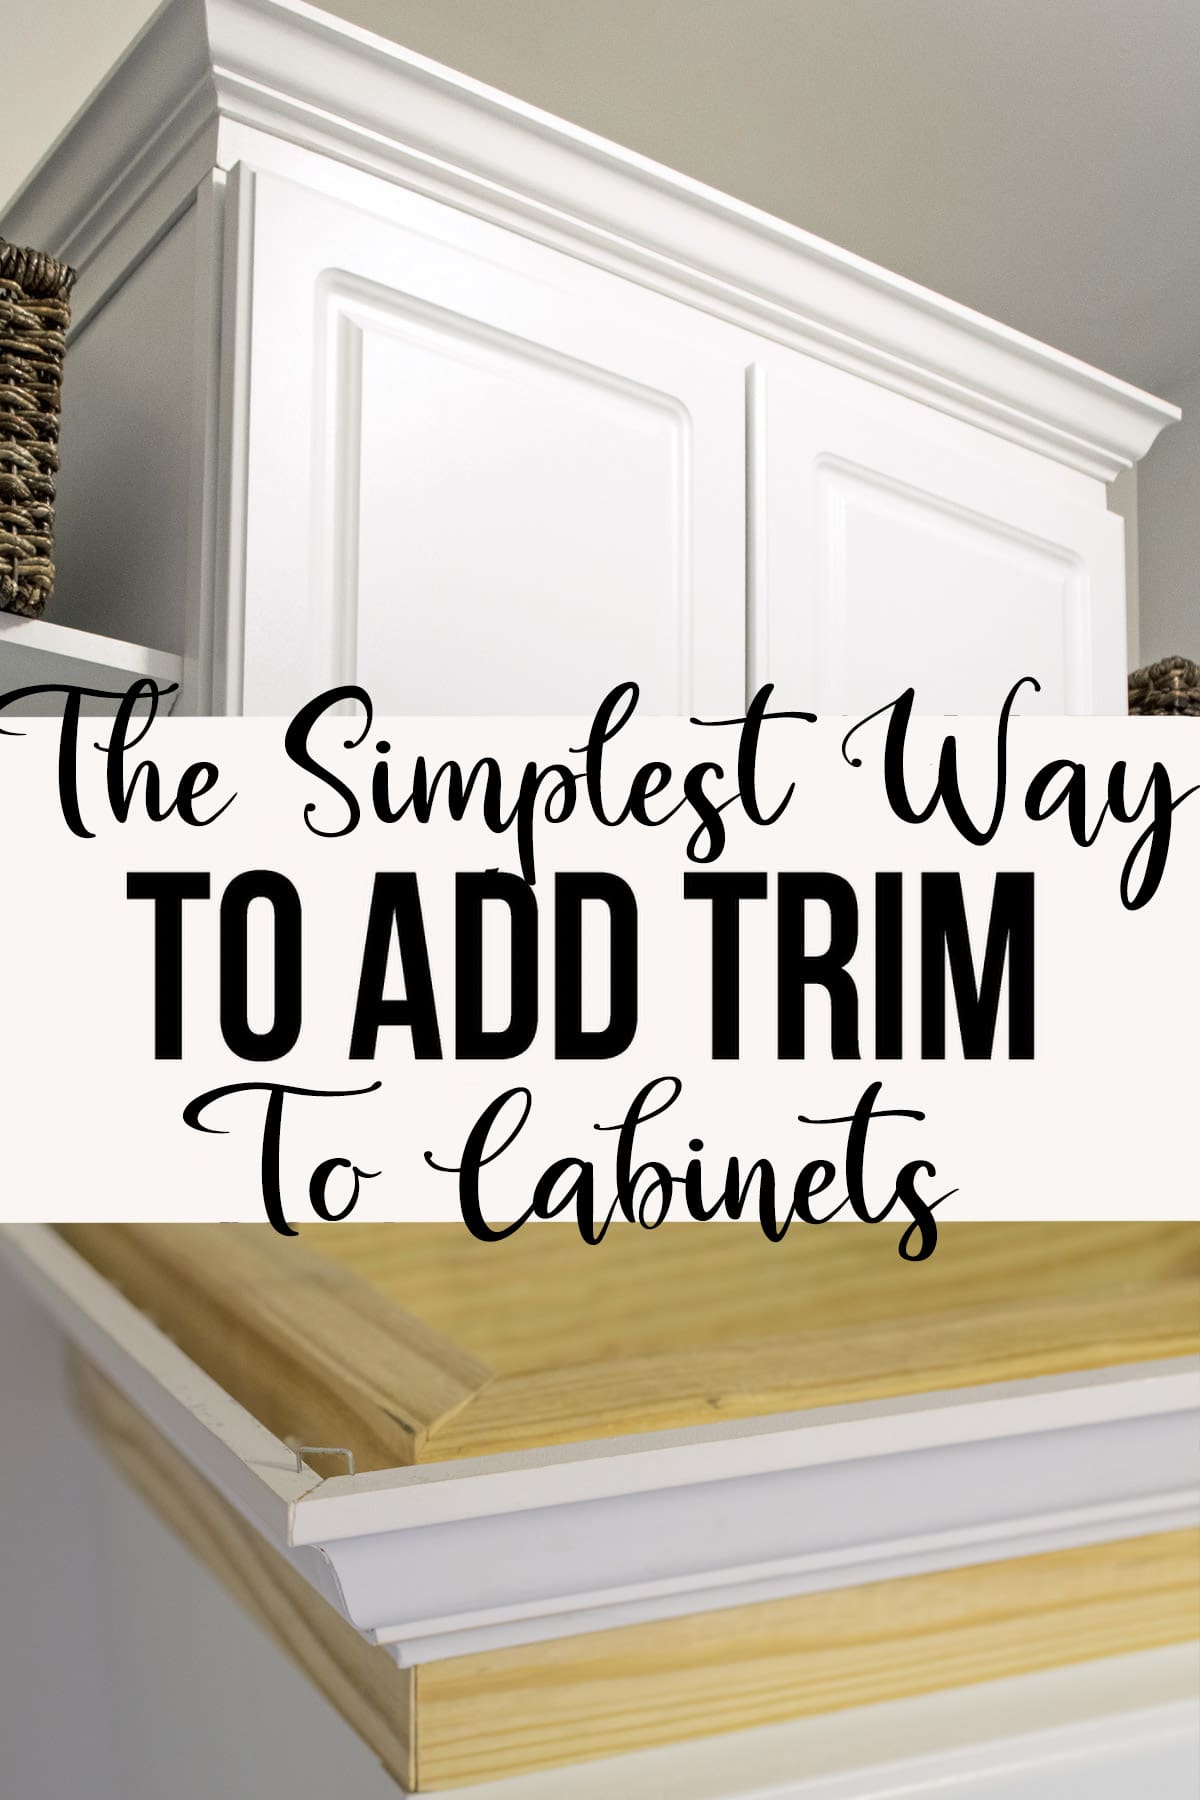
What’s the easiest way to make cabinets look upscale? Just add trim! I call it the crown molding effect. Molding or trim is a clever way to create full-bodied design appeal. It adds texture and visual interest to almost any project.
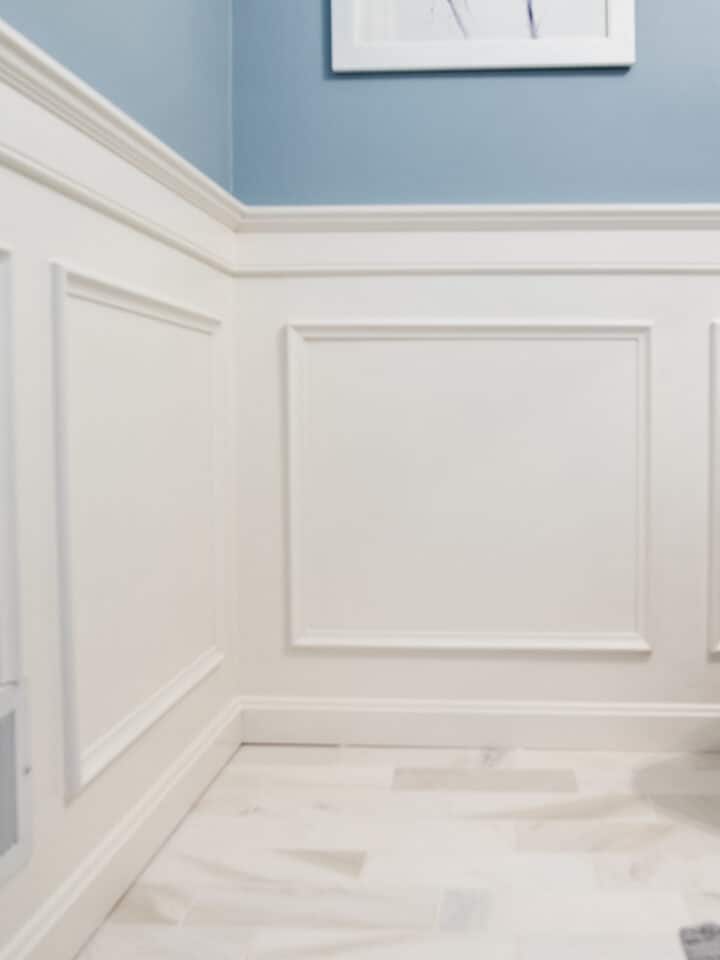
We love great trim ideas, and it is easy to work with! While renovating our kitchen, adding trim to our kitchen island provided necessary polish to transform our original ho-hum DIY design. Similarly, the wainscotting tutorial is the star of our Powder Room. And crown molding on cabinets gives builder grade cabinets a custom design at a fraction of the price!
I made a previous tutorial on installing basic cabinets, but today’s post is a step by step (with shortcuts to make the job easier) for how we added moulding to our laundry room cabinets.
Supplies and Materials
- A compound miter saw (it can be done with a miter box, but I don’t recommend it)
- Tape measure
- Angle tool (really helpful, but not required)
- Straight edge
- Staples
- Brad nails or finishing nails
- Wood filler patch
- Wood for framing (if using a frame)
- Scrap wood
- L-brackets and screws (if using a frame)
- Crown molding (this is usually any thick trim cut at an angle, sometimes called moulding)
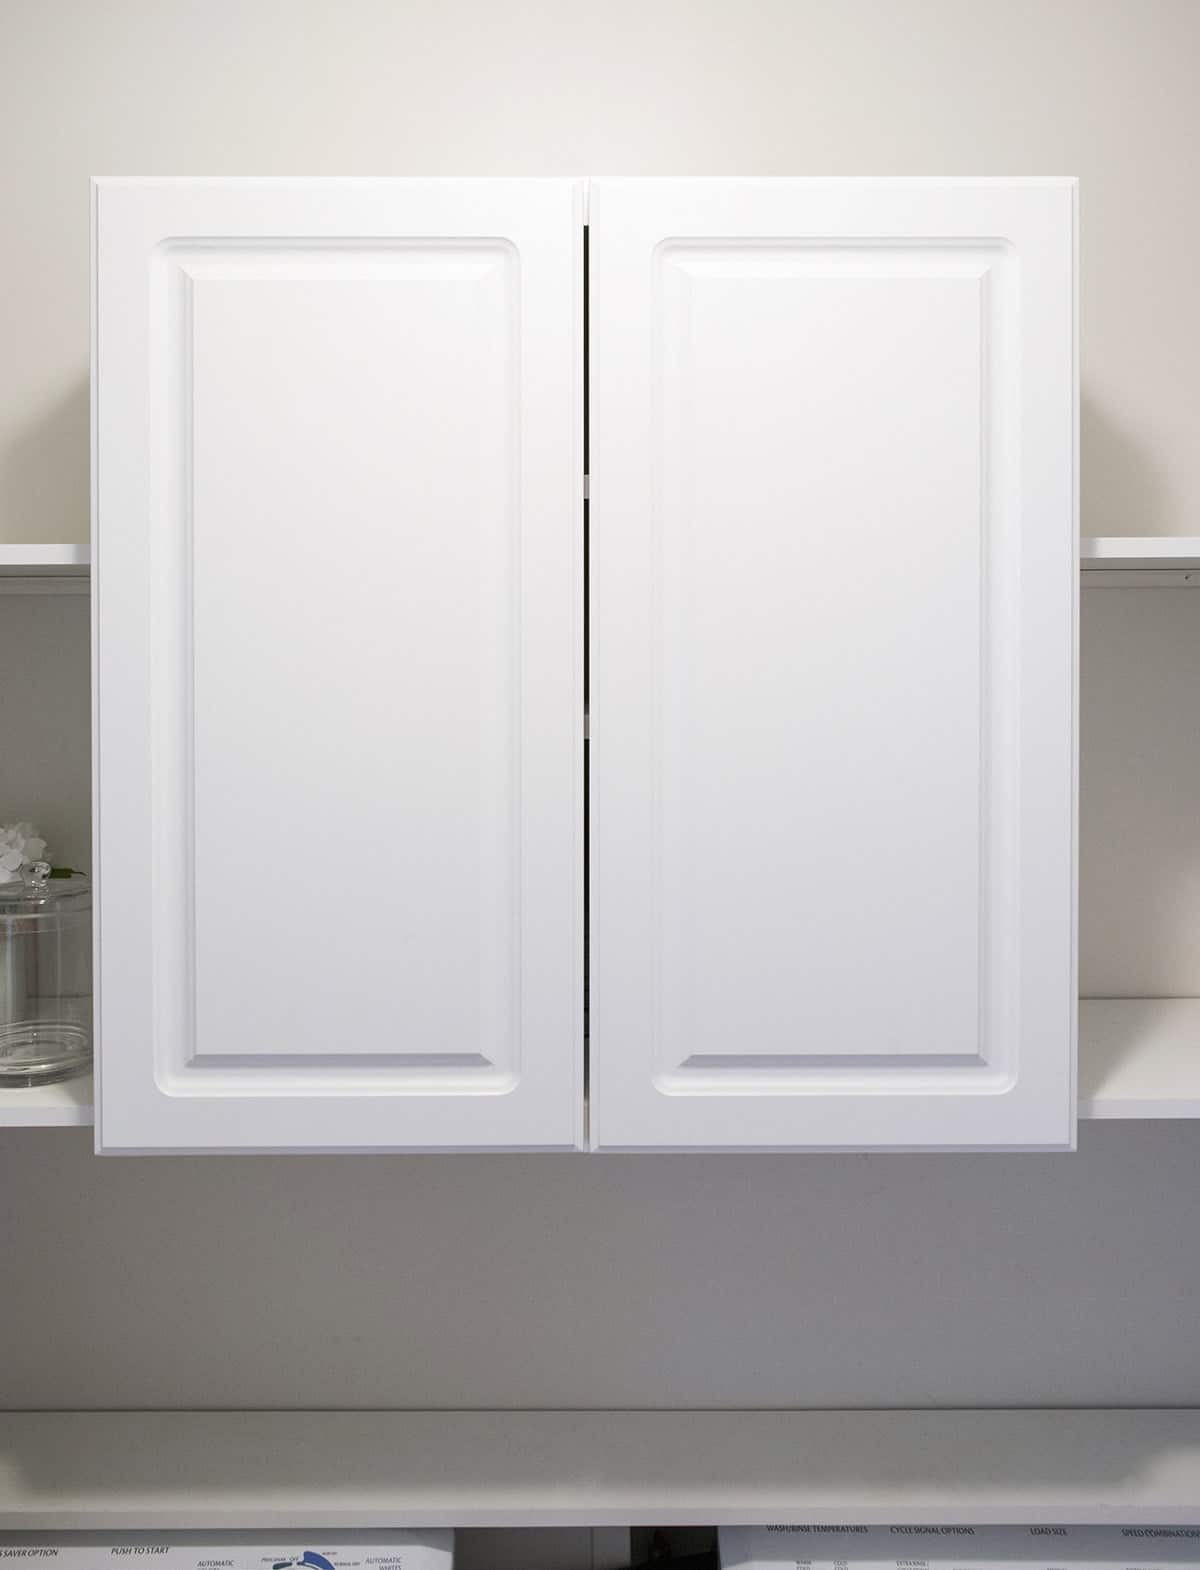
First, we start with a plain ‘ole stock cabinet from Home Depot.
Step 1a: Mark the cabinet
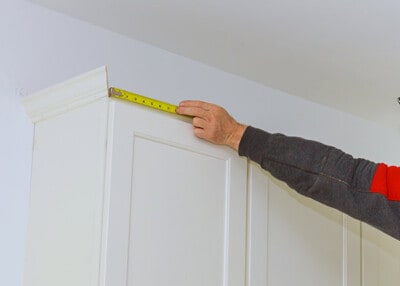
Use a straight edge (such as a long level) to mark where the moulding will sit on the cabinet facing. I recommend at least 1 inch of space above the line to attach the moulding.
Step 1b: Build a Frame if necessary
If you have cabinets that don’t have enough room to attach the molding directly to the cabinet, we have a solution for that! In fact, this also works well if you have gaps or cabinets that aren’t perfectly square or if you want to extend the cabinets to the ceiling.

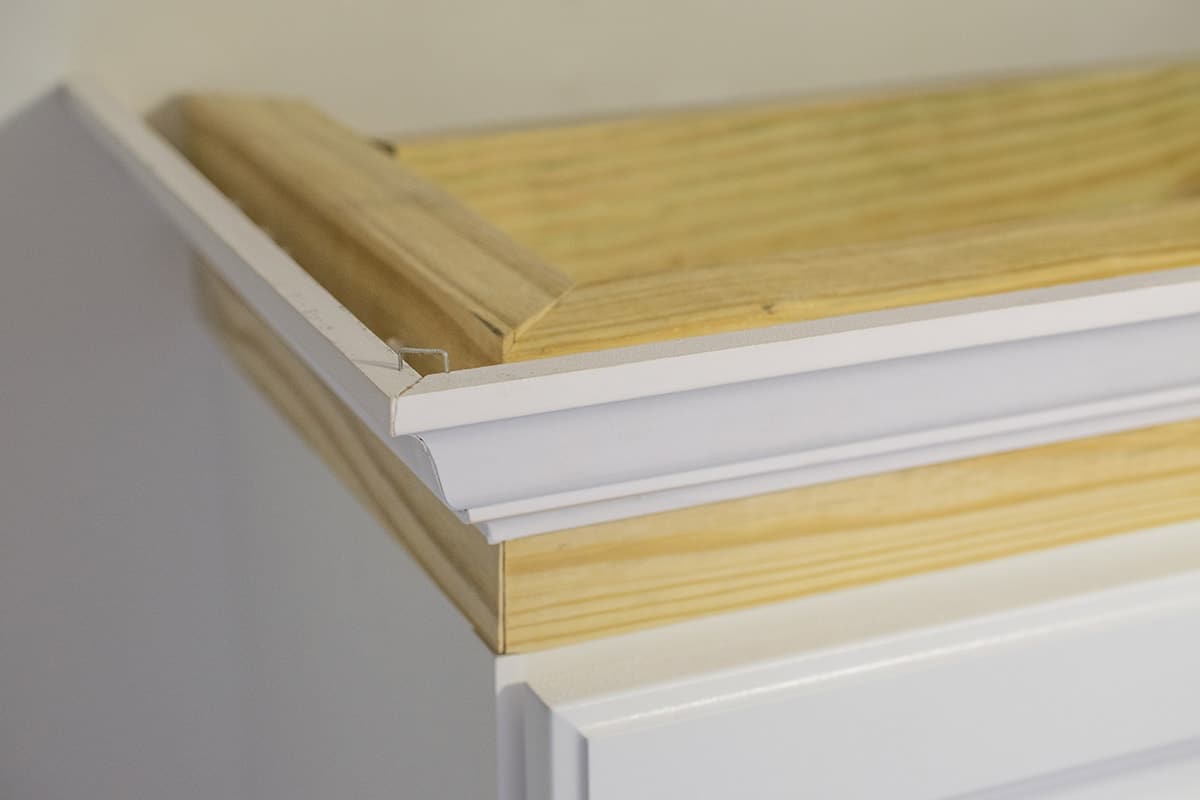
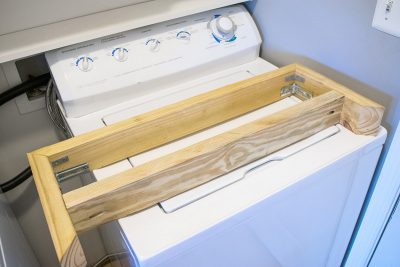
We built a frame that would sit on top of the cabinet so that we could attach the trim granting room for the doors to open. The frame measures the exact same size as the sides and front of the cabinet. We used L-brackets to put it together. The cross brace (center of the board) keeps the side boards from bowing.
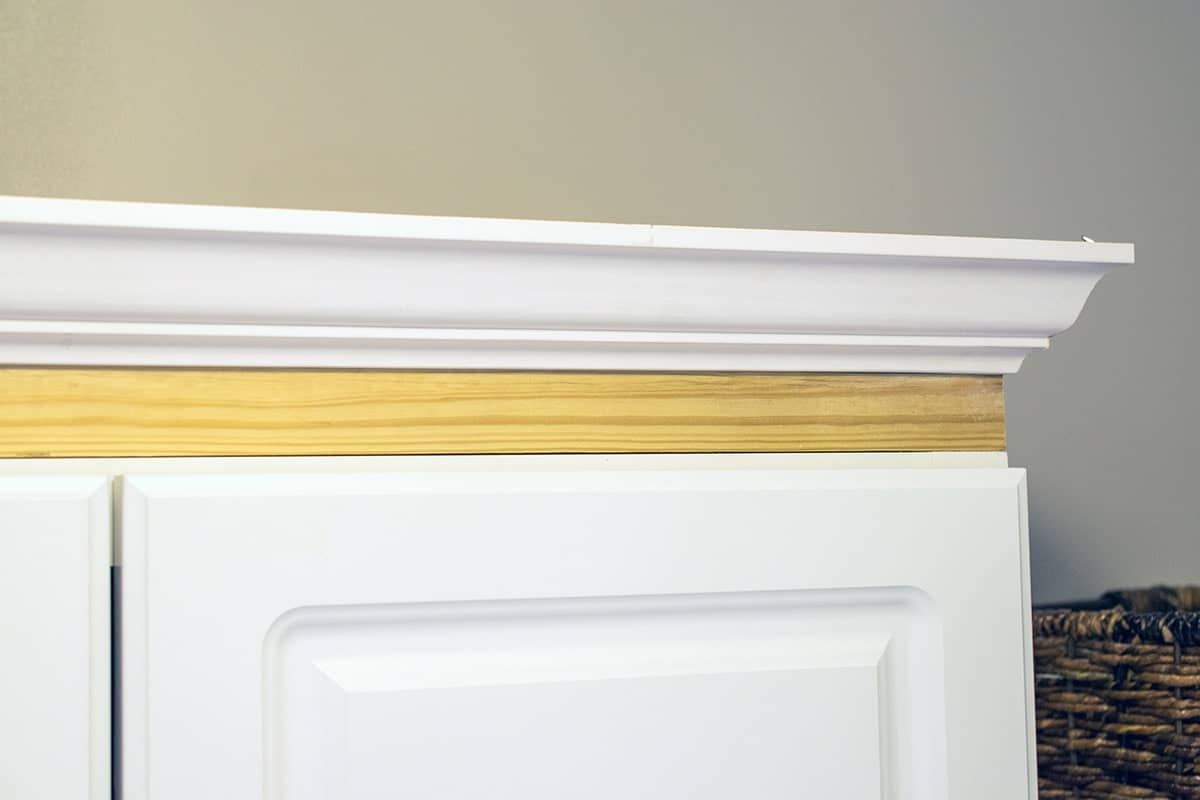
See how it just sits nicely up there? It isn’t even attached! I did mention that this was the easiest way to install cabinet trim on cabinets, right? The frame meant that we could install the trim without having to the work precariously balancing on a ladder.
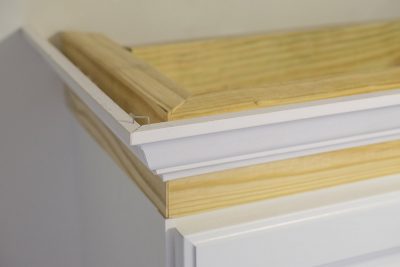
Note: Our cabinet has almost no lip, so the molding is placed higher on the frame. You can move it as low or high on the frame as you like. Once painted, this will look perfectly natural. It’s a bit trickier with stain, but you can match the wood species and stain.
Step 2: Measure and Cut
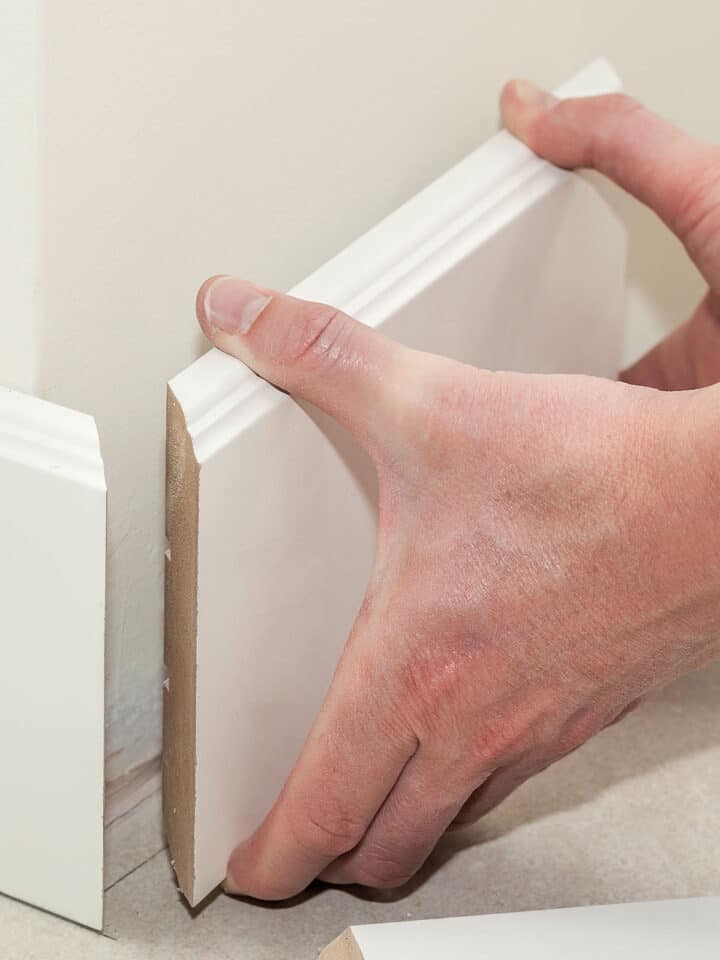
The thing about installing cabinet crown molding is that you can’t assume that any angle will be perfectly 45-degrees. I find that holding the piece of trim up to the cabinet and marking where it needs to be cut or using an angle jig is the most effective way.
Use pieces that are generously longer than each piece needs to be - giving you enough to work with but allowing you to work with manageably sized pieces.
- Start on one end where the molding meets the wall and work around one corner at a time.
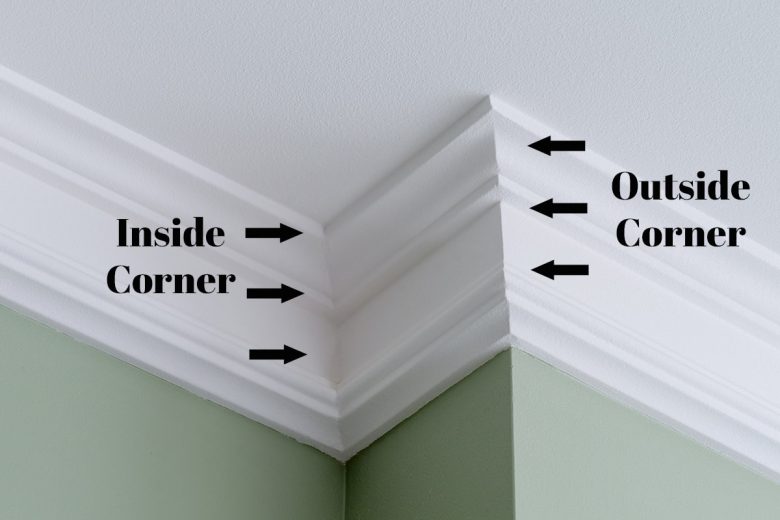
- I find that inside corners should be prioritized (see below for what an inside corner is).
- Cut both pieces before attaching.
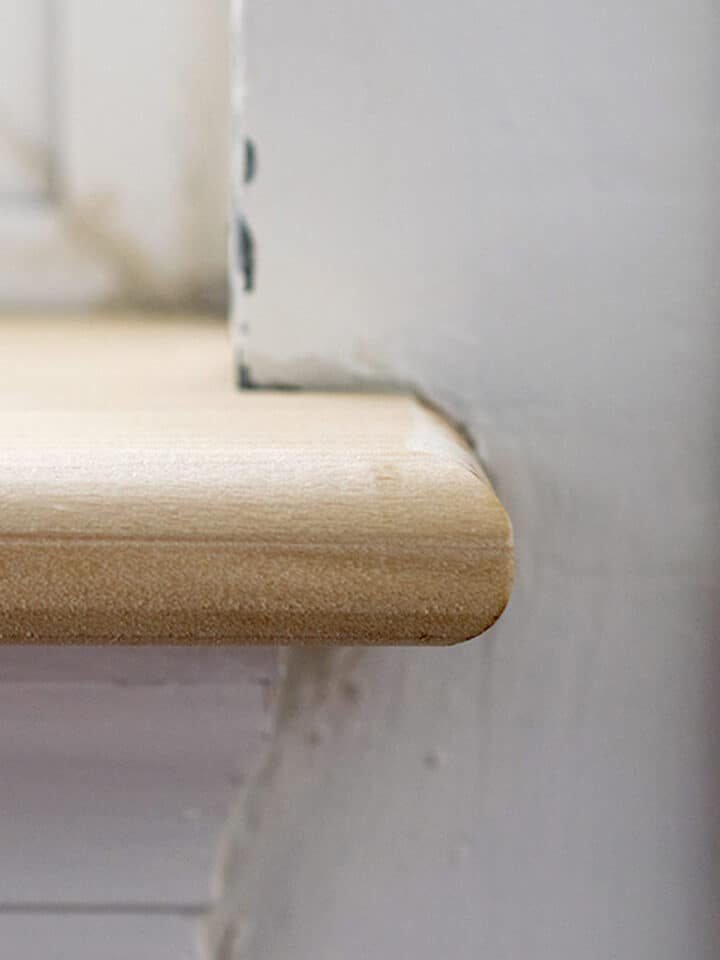
- For outside corners, I make the first cuts usually about 1/16 inch longer than my pencil marks. This allows for room around the curve and gives a little room for testing the angle.
How to Cut Crown Molding
To cut crown molding, you can either use a compound mitre saw or a handheld box. I have a dedicated post on cutting crown molding for walls here.
A few tips:
- Never assume your angles are perfectly 90 degrees. Mark them before cutting.
- For outside corners, I cut about 1/16 longer than the measurement. It just works better that way for me.
- If you have trouble holding the trim against the fence, cut a scrap piece of wood in a triangle that is the size of your gap.
- Generally speaking, I don’t do the “cut the leading edge” trick. I usually cut the inside corners first (one at 45 and then mark the opposite piece for the leftover angle), then work outward from that corner.
The video below gives some handy tips for how to cut the corners.
To attach the trim after cutting, we used wood glue and nailed across the bottom where the boards meet the frame.
Since the top corners are floating (i.e. not nailed to a wall), we keep tight corners by stapling them and nailing the opposing pieces of trim into each other. Be careful to aim the nail correctly so it doesn’t pierce through the visible part.
I then patched the nail holes with my favorite wood filler and painted to match the cabinet.

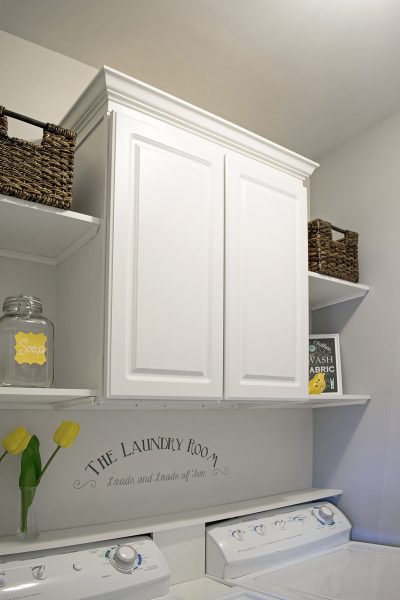
It honestly looks like it came like that. Adding the cabinet trim is a simple project and you don’t have to be a cabinet maker to add some class to your laundry room or kitchen.
Looking For More Simple Ways To Improve Your Home?
- Repair and Replace Broken Window Sills
- The Easiest Way to Get Beautiful Baseboards
- Building A Custom Closet
- How to Paint Old Kitchen Cabinets
FAQs
The average cost to install crown molding is $7 to $12 per linear foot depending on the materials chosen.
The hardest part of installing crown molding is cutting the corners, particularly the outside corners. The molding attaches at a mitered angle.
Crown molding is a decorative and architectural element usually consisting of layered trim work. It is used to cap cabinets, columns, and interior walls. It’s only used at the top of a room, and, thus, described as a “crown”.

Grab our free series "Weekend Home Projects that will Transform Your Life" Sign up below to receive updates including free printables, organization tips, home improvement projects, recipes and more! |
More DIY Trim Projects

PS I love seeing your creations! Be sure to take a photo and tag #cravingcreative on Instagram! You can also stay in touch with me through following me on Instagram, Pinterest, and subscribing to the newsletter!
How To Add Crown Molding to Cabinets
Tools
- Straight Edge or Level
Supplies
- Staples or Brad Nails
- Wood Filler
- Wall Spackle
- Crown Molding Any trim you like
If Using a Pre-Built Frame
- L-brackets
- Screws
- 2×4 for framing made of appropriate wood
Instructions
- Use a straight edge (such as a long level) to mark where the crown molding will sit on the cabinet facing. I recommend at least 1 inch of space above the line to attach the trim. If you have cabinets that don't have enough room to attach directly, build a frame to sit on top of the cabinet. The frame measures the exact same size as the sides and front of the cabinet.

- Measure or hold the piece of trim up to the cabinet and mark the length for cutting.

- Start on one end where the molding meets the wall and work around one corner at a time. Cut both pieces before attaching. For outside corners, I make the first cuts usually about 1/16 inch longer than my pencil marks. This allows for room around the curve and gives a little room for testing the angle.
- To attach after cutting, use wood glue and nailed across the bottom where the boards meets the frame. Nailing at slight angles will assist with holding it tighter and resisting pulling away.
- Paint or stain the molding to match the cabinets.

Nadia Yasmin says
Hi, thank you for sharing this. It’s very helpful. I am now looking for the crown moulding, and I can’t manage to find it anywhere. Can I please get a link or an exact description of the moulding?
Rachel says
Thank you. For this particular project, we used (I think) this crown molding, which is slightly smaller than what we use on walls but still has the classic crown moulding shape.
Alex says
I can’t tell you how long I have been looking for something like this. My cabinets are also of the budget variety, so I’ve been so nervous to try to nail anything to them. I’ve been planning on painting my cabinets, but I really wanted to add moulding to the top before I started that process. Thank you so much for sharing!
Nadia says
Hi! Any chance you can provide a link to the trim you used? I’m trying to find this one everywhere and can’t seem to find it. We have the exact one in our kitchen already and need more. Thanks in advance!
Rachel says
I am fairly certain this one is the one I used for the crown molding. It’s the right style and size and should be available at most big stores.
Holly says
Looks great! This is exactly what I’m trying to do top my laundry closet. But I’m having a hard time and deciding what type of paint to use so the color and sheen match the cabinets. Do you have any suggestions?
Rachel says
Great question. I assume that your cabinets are already painted. The best method would be to remove one of the doors and take it to the paint store to have them color match it and tell you what sheen. For our cabinets, I had some satin white paint on hand so that is what I used and it looked close enough that no one notices.
Patricia @ http://TheBlackSheepShoppe.blogspot.com says
The cabinet looks great and just what my laundry room needs. Thanks for sharing your project!
Erlene says
This looks great and so easy too! Did you nail the frame to the cabinet?
Rachel says
Actually, we didn’t. It is just sitting up there and I am totally ok with that. Short of an maybe an earthquake, I don’t see it moving or falling.That cabinet is a budget one and comprised almost entirely of chipboard with a plastic coating. Nails would have probably ruined it somehow. If I needed to attach it, I would probably have either caulked or glued it to the top.
Amy | Canary Street Crafts says
Love this! Such a great way to update boring cabinets.