Transform your bathroom with this easy guide on how to caulk a shower surround like a pro. Expert tips and product recommendations for a flawless, professional finish that will make your bathroom look fresh and clean again.
Is peeling or discolored caulk funking up your bathroom vibe? Let's face it, damaged and discolored shower caulk doesn't exactly scream relaxing spa. Whether you're repairing baseboards, bathtubs, or window trim, refreshing caulk is inevitable part of the homeowner experience.
We are in the home stretch of the latest bathroom remodel! I thought I would take a moment to show you the best way to caulk a shower and when you should so you can get perfect results. I have been using this method for decades, so I know how good it works long term.
Invest in a Good Caulk Gun
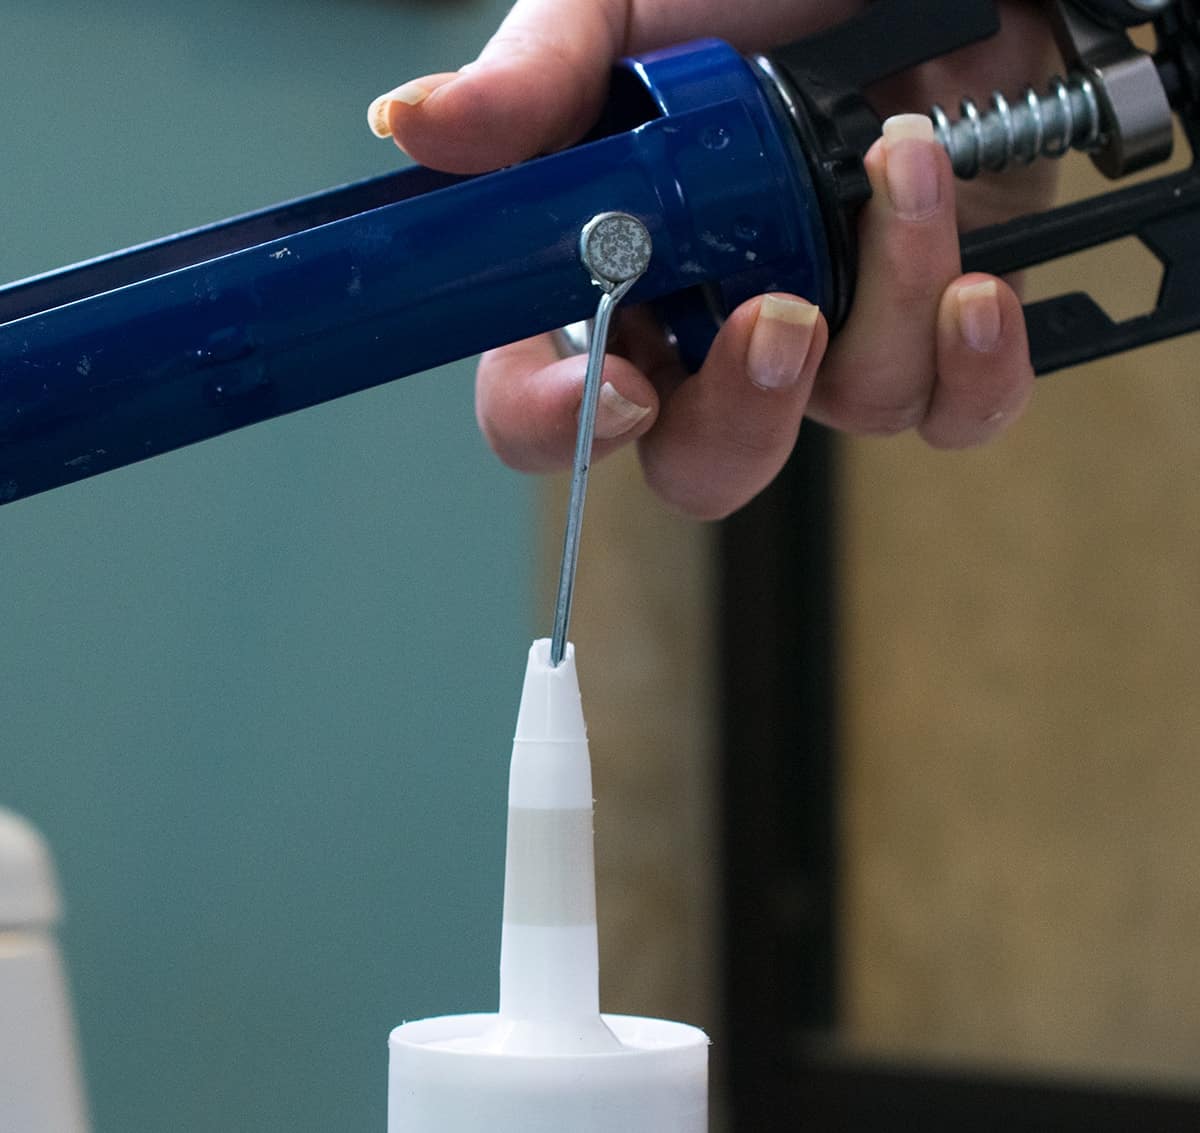
Invest in a good caulk gun! If you take nothing else away from this post, remember this tip. Cheap caulk guns continue to drip long after you’ve let go of the trigger, causing wasted product (and money).
Your hands aren't going to be happy using a cheap model or a disposable squeeze tube. A high-quality caulk gun typically only costs a few more dollars and is a much better investment. I particularly love this model because:
- It’s a dripless model so no caulk is wasted.
- There’s a pin attached to conveniently pierce through the foil barrier inside the tube.
- A trigger spring allows for even caulk distribution.
Pro tip: Try a high thrust caulk gun for viscous materials such as sanded caulk or adhesive or for EXTRA large jobs.
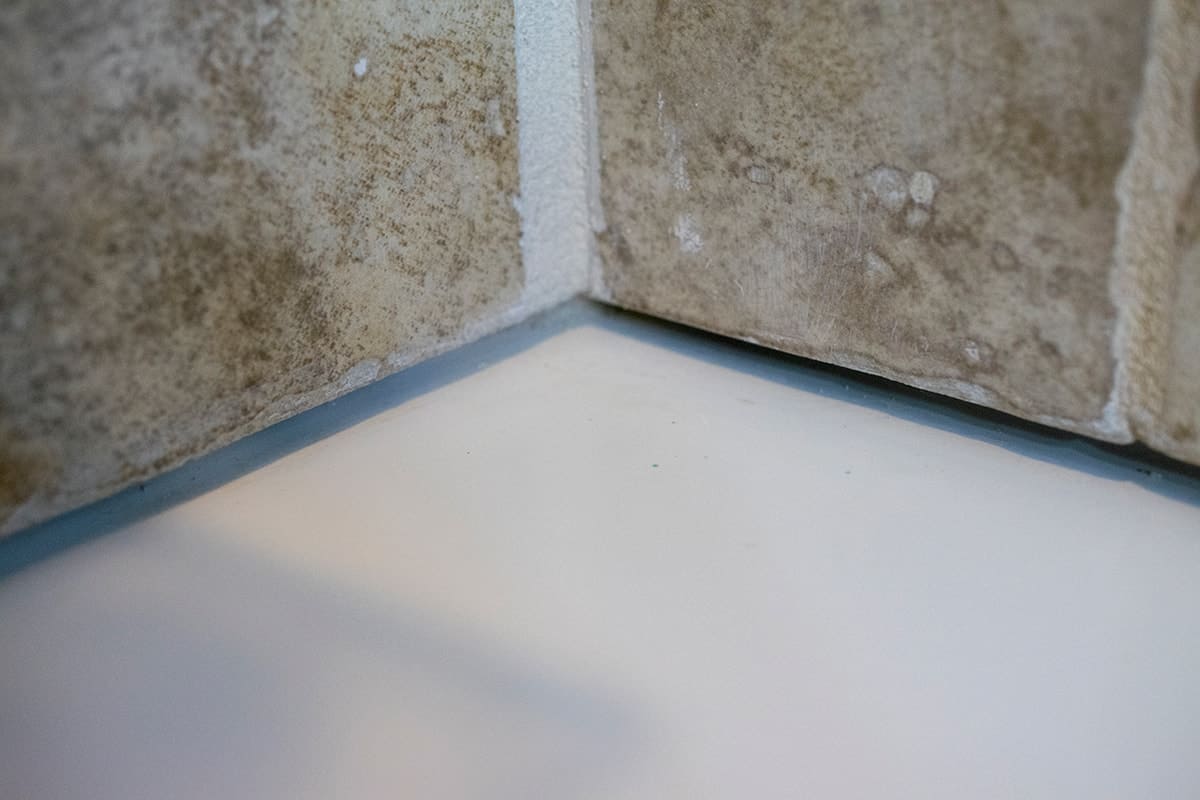
How To Remove Old Caulk
As a general rule of thumb, shower caulk will need to be replaced every five years. That number can fluctuate based on frequency of use, bathroom ventilation, and other variables.
The first step in replacing shower caulk is to remove ALL of the old caulk. I don’t recommend attempting to apply a new layer of caulk over an existing one.
Here are tools I recommend for simplifying the process:
- When caulking a flat surface, I recommend this caulk remover tool to dig and peel the caulk out.
- I use a plastic putty knife to scrape bits from flat walls and it won't gouge.
- Need to get in deeper? Use needle nose pliers like these to pull out any bits stuck in crevices.
- Use a window scraper to remove tiny bits of caulk residue from flat surfaces such as tile.
Expert Tips from Years of Experience
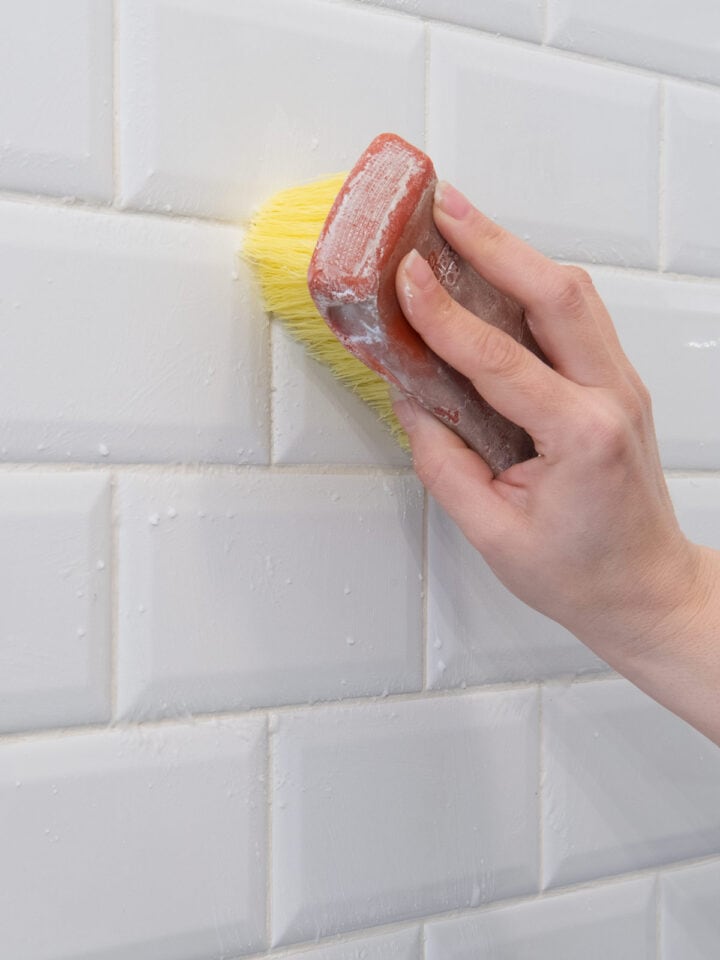
- Make sure your surface is completely dry. I try my best to clean an area thoroughly and allow it to air dry overnight. On some surfaces, you can clean with denatured alcohol and allow it to evaporate about 10 minutes.
- Cut the tube at a 30 to 45 degree angle. I use bone shears to make this easier. You want the angle of the tip to sit flush as you caulk along the wall.
- Don't overcut the tube. I find it best to cut the tip smaller than the width of my line. Caulk will spread out over the taped line. Too wide creates a mess.
- Don't press a curve into the caulk. When you run your finger over the caulk, you don't want to create any areas where water will pool.
- Use waterproof, crack resistant caulk made for water prone areas. Most bathroom caulks today are fairly shrink and crack resistant. That's more of a problem with paintable and trim caulk.
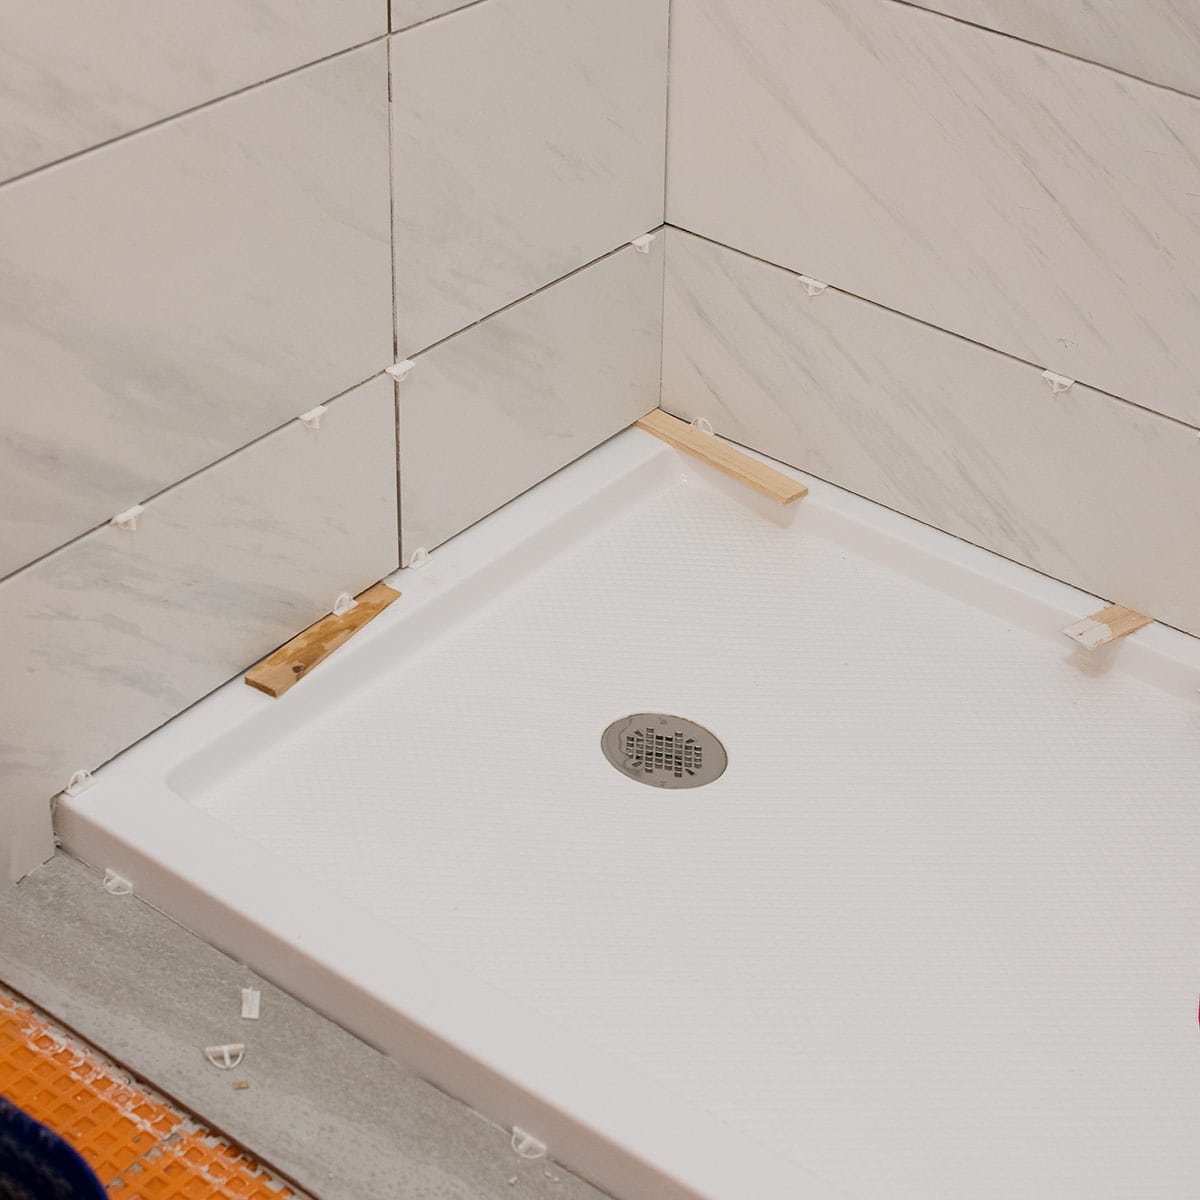
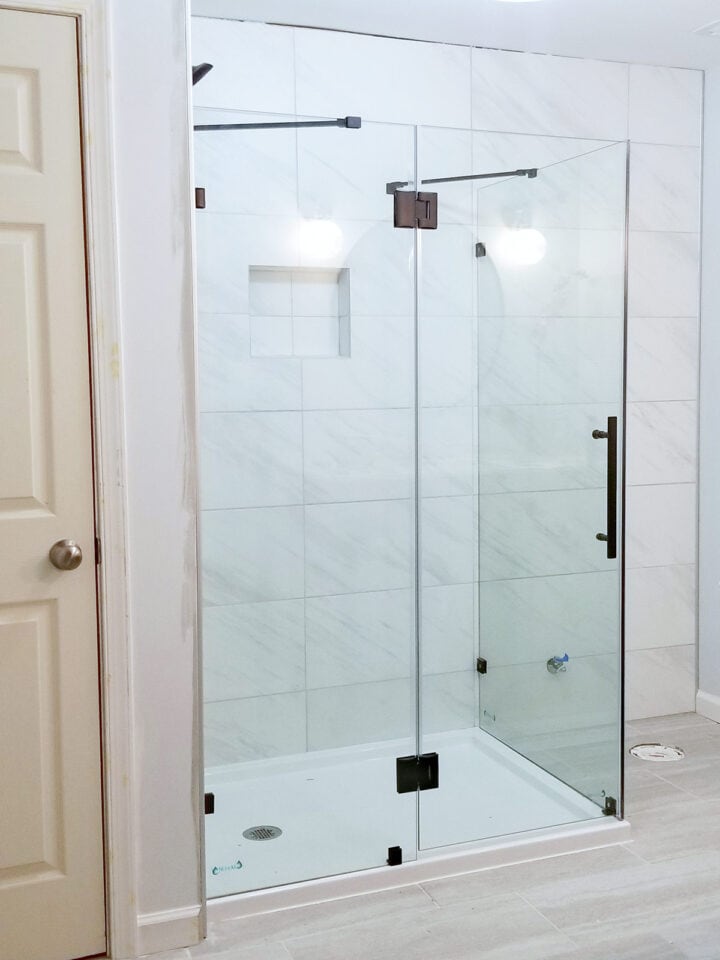
I have caulked dozens of projects, like this shower surround above. Truly, I get compliments on my caulking projects, which is odd, but I’ll take it!
Caulking Video Demonstration
For step-by-step instructions, jump to the how-to card below. Prefer a visual? I’ve got you covered! Click below to watch the video and see my technique in action. This is from a bathtub, but the process is essentially the same.
More Bathroom DIY Projects
Frequently Asked Questions
In my experience, this caulk is easier to work with than 100% silicone caulk. It’s held up better in areas prone to issues like mold or deep gaps, whereas 100% silicone caulk seems to stick to everything and becomes messy to work with.
I recommend spraying the caulking area with 10% bleach solution and allowing it to sit for at least a few minutes before wiping it away. Allow the area to dry 24 hours/overnight before caulking.
Most caulk is water resistant within 2 hours, but it is best to wait for a full cure, or about 24 hours before exposing to water.
Caulk shower trim parts including the spout, faucet handle and escutcheons. Cover even the smallest gaps, leaving no space for water to leak through.
Unfortunately, there’s no definitive way to prevent mold growth in a shower. There are a few brands of caulk that are anti-microbial and that can help. However, creating a watertight seal is important to deter moisture from getting behind the sealant causing discoloration.

Grab our free series "Weekend Home Projects that will Transform Your Life" Sign up below to receive updates including free printables, organization tips, home improvement projects, recipes and more! |
More Bathroom Remodeling Posts
PS I love seeing your creations! Be sure to take a photo and tag #cravingcreative on Instagram! You can also stay in touch with me through following me on Instagram, Pinterest, and subscribing to the newsletter!
How To Caulk a Shower
Supplies
- 10% Bleach Solution
- Painter's Tape
- Bathroom Caulk in Matching Color waterproof, non-paintable
- Paper Towels
- Latex or Nitrile Gloves
Instructions
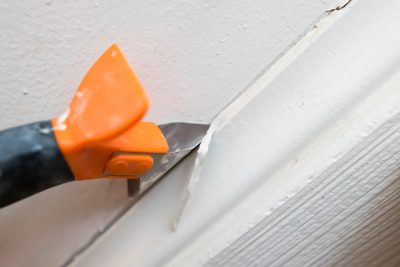
Remove the Old Caulk
- Remove the old caulk using the caulk remover tool. Use a flat scraper blade to remove all remaining traces from the surround.

- If the tile and surround are in good repair, vacuum up any dirt or debris. Remove mildew and/or soap scum from surface. Spray a 10% bleach solution into the area of the caulk and allow to sit for at least a few minutes. Wipe with a clean, dry cloth. Allow to air dry overnight.

Caulking the Shower
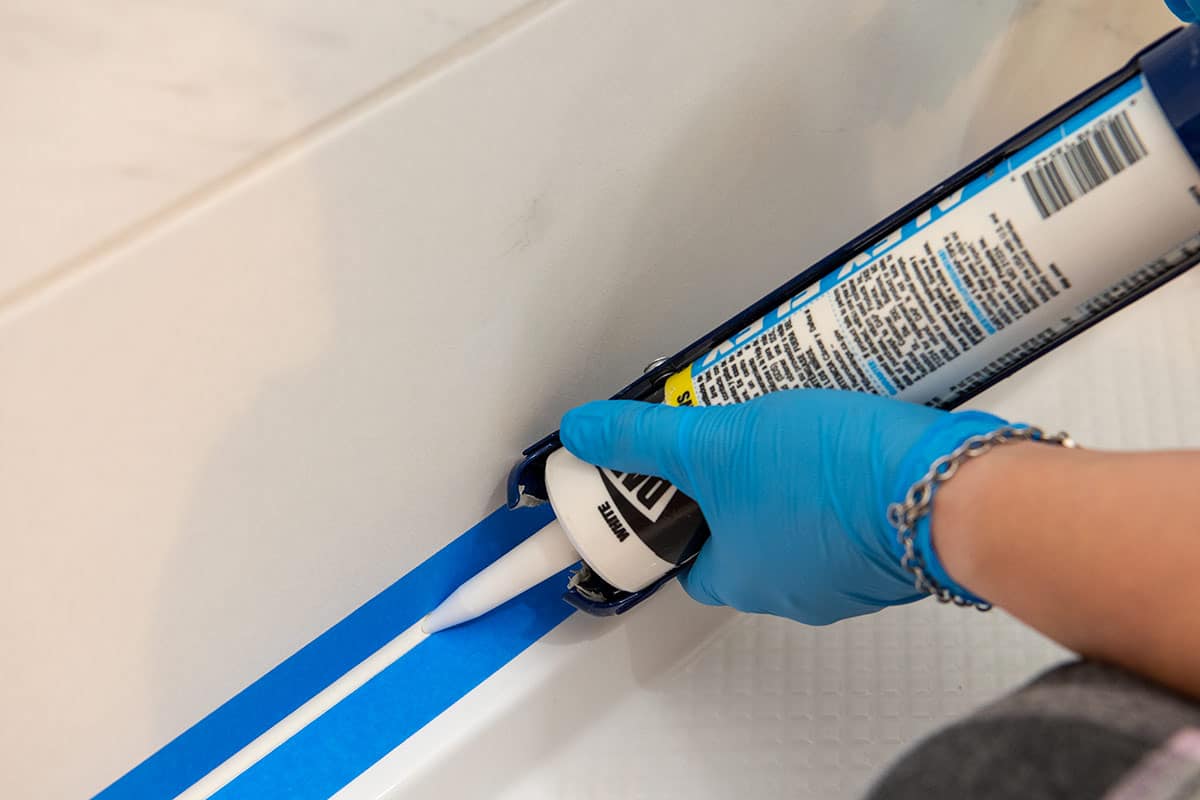
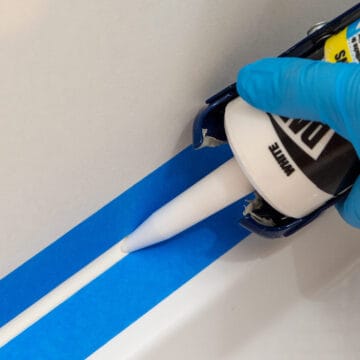
- To create a straight line of caulk, use painters' tape on both sides of the seam.
- Cut the caulk tube at a 35-45-degree angle. If you cut the tip flat at a 90-degree angle, you'll waste caulk and create a round bead rather than an angle bead.
- Position the tip in the seam area and move in a straight line with the bead of caulk. Check for gaps or globs as you move along. Fill the space well so it doesn't cave in.
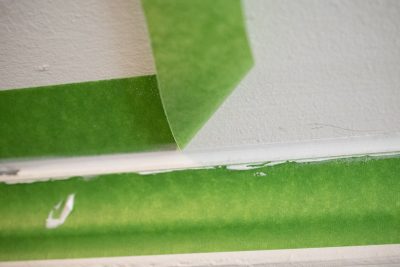
- Smooth out the caulk with your index finger or a caulk smoothing tool. Apply even pressure as you move along. Generally, I go over once to get any excess caulk. Then I go over the line a second time to smooth it completely, moving from end to end in one sweep.
- Pull up the painter's tape. Make sure that you can see the edges of the tape, or you'll have odd ridges when you pull the tape up.
- Allow to cure according to directions before exposing to water.


Leave a Reply