Like elegant bricks, Beveled Subway Tile has a low-maintenance, timeless style that works beautifully in kitchens and bathrooms. However, there are some important characteristics you need to be aware of before installing beveled tile.
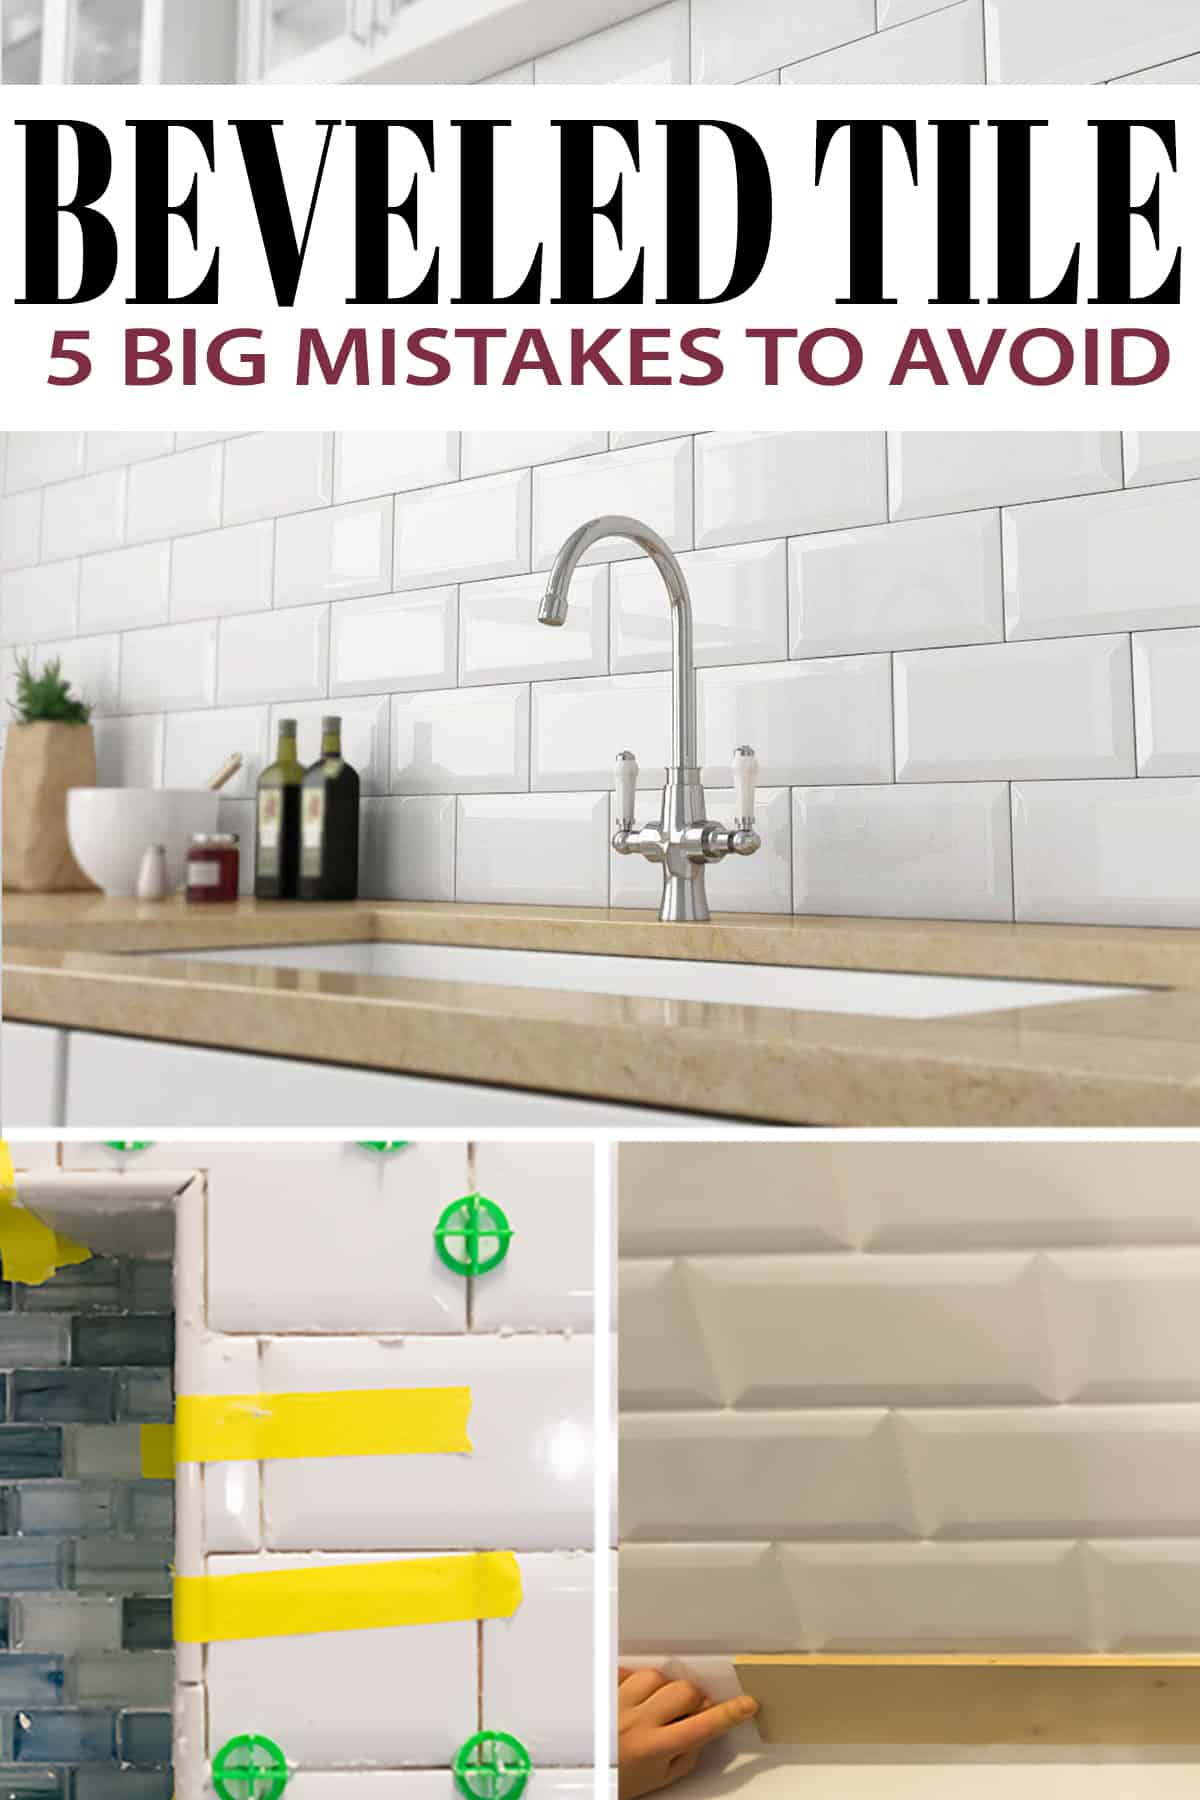
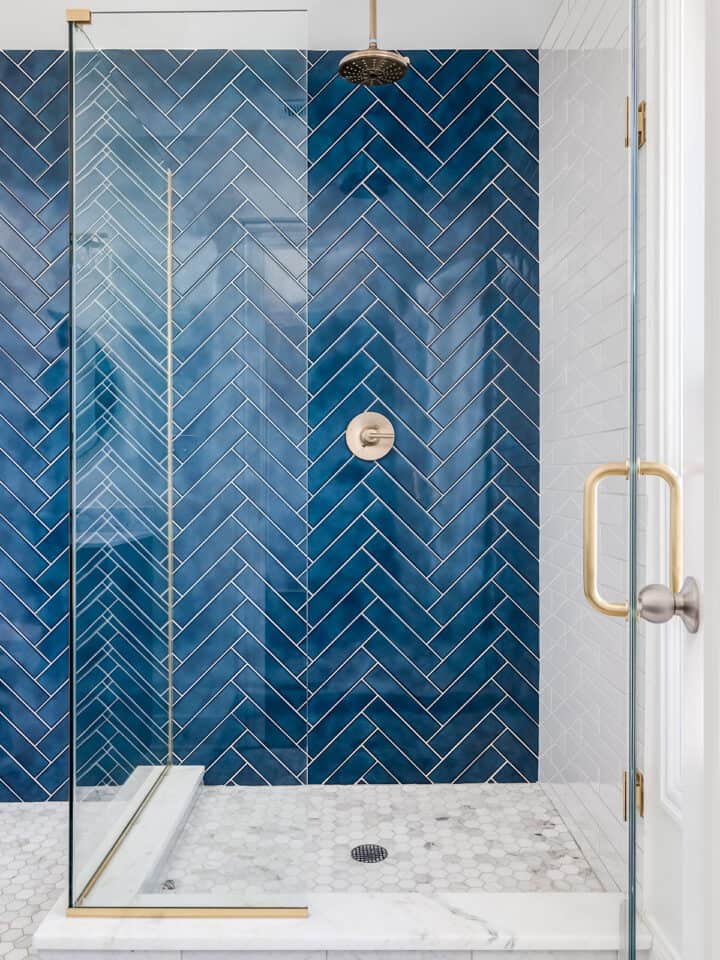
Classic Subway Tile is a big trend that doesn’t seem to be going anywhere. It has a clean look that coordinates with many different décor styles, such as our modern classic bathroom we are showcasing today, the herringbone tiling installation, and our traditional wainscoted bathroom. The beveling gives it an elevated, sophisticated brick characteristic.
However, when installing a beveled subway tile, there are some important characteristics that make it a bit different to work with than other tiles.
6 Quick Tips to Expertly Install Tile
- Use a mortar mixer paddle attachment. It’s much faster, more consistent, and easier to mix than by hand.
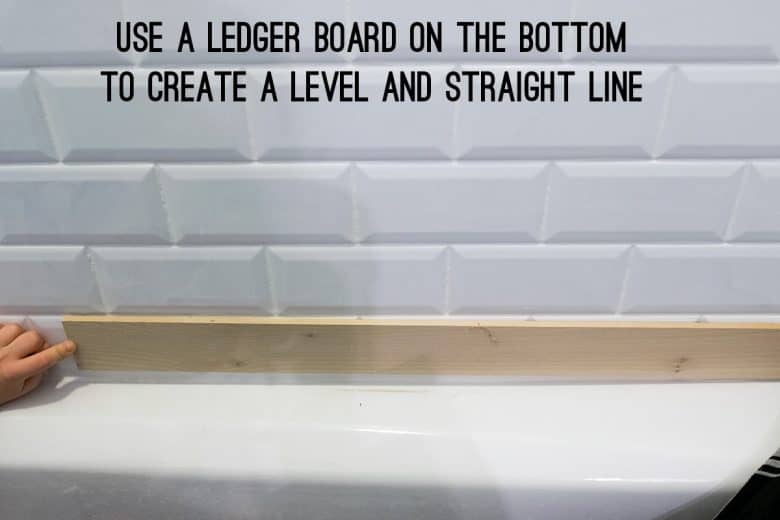
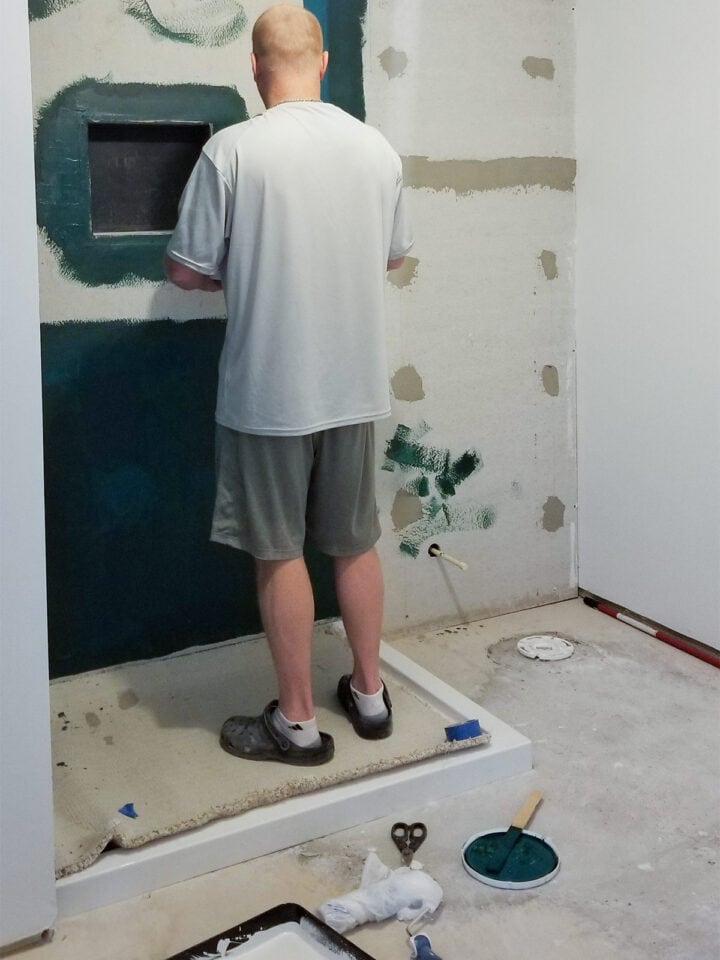
- When starting, use a ledger board in place of the first row. This will allow you to get perfectly straight lines moving upward. (The photo below is me holding one up in place since I forgot to take a photo of it before tiling.)
- I have used quite a few brands over the years, and my favorite grout to work with is Mapei with the Grout Maximizer.
- I still clean and seal my grout yearly. While they say it’s not required, I can confidently say it lasts longer and stays cleaner this way.
- If using a natural stone, in particular marble, check the porosity as some grouts may stain it. With real marble, only use a white or very, very light grout. Marble will pull the grout color into the tiles.
- Wipe off excess mortar from the fronts of the tiles and grout lines BEFORE IT DRIES. Chiseling out excess mortar that grout won’t cover is much longer. I clean the tiles as I go.
The Most Common Mistakes with Beveled Tile
Mistake #1: Ending a Row on the Bevel
One of the biggest problems is ending with a full piece, which gives an uneven looking edge. For a more finished look, layout your design so that the beveled edges are cutoff when butted next to an endcap piece. This is also true when working in corners or if you are ending into a wall.

Mistake #2: Not using an endcap tile.
Ceramic tile has a glaze on top. This glaze does not extend inside so you have an ugly edge when you cut. To hide this edge, you need an endcap tile. Often times, you can edge with the same tile, but not when installing a high beveled tile.
There are several styles including tiles, tile trims, and metal edging trim. If using a tile, the tile must be as thick as the thickest part of the main tile.
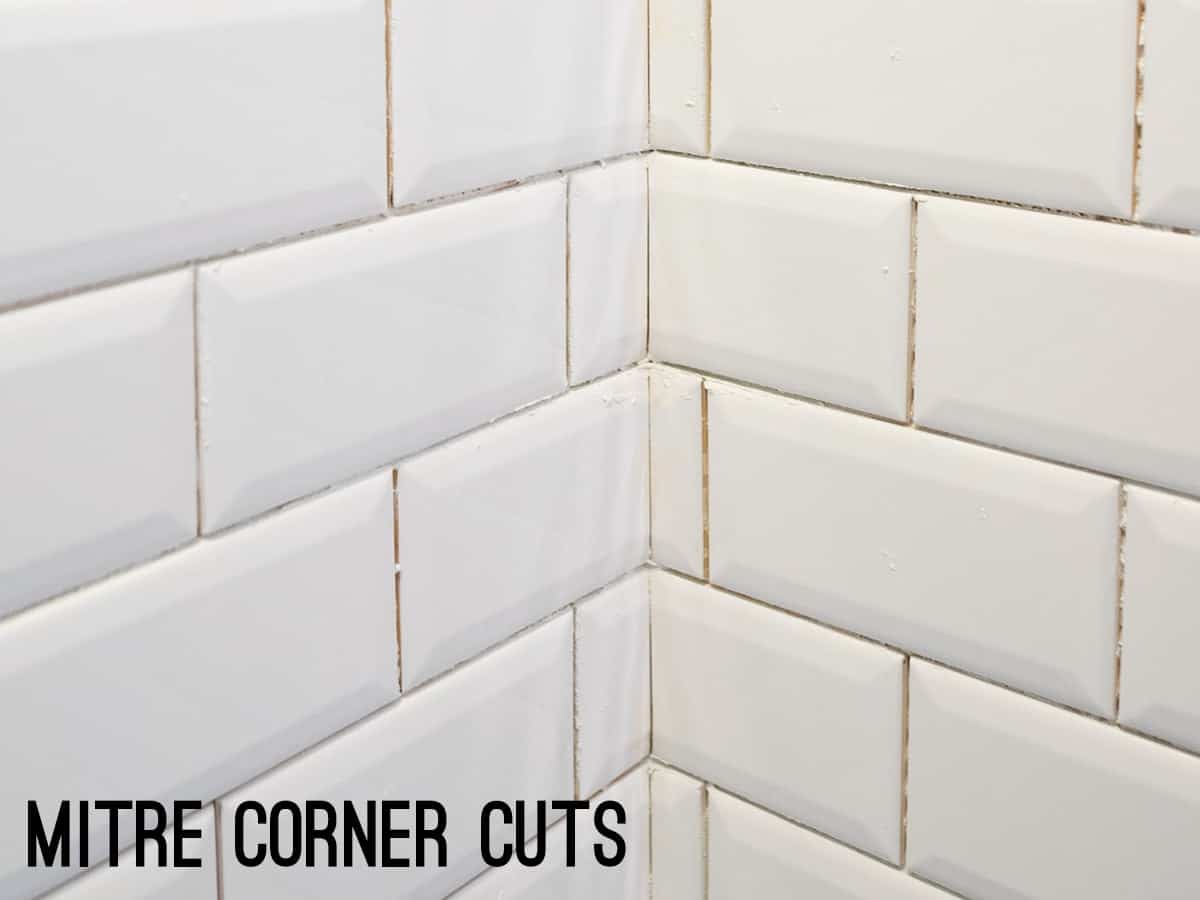
Mistake #3 : Not Cutting Bevels in the Corners
In corners, mitre cuts are an absolute necessity when installing beveled edge tiles. A mitre cut means that the cut is done at a 45-degree angle so that both ends connect together to fit a 90-degree angle.
The one thing you will find is that walls in your house may not be perfectly square, or 90 degrees, so you may end up with a tiny gap between the tiles. Don’t worry, grout in the corners will cover that up without problem.
Pro Tip: If you are looking for a tile saw, this one is a good Tile Saw on a budget (which does mitre cuts).
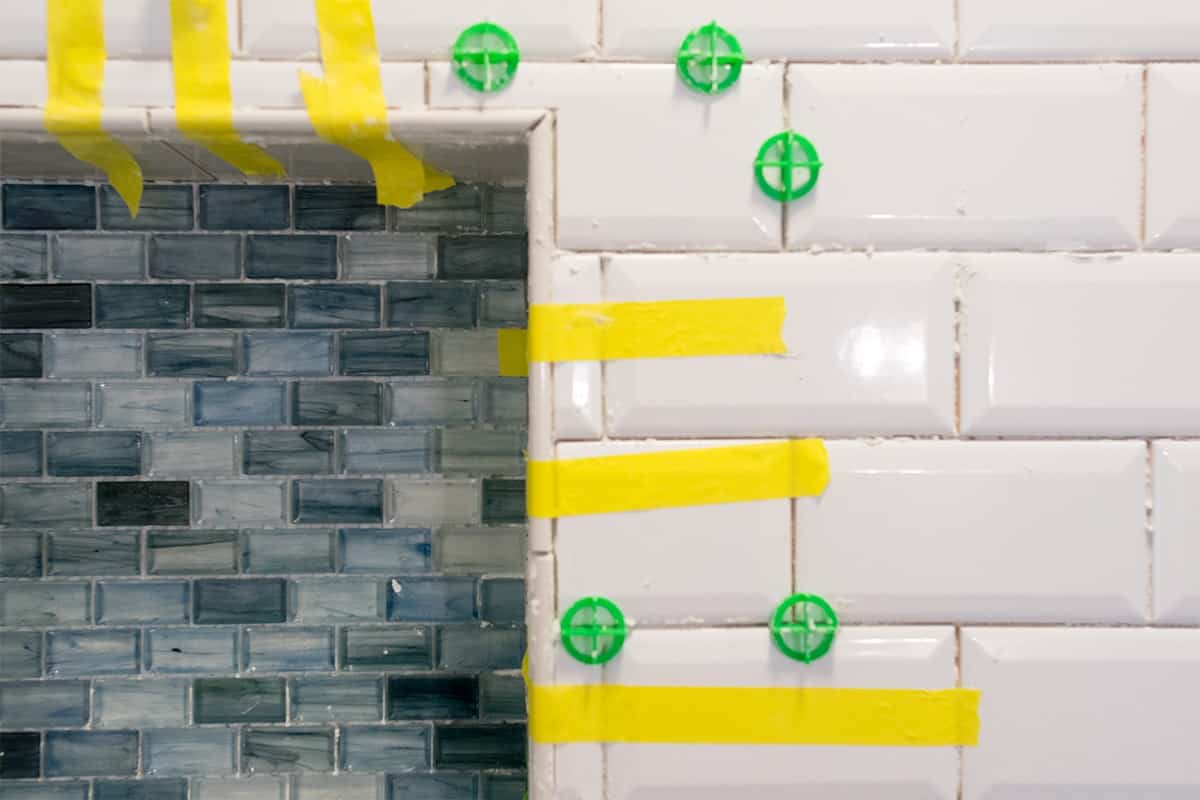
Mistake #4: Not Using The Right Spacers
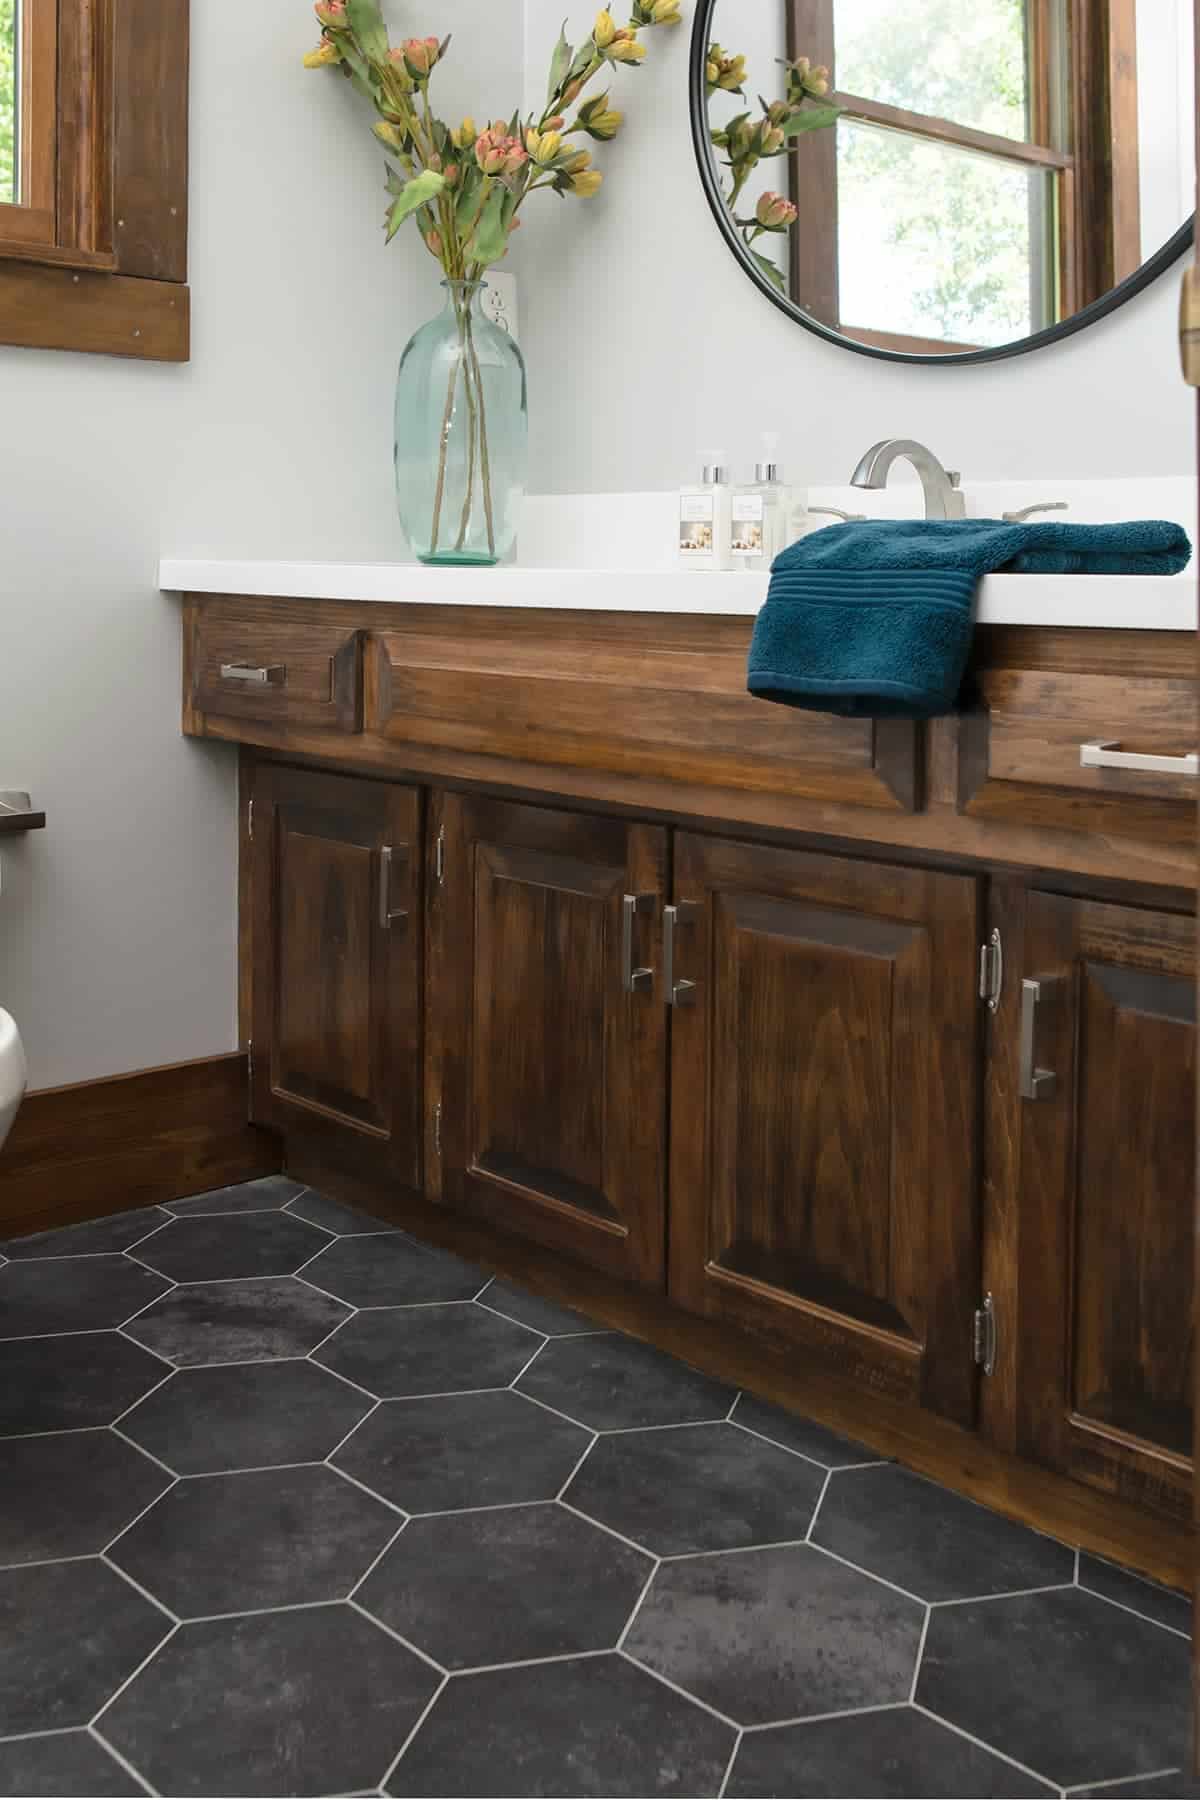
I recently had to tear out a professional tile installation for my mother-in-law’s brand-new house because the contractor believed hexagon tiles don’t need spacers. The tile job was so terrible that the grout lines varied from nothing to 3/16 of an inch. Please don’t do this.
I am old school when it comes to spacers and very picky. Over time, I have come to prefer T-spacers rather than X-shaped spacers (pictured below), but either will work with this tile. I also keep wedge spacers on hand because they are so handy for keeping proper alignment. You can cut them to size.
Mistake #5: Complex Cuts
Tile that requires multiple cuts are the hardest to get correct fit. To make this easier cut a piece of paper and fit into the tile space to create a template. After the tile is cut to the shape of the template, dry fit to check before installing.
Grouting Beveled Tiles
With most tile, I recommend using a hard rubber float for grouting around the tiles. However, beveled edge tiles make it difficult for a rubber float to properly push into the grooves, resulting in a lot more wastage of grout mixture.
A softer masonry float can be used that will result in less wastage. I personally still use a black rubber float to spread the grout onto the tiles and then, using my dry fingers, removed the excess back to the bucket.
Whichever float you choose, you will still need a tile sponge to even out the grout and create clean professional lines.

Subway tile is a beautiful option whether you choose beveled edge tile or another option. I admit that I am a very messy tile installer, but the look of this tile is worth the effort of thinking a bit ahead. If you have any questions, let me know in the comments below!
Update: You Can See Our Completed Bathroom Renovation Here.
Looking for More DIY Home Improvement Projects? Check These Out:
- How to Avoid the Most Common Bathroom Design Mistakes
- Simple Tile Shower Niche Installation
- How To Choose the Right Bathtub for Your Remodel
- How to Caulk a Shower
- What to Know Before Finishing a Basement

Grab our free series "Weekend Home Projects that will Transform Your Life" Sign up below to receive updates including free printables, organization tips, home improvement projects, recipes and more! |
More DIY Tile Tutorials
PS I love seeing your creations! Be sure to take a photo and tag #cravingcreative on Instagram! You can also stay in touch with me through following me on Instagram, Pinterest, and subscribing to the newsletter!
Anthony Carter says
I was searching for how to do a three way tile trim edging and found you.
Thanks to you I’m set to tile my metro tiles with confidence, and for some reason I bought a lot of different metro tiles for this house we are renovating without ever thinking of how to do it.
Total Kudos.
Eric says
I wish I would have read this earlier. I installed my first backsplash in the kitchen with beveled subway tile. I wouldn’t say I liked the results but my wife said it looked good, I’m sure not to hurt my feelings. My eyes would gravitate to the imperfections. I originally used 5/16″ schluter trim that looked perfectly flush with the tile but that is only if it butted up to it with a beveled end. If it butted up to it with a cut piece then it stood above the trim which I tried to fix by flipping the tile around to have the beveled end butt up to it. However, in doing so, you couldn’t see the vertical grout line just beyond the cut side when looking from the beveled side. In the end, I removed the tile (talking about adding to the job), repaired the drywall, purchased the 3/8 schluter trim, and plan on starting each row with a cut tile so it is flush with the trim. I’ve tried to lay it out perfectly so the same size of the cut is on both ends but I’m sure with the rows that cut into a window they won’t. And I agree with you that the X-spacers are the worst. I switched to the horseshoe-shaped ones. Fingers crossed that the second attempt turns out better than the first or at least fewer imperfections that my eyes gravitate towards.
Marcie says
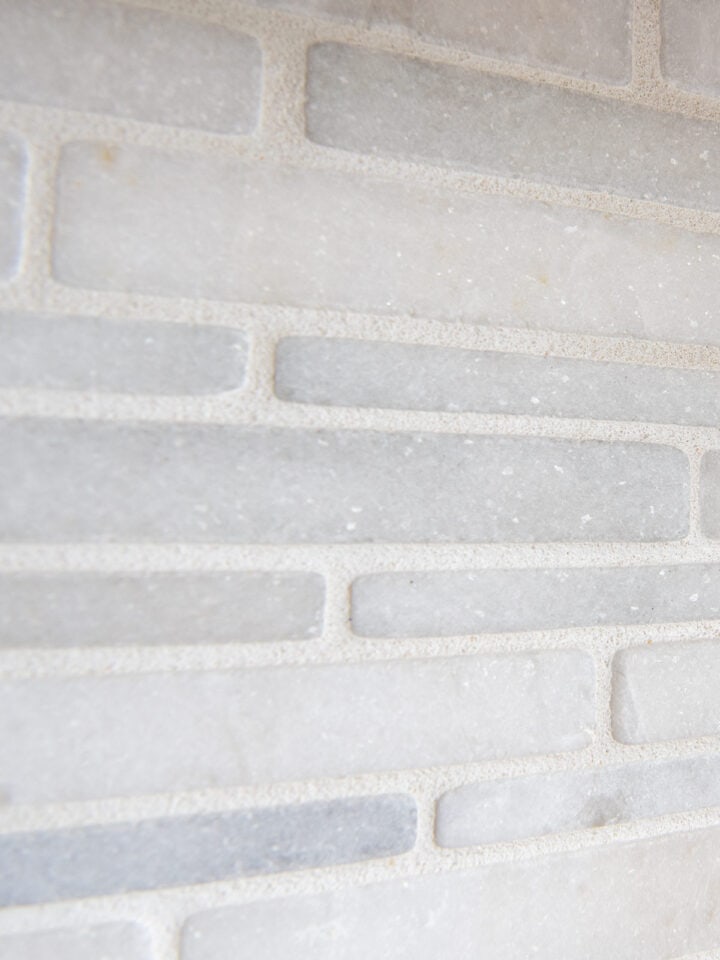
Want to stack this beautiful ivory beveled tile vertically in my shower above a horizontal stack on the bottom but worry about the half cut on the beveled tile. Do you think beveled tiles should only be stacked horizontal or how would you solve the half cut next to the full beveled tail look for the grout?
Rachel says
Stacked tile, to me, means tile that is perfectly lined up in rows and columns. You can see different tile patterns here. That is fine to do with beveled tile as long as you start the vertical with whole pieces on top of whole pieces of horizontal. There wouldn’t be any half cuts that way. However, if you mean a brick bond or a 1/3 offset or similar, that would be more difficult to avoid the half cuts next to whole tile. It also depends on how deep the bevel is, as sometimes you can get away with it if the bevel is slight and the grout width is on the wider side.
Steve Stanley says
The 5 mistakes to avoid while installing bevelled tile are spot on. I just finished mine and followed the same advice. Looks good so far, now to grout it.
Steve says
Can you please address “Using Levelers” with beveled subway tiles? Is there a specialized leveler system for beveled tile, do you level from corners or only in the middle of tiles, do you use this on every possible edge, are 1/16″ spacers still needed?
Rachel says
I have only ever used those in larger format floor tiles (like 10×10 inch or larger) that have non-beveled edges. Beveled tiles are slightly more forgiving with their edges lining up, because you won’t be dragging or stubbing your toe across them. However, in order to use levelers, they need to be large enough to go across both bevels to the flat surface of the tiles. The main surface is what you want to be level to each other. Levelers should already have spacers attached so you don’t need additional spacers. Levelers are used on all 4 sides of the tile, in the center of each side (or if you have large tiles like 12×24, I would use 2-3 on each side about 3 inches from each corner).