Nothing adds elegance and character to walls like traditional box trim and moulding. This step-by-step guide covers everything you need to install picture frame molding like a pro - with photos, tools, and expert tips to make it easy.
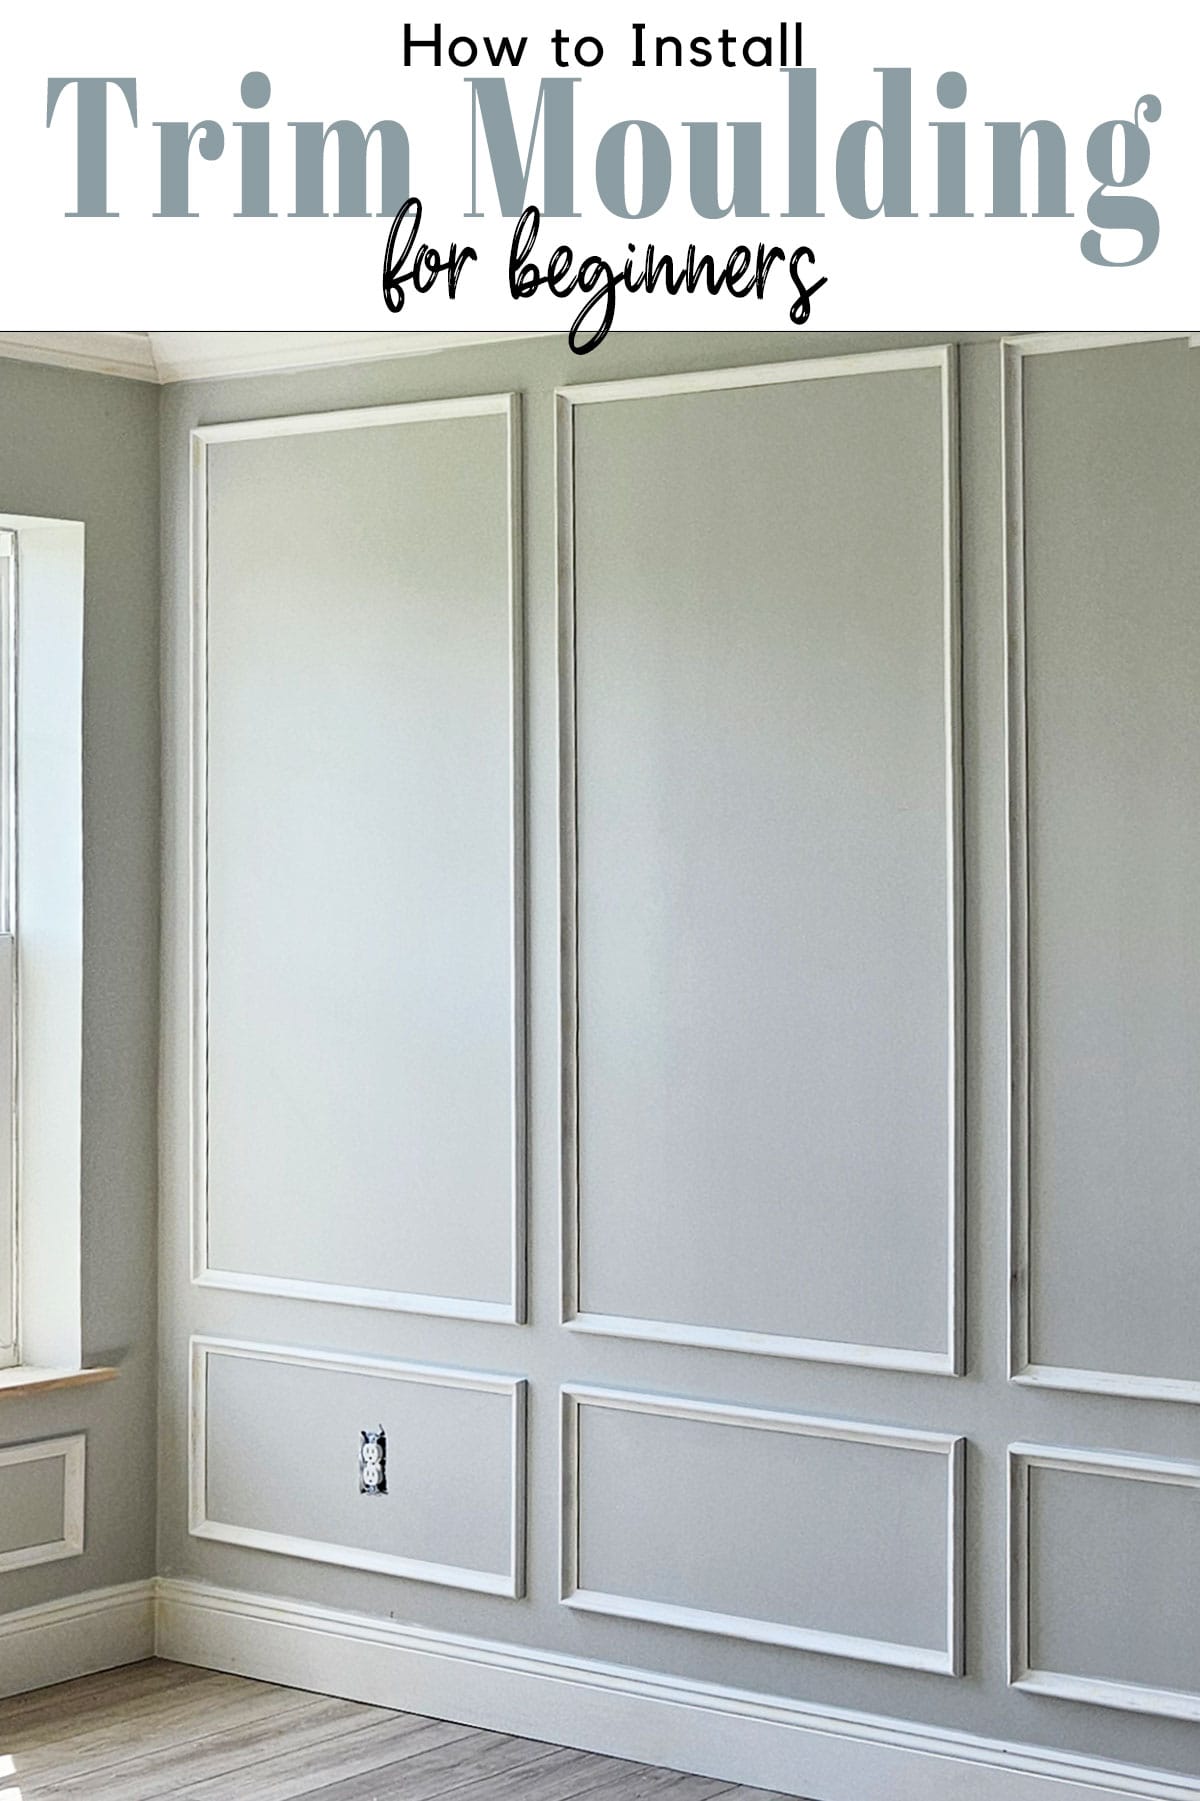
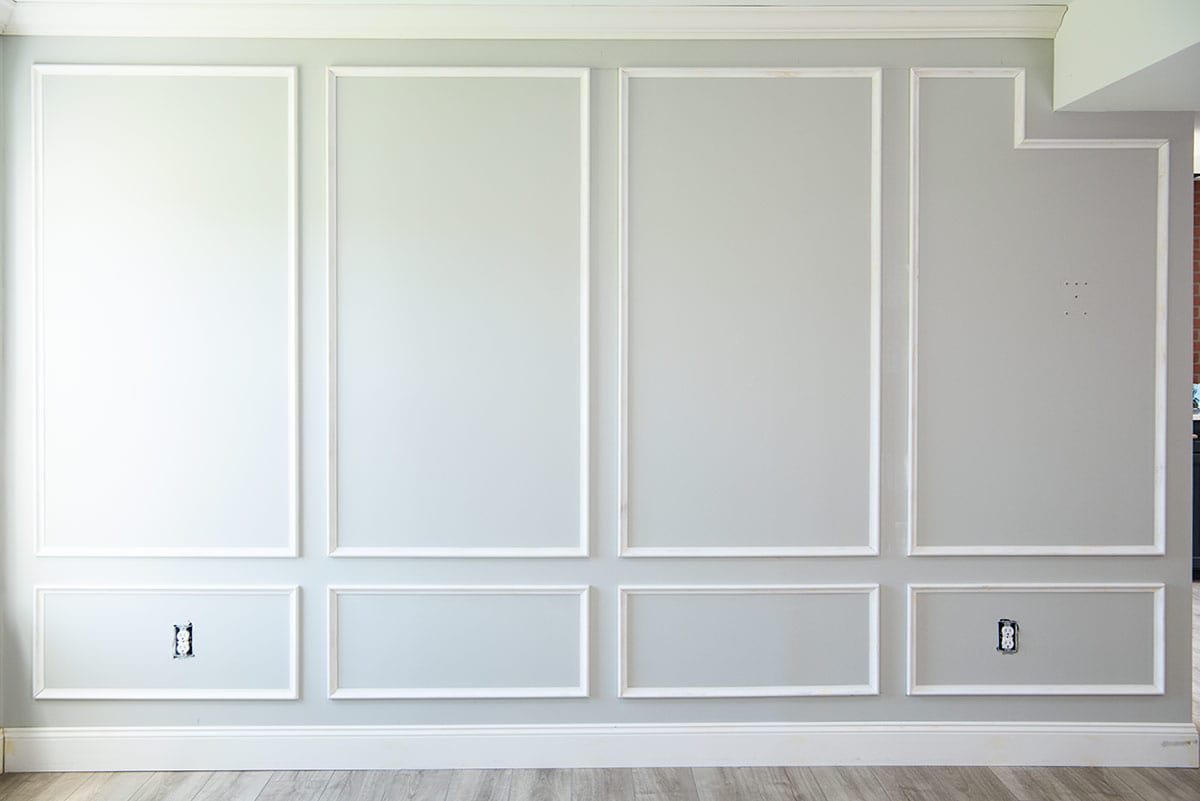
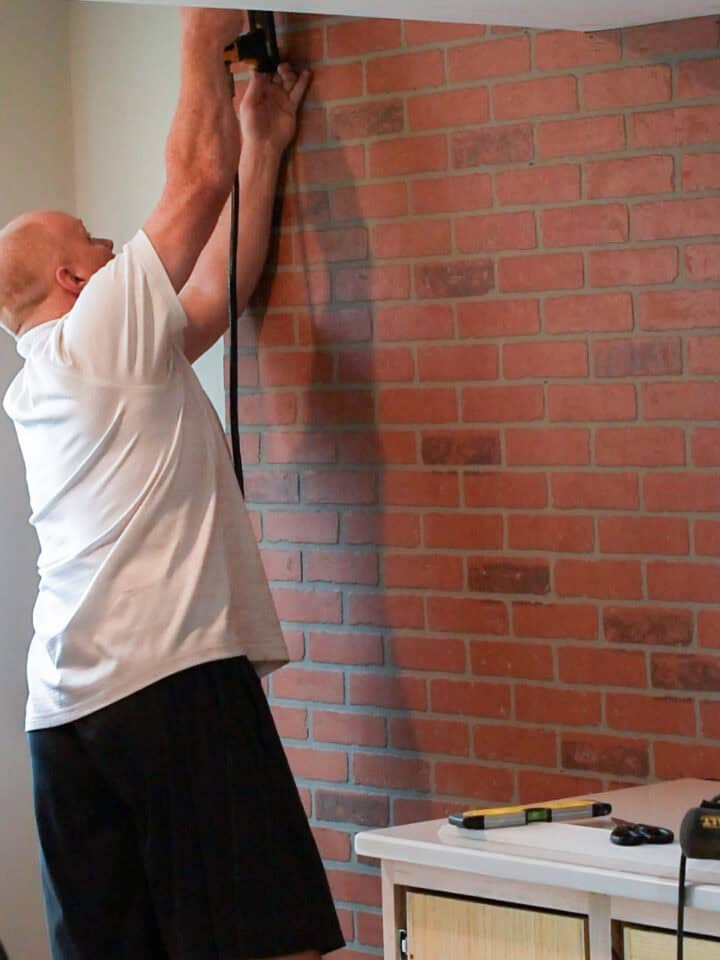
We have been hard at work getting the walls in the basement finished up so we can move on to smaller projects. From installing a faux brick wall to adding crown molding, the walls are adding a lot to the overall design. Installing picture frame wall trim is last on our list and is one of those projects that instantly elevates a room, adding depth and character without a major renovation. It’s made a huge difference and pulled the entire space together.
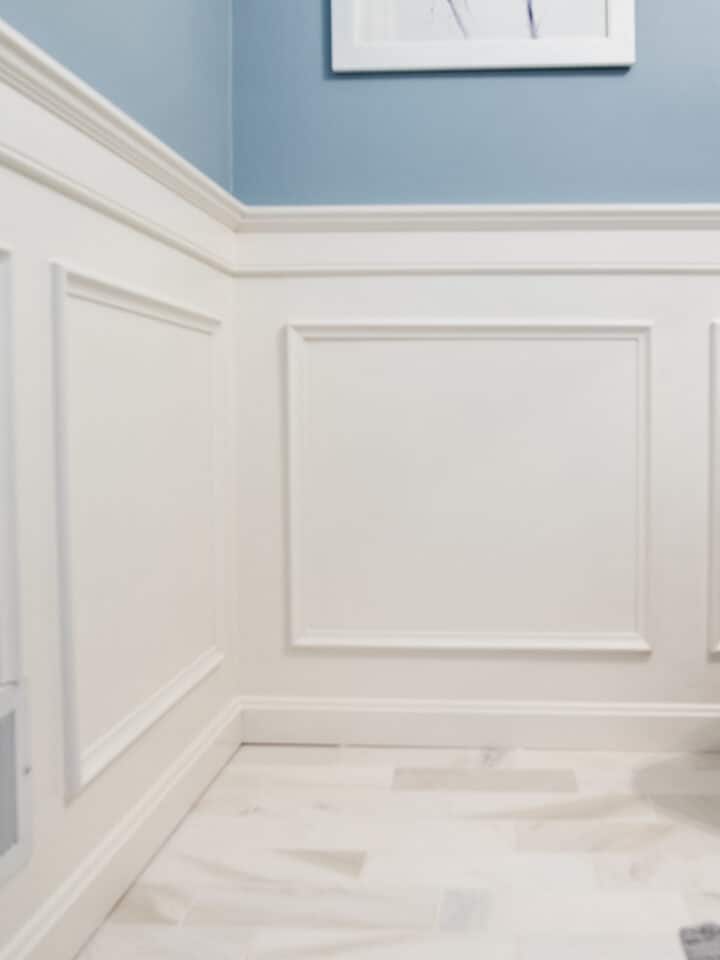
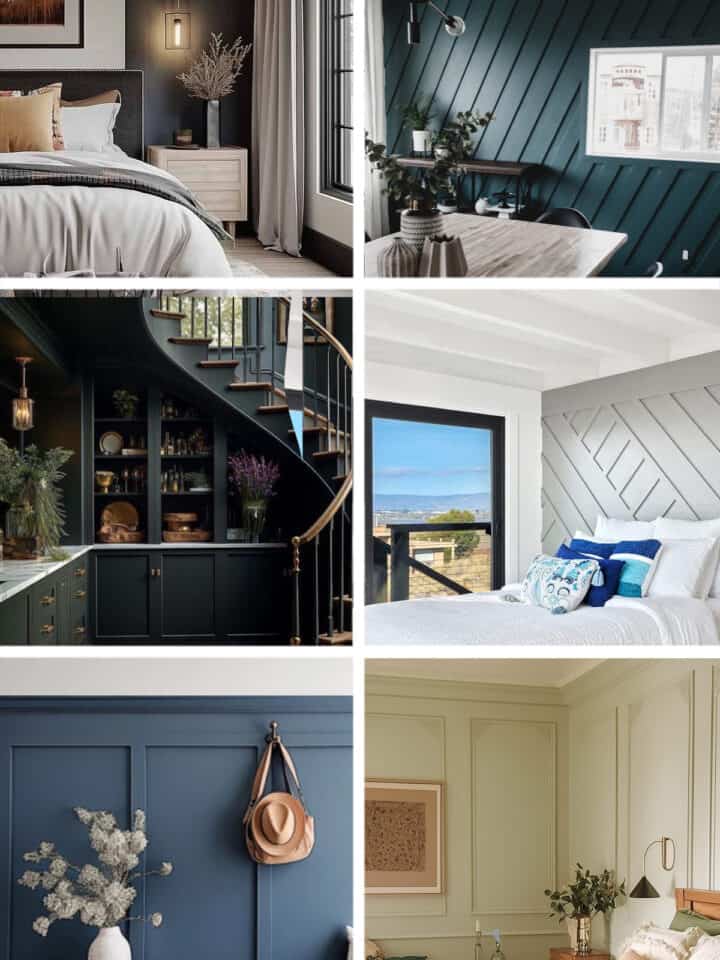
In this post, we're walking you through the step-by-step process we used to install picture frame moulding in our own basement. Whether you're working with a moody dark color palette or a bright, airy space, picture frame trim adds that perfect architectural detail.
Recommended Tools & Supplies
Tools
- compound miter saw
- Brad Nailer and Finish Nails
- Tape Measure
- Long level (6ft preferred) or Laser Level
- Speed square
Supplies
- Lint Free Rags
- Wood Trim
- Nails or Brads
- Wood Filler
- Caulk
- Paint’s Tape
- Paint
Video Explanation
We taped ourselves completing one wall in this project, so if you want to see the experience, check out the video below.
How to Install Trim on Walls
Step 1: Prep and Paint the Walls
Depending on your design, it may or may not be necessary to remove the baseboards and other trim. However, if you don’t have to remove them, I recommend painting the wall before adding trim. It’s a lot faster than doing all of it afterward.
Rachel’s Note!: If you are just starting this project and haven’t laid out your plans entirely, I highly recommend starting with our post about Avoiding Mistakes with Laying Trim. It talks about dealing with uneven walls, working around obstacles, and how to decide spacing for your boxes.
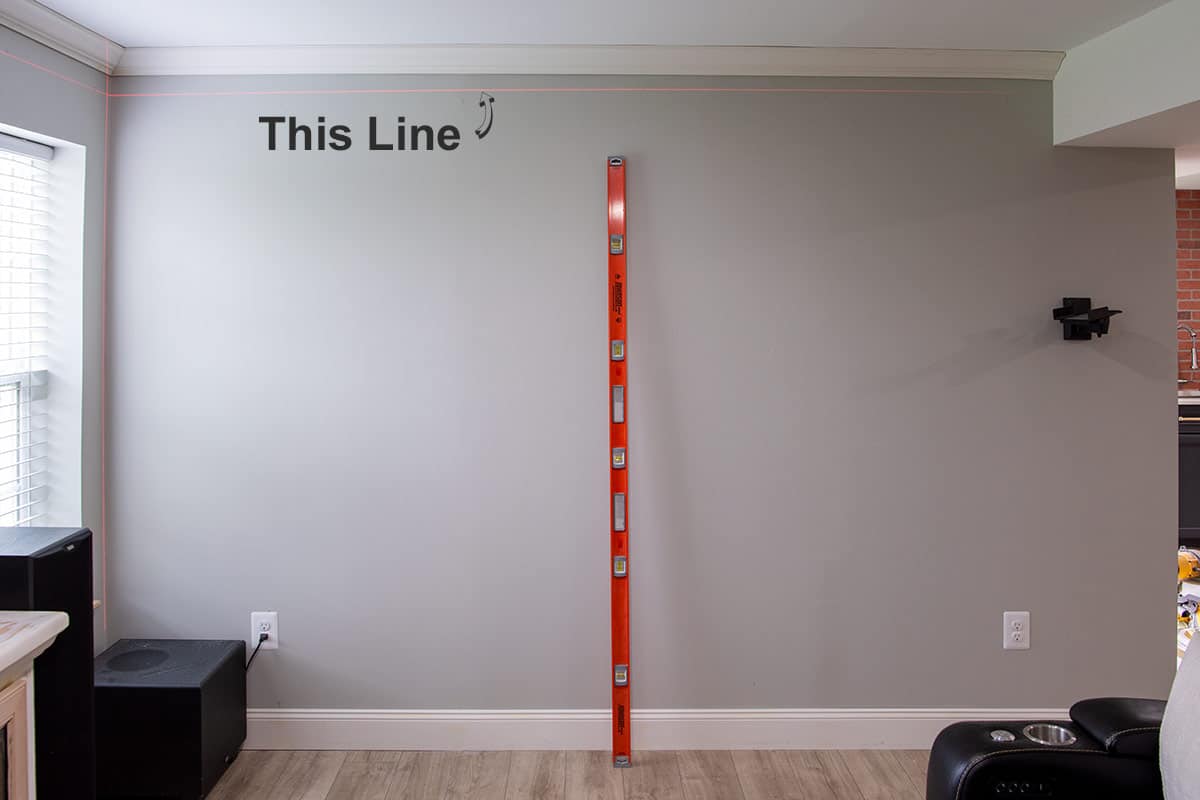
Step 2: Check the wall for level and plumb
Check for level of ceilings and baseboards. You can use a laser level or the longest level you have. A four-foot level will work, but a six-foot is better.
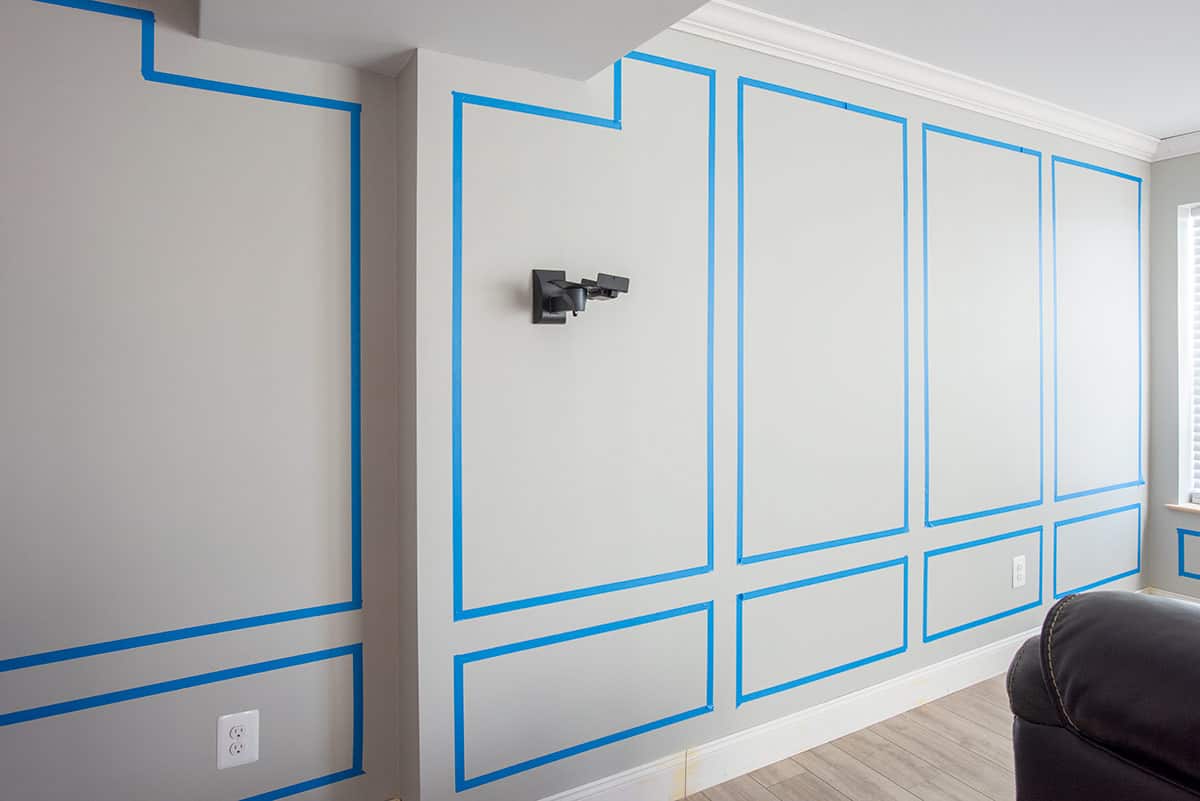
Step 3: Decide your Layout and Tape It
Decide how many rows you want on the wall first. Measure your entire wall and then decide how many columns you would like. Note: To visualize your layout, try adding painter’s tape to the wall in the pattern.
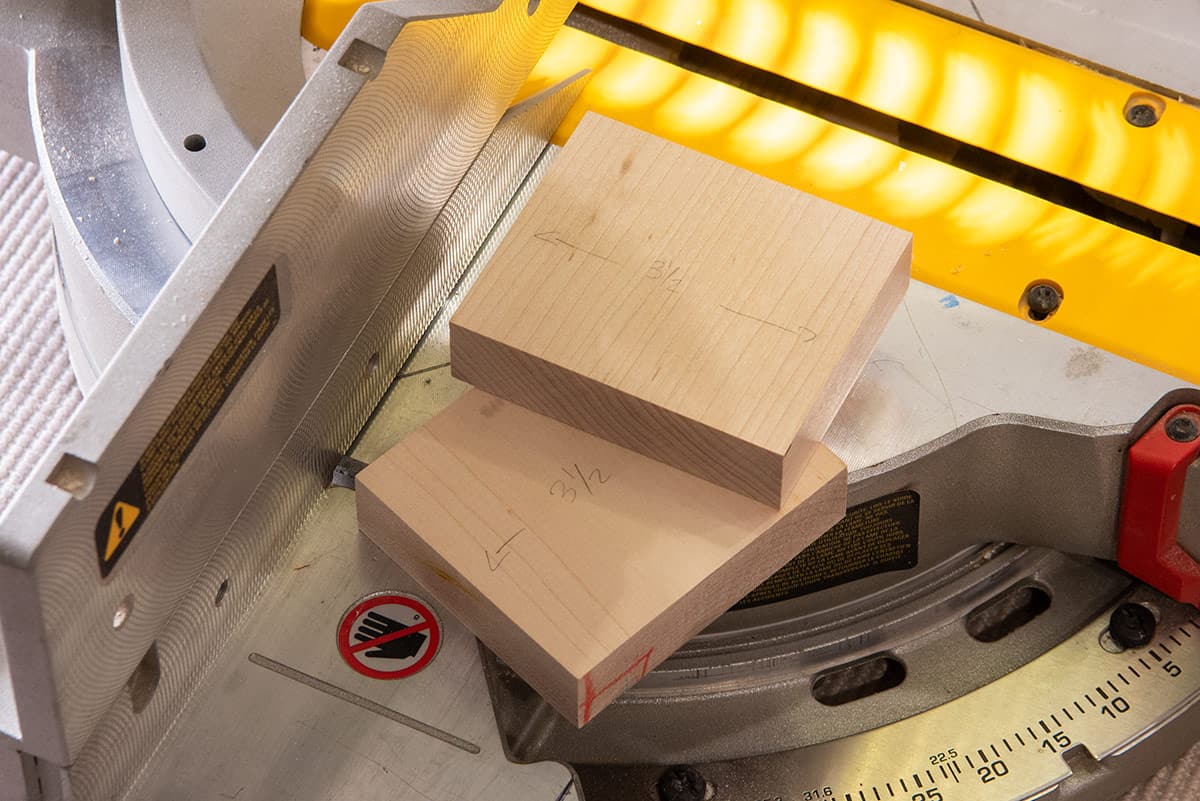
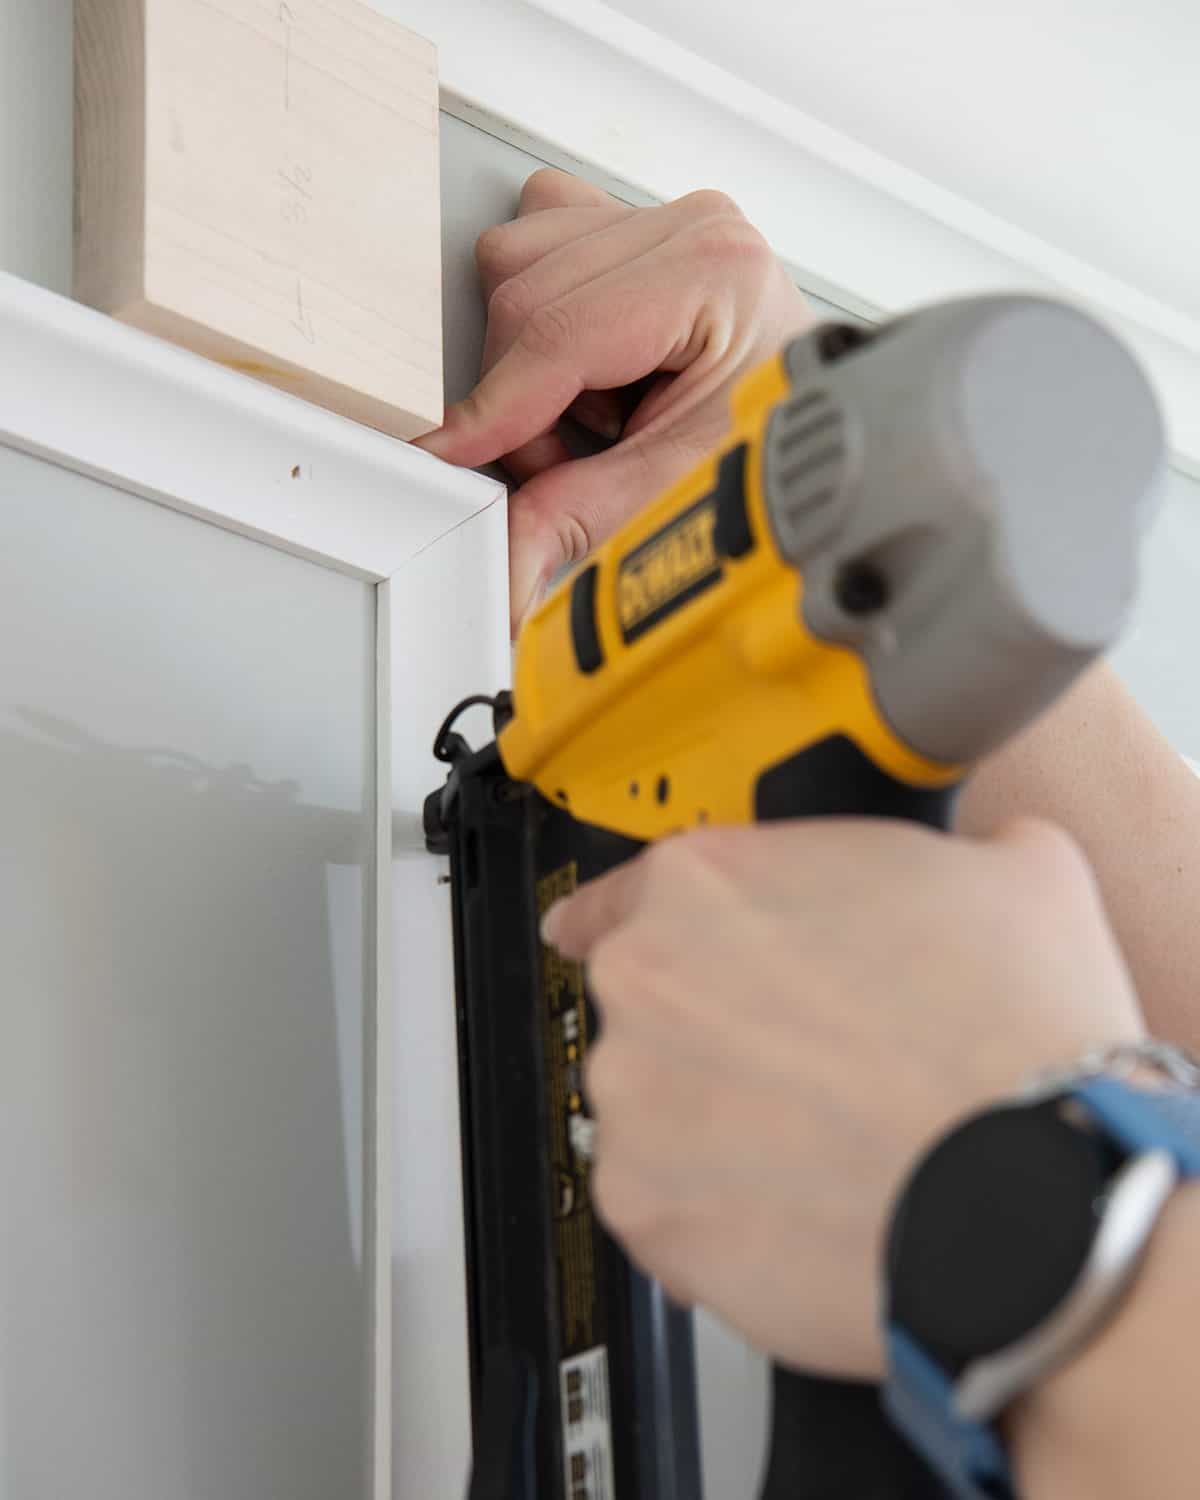
Step 4: Create Templates
Cut a 1-inch-thick board into a few square templates sized to your spacing. For example, if the space between your boxes is 3.5 inches, make a few 3.5×3.5 blocks and label them.
Step 5: Measure and Cut your frame pieces
Cut your piece at a 45-degree angle, adjusting the angle if needed. Remember that the thinner part of the board goes towards the inside of the box. This means when cutting, the thinner side will always be the shorter one.

Should you cut an entire box at once and hang or each piece separately? Start slow and work one piece at a time. Once you gain confidence and find your flow, you can elect to cut an entire box or multiple boxes before hanging. If your walls are uneven (meaning your pieces won’t be uniform in size), definitely cut and hang one at a time.

If cutting multiple pieces, label your cut pieces as you go so you aren’t searching for where they belong when tacking them to the wall.
Step 6: Mount your Trim
Remove tape from the wall as you move along boxes. If desired, add a small bead of caulk along the backside of the trim before nailing into place.
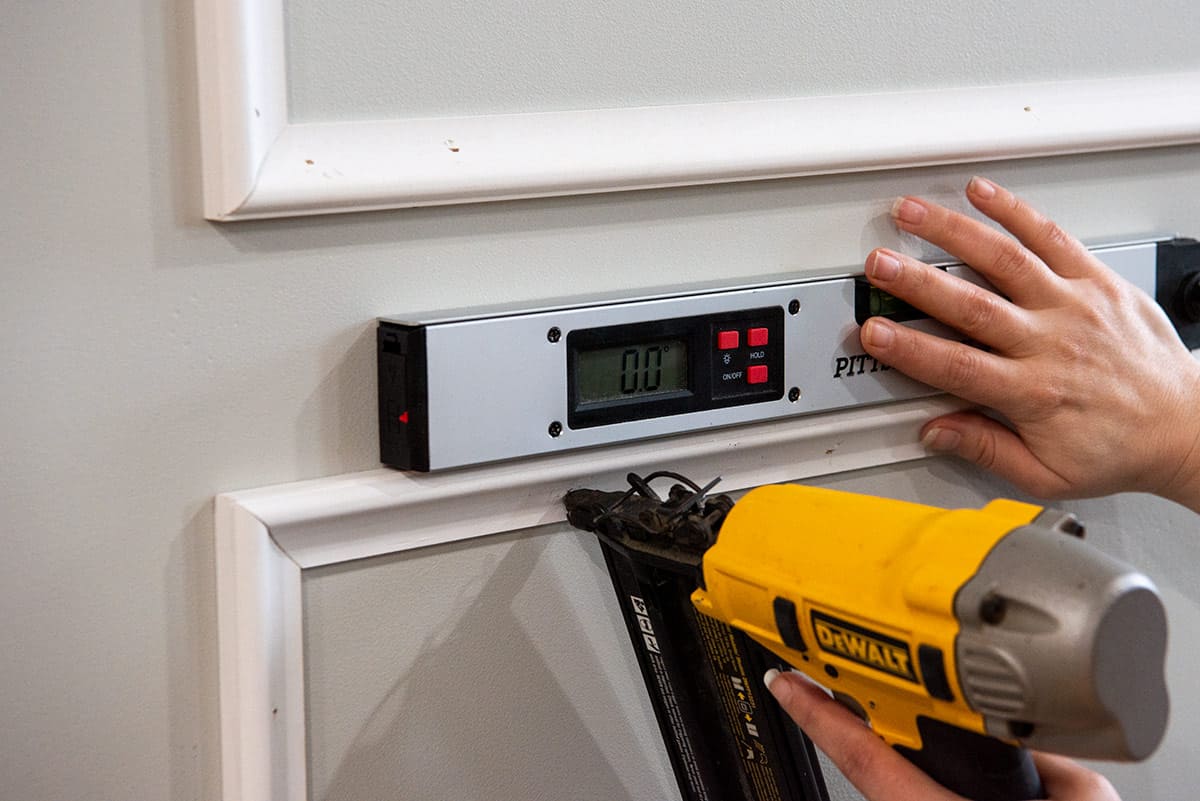
Starting with a longest piece, work around the box adding sides. With a laser level or straight level, ensure level or plumb (straight up and down) and nail along the board.
To line up adjacent boxes, use a straight edge, like a long level, or your template spacers.
Step 7: Finishing touches
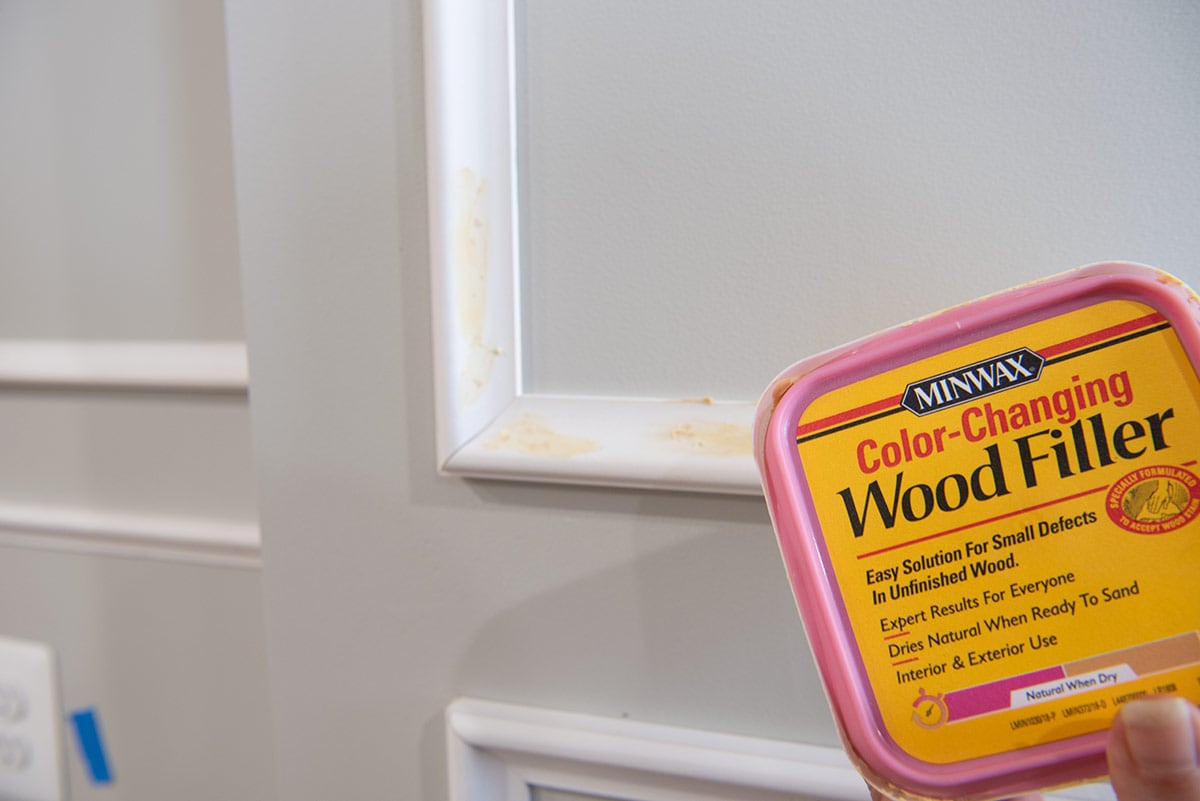
Fill your brad nail holes with wood filler and sand smooth. Don’t slap the wood filler on to save yourself some time sanding or getting into wierd corners.
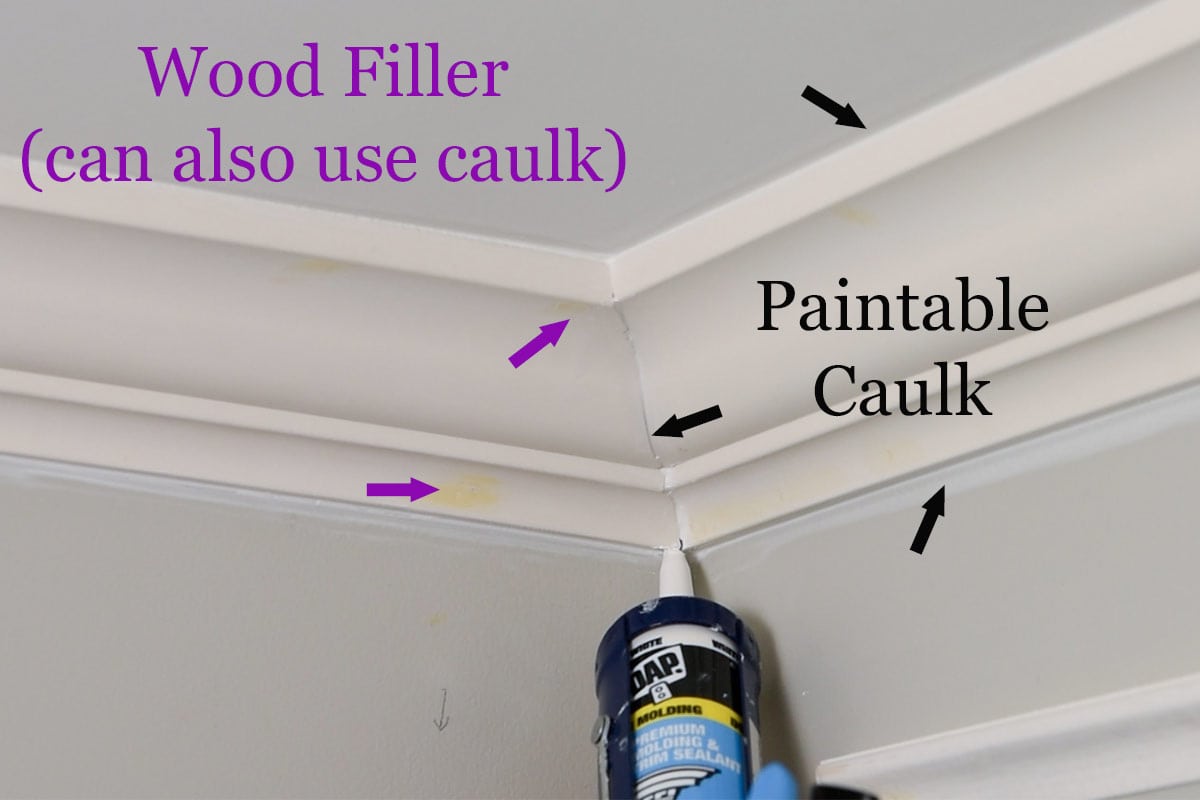
Push caulk into the corners, and (if desired) around the inner and outside edges. Wipe away any excess with a soft lint free rag. Use paintable, interior caulk.
After drying, paint the wainscoting in desired trim paint of choice. If using pre-primed wood, there is no need to prime before painting.
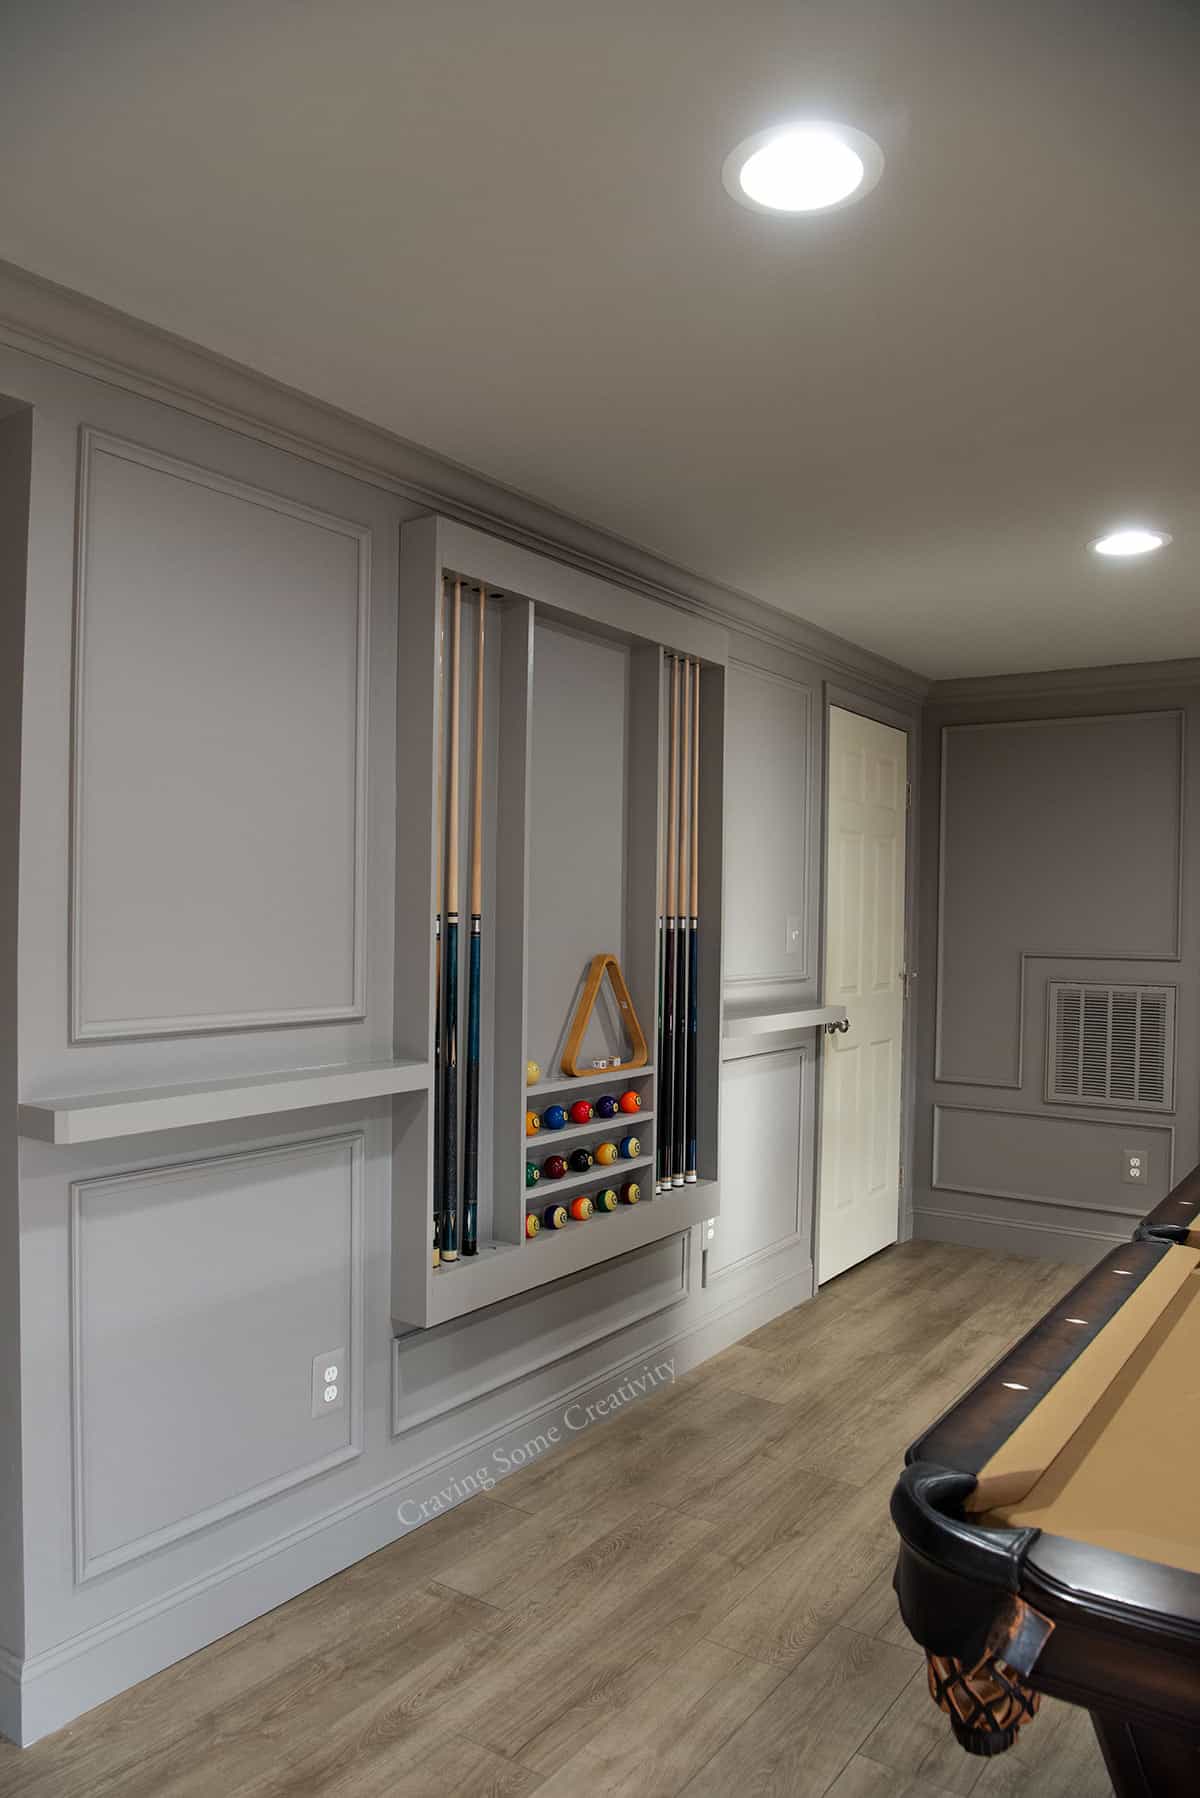
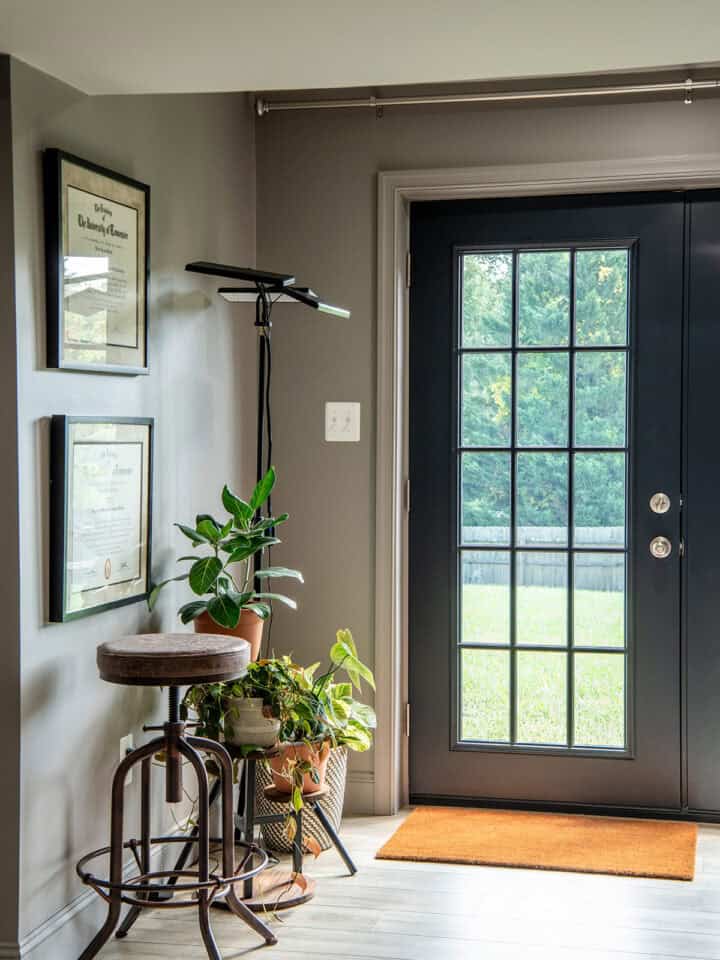
And this is where we are now! The painting is done, except for the doors, and I will next be sharing how we painted this entire basement in one weekend. To be honest though, we did paint the ceiling a different weekend. Let me know if you have any questions in the comments below!
General Tips for Adding Trim
- Label your cut pieces as you go so you aren’t searching for where they belong when tacking them to the wall.
- Move your tools to your work area. Yes, there will be a lot of dust. Yes, a miter saw is heavy.
- I recommend working one box at a time rather than cutting every piece on the wall at the same time. Mistakes happen.
- I highly recommend a brad nailer or using caulk/adhesive. It’s fast and requires less filling of holes later than a hammer and nails.
- Paint the walls first. Unless you are using a sprayer, its much easier to paint first, even if you will still do a last coat to cover markings. Otherwise, you need to cut in with a brush inside and outside of every piece of moulding.
- Use painters’ tape while you are still deciding on the design. That way you only have to mark once. I still recommend drawing out the squares once you have decided the sizing.
- The corners are mitered (i.e. cut at 45 degrees to line up). I personally prefer to cut one piece at a time and tack them as we go around.
More Wall Projects and Decorating DIYs
FAQs
Personally, I wouldn’t recommend it. The aesthetics won’t look good together and frankly, you will need a lot of corrective work to hide gaps on the wall.
Yes, you can use something like a fast-setting construction adhesive or caulk. However, I find it harder to keep corners tight if you are just gluing and it’s not necessary to use caulk if you are using nails or a brad nailer.

Grab our free series "Weekend Home Projects that will Transform Your Life" Sign up below to receive updates including free printables, organization tips, home improvement projects, recipes and more! |
More DIY Wall Treatments
PS I love seeing your creations! Be sure to take a photo and tag #cravingcreative on Instagram! You can also stay in touch with me through following me on Instagram, Pinterest, and subscribing to the newsletter!
Leave a Reply